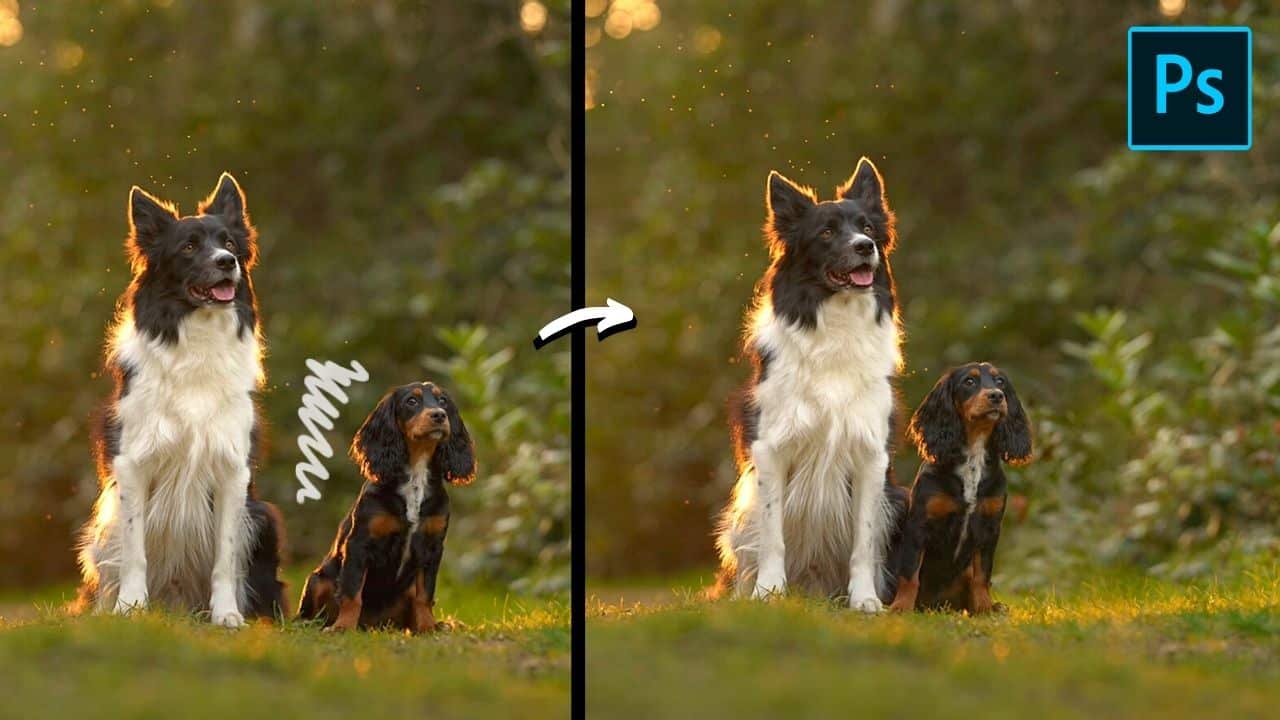
Back in the Pets & People video one of the final tips was to close the gaps between subjects if they are not touching, or if one of the subjects is sort of out on a limb somewhere. However, I hadn’t put the “how to” for that tip anywhere on the YouTube channel, and so this post corrects that!
In today’s tutorial, we’re going to look at the steps involved in moving a subject within an image to specifically close the gap. The video for this will make a lot more sense than the words, so that is here:
Let’s walk through the main steps in word format here:
Step 1: Open the image in Photoshop
Open up the image that you want to work on in Photoshop and duplicate the background layer (Command + J). You’ll need the background layer again a little bit later.
Step 2: Remove the subject you want to move
Oh yes, literally you need to erase the subject that you actually want to move from the topmost layer. Using your healing tools (there’s info on that here), eliminate the subject you want to move and get any sign that something was there out of the picture. This is very important.
Be careful to repair the focal plane!
Step 3: Re-introduce the subject you’ve removed
Make a copy of the background layer that has the subject still in it, and move that new layer to the top of the layer stack. Next, go to select -> select and mask.
On the left-hand tools, select the one that looks like a rectangle and draw a rectangle over the subject that you removed in Step 2. Photoshop should make a rough selection of just that subject.
Next, mask using the refine edge tool around the selected subject.
Output to a layer mask and hit OK.
Step 4: Place the subject where you want it
Click and drag the masked subject to place them where you actually want them to be in the end. Make sure it makes sense to the viewer.
I usually always overlap the subjects at this stage.
Step 5: Layer up the subjects
Using your layer masks, blend the subjects nicely into each other to create a super overlap and a clean floor transition.
Take your time to get this part right. It must look realistic.
Step 6: Make this your new background
If you’re finished, you can create a new merged layer of all of the visible layers to work from as a new “background” by pressing Shift + Option + Command + E – that saves your layers all where they are but puts a new one right up at the top to work from.
Sorted!

