
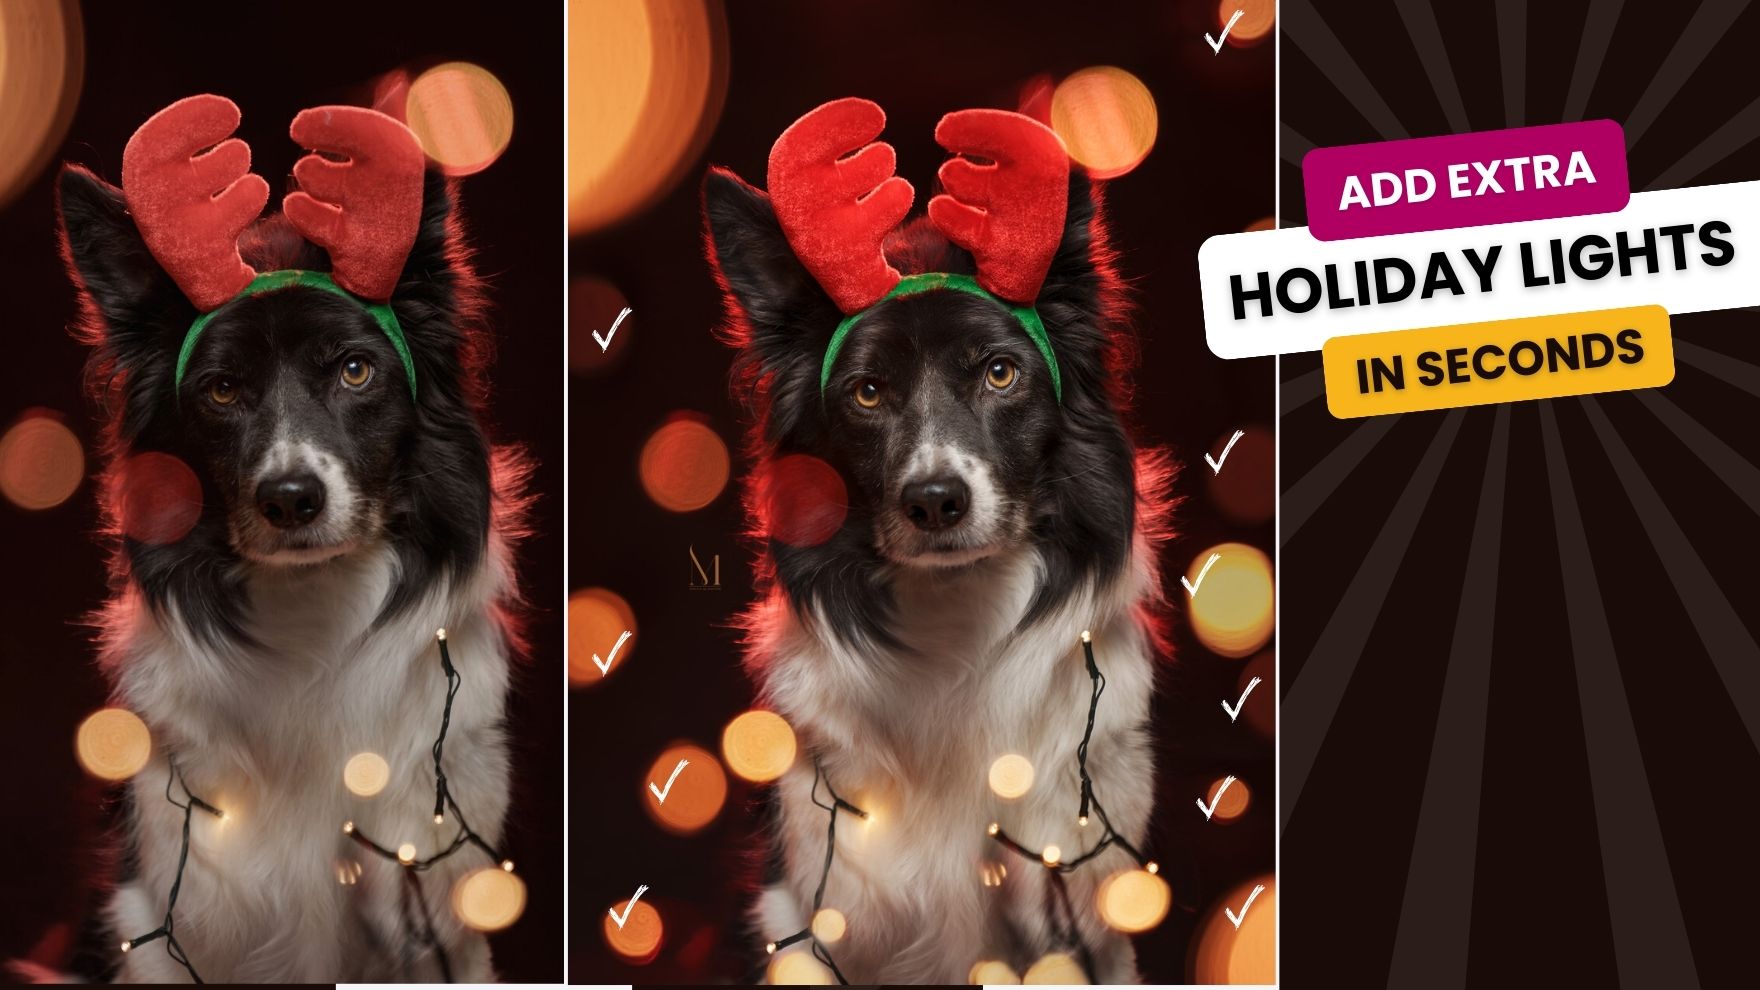
’tis the season to be bokeh-filled and beautiful, so this week’s 5-Minute Friday is all about how to add more holiday lights to your photographs quickly and easily in Photoshop. Fairy lights (as we call them in soggy old England) are a holiday staple but sometimes you can only get a small amount in your photograph.
To fill in the gaps, you can borrow another photo’s bokeh and quickly blend the scenes together with ease.
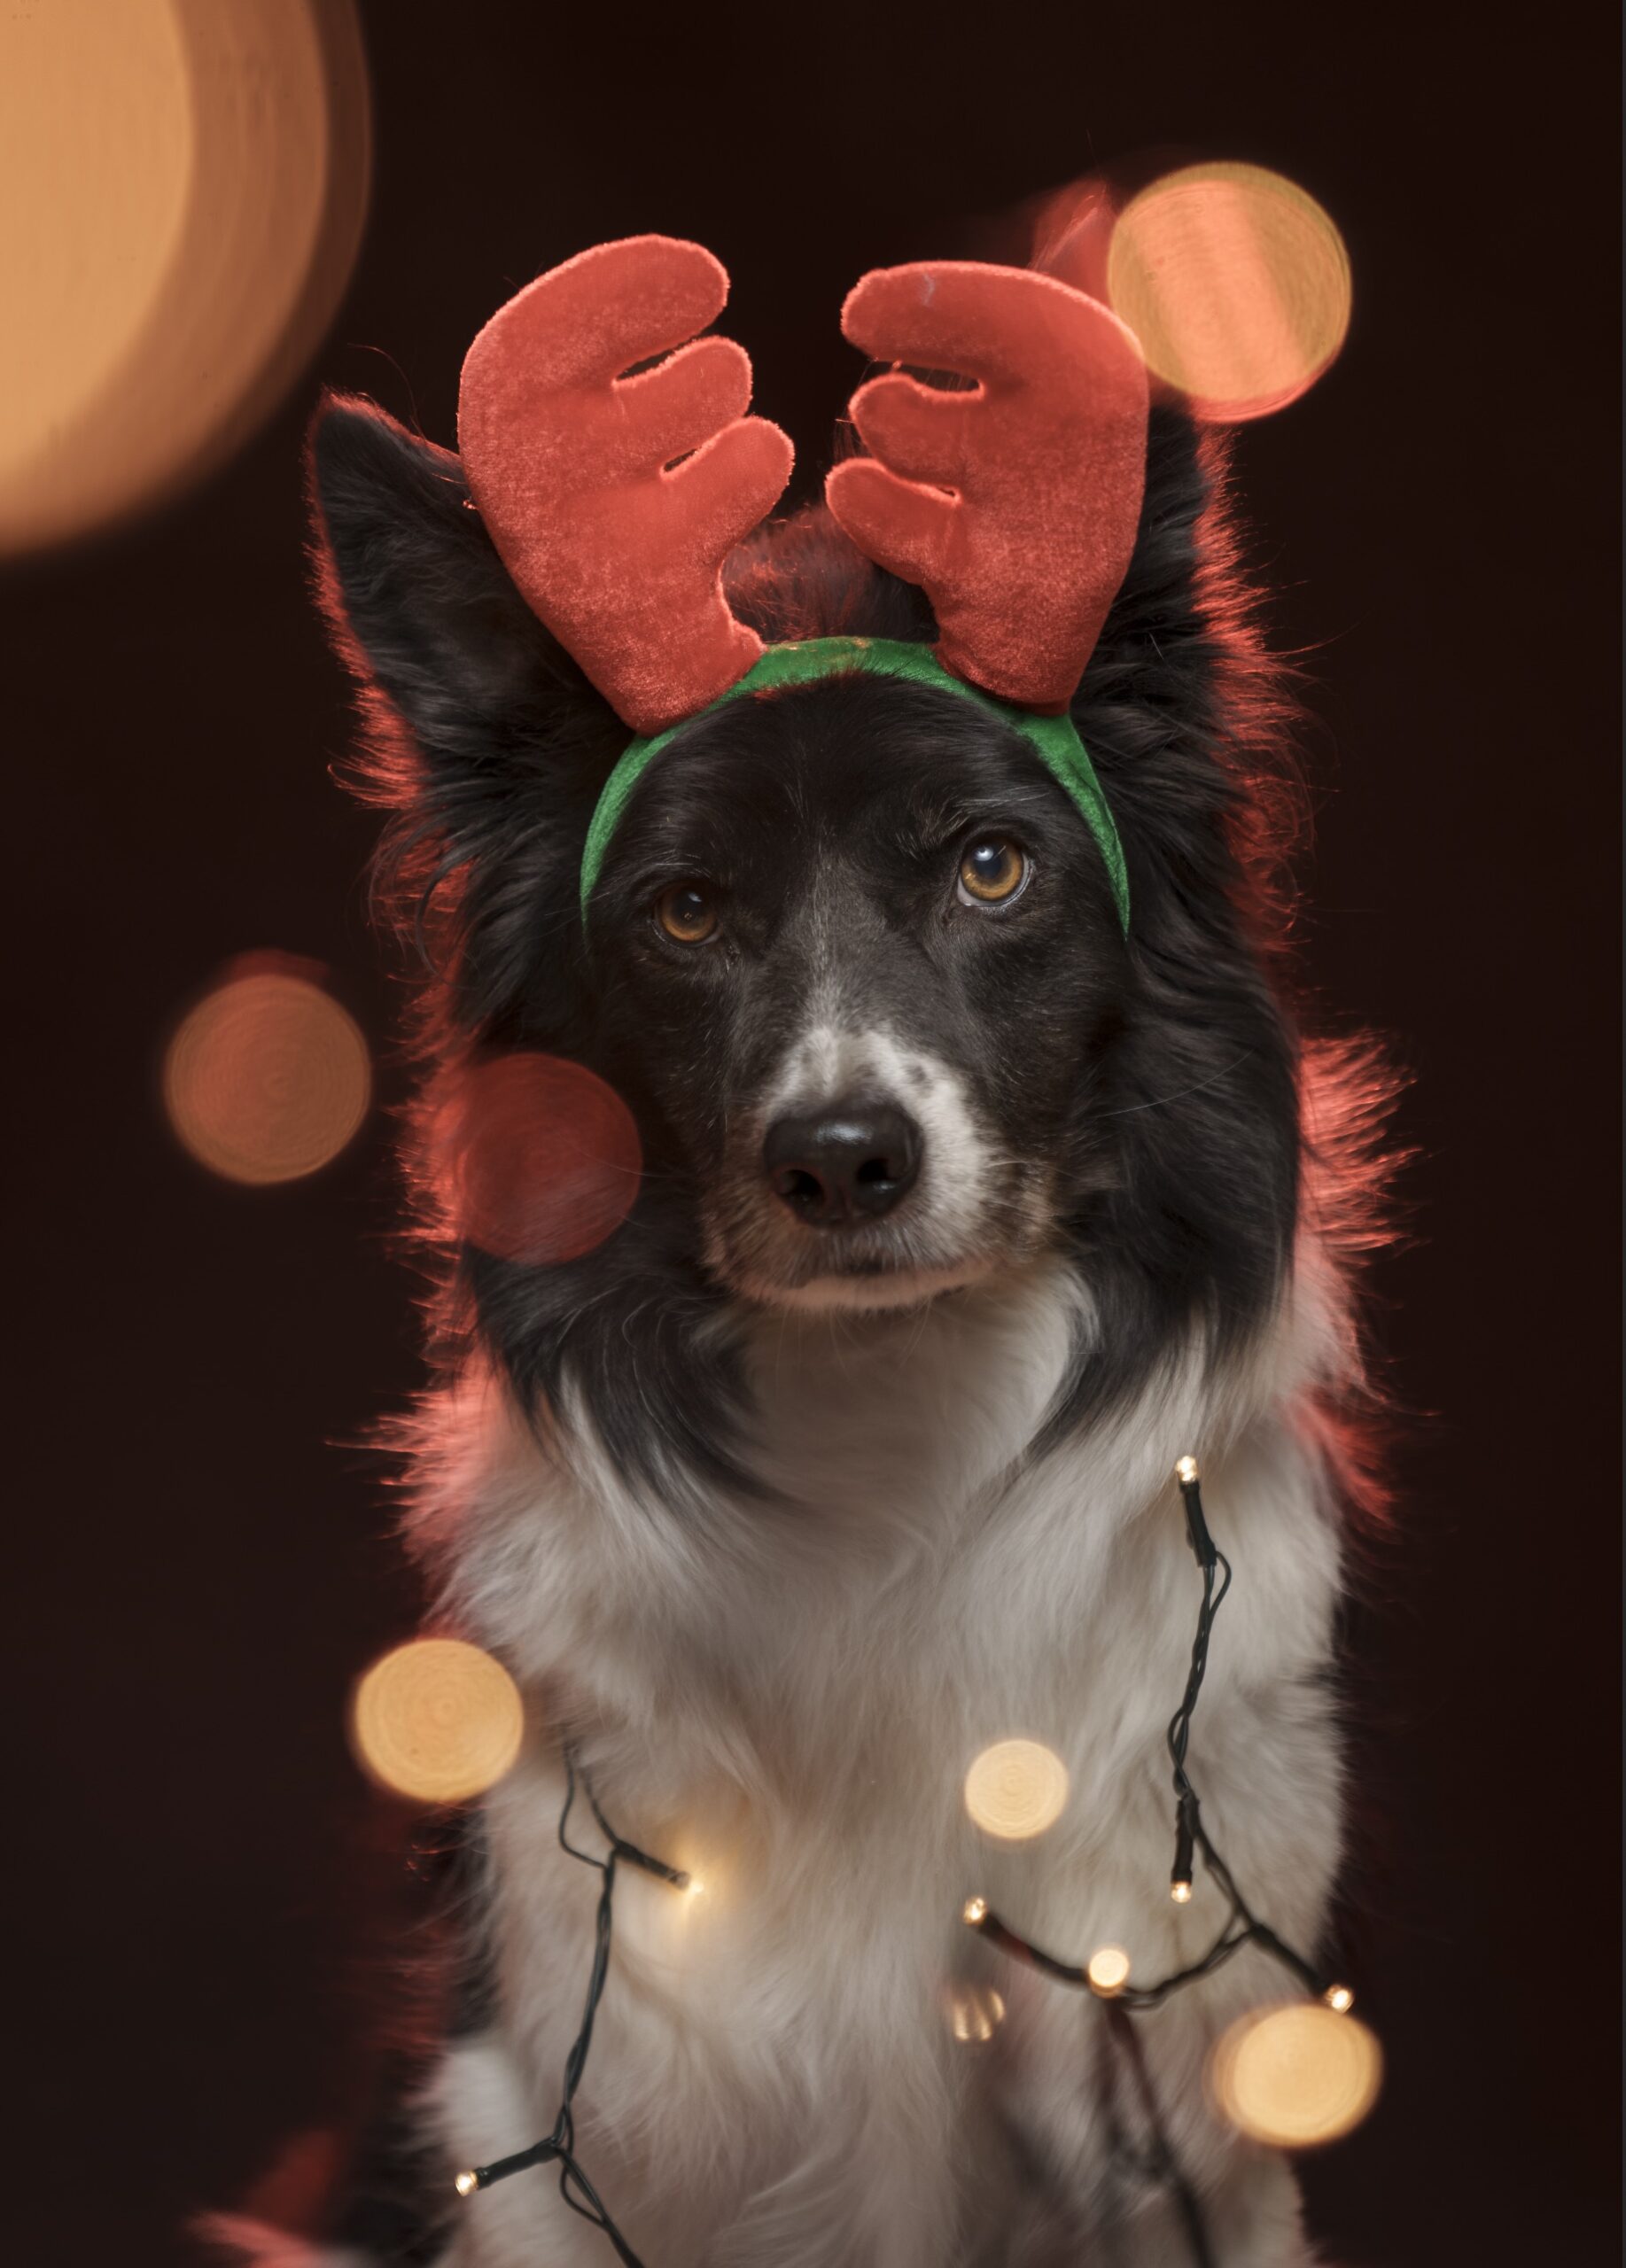
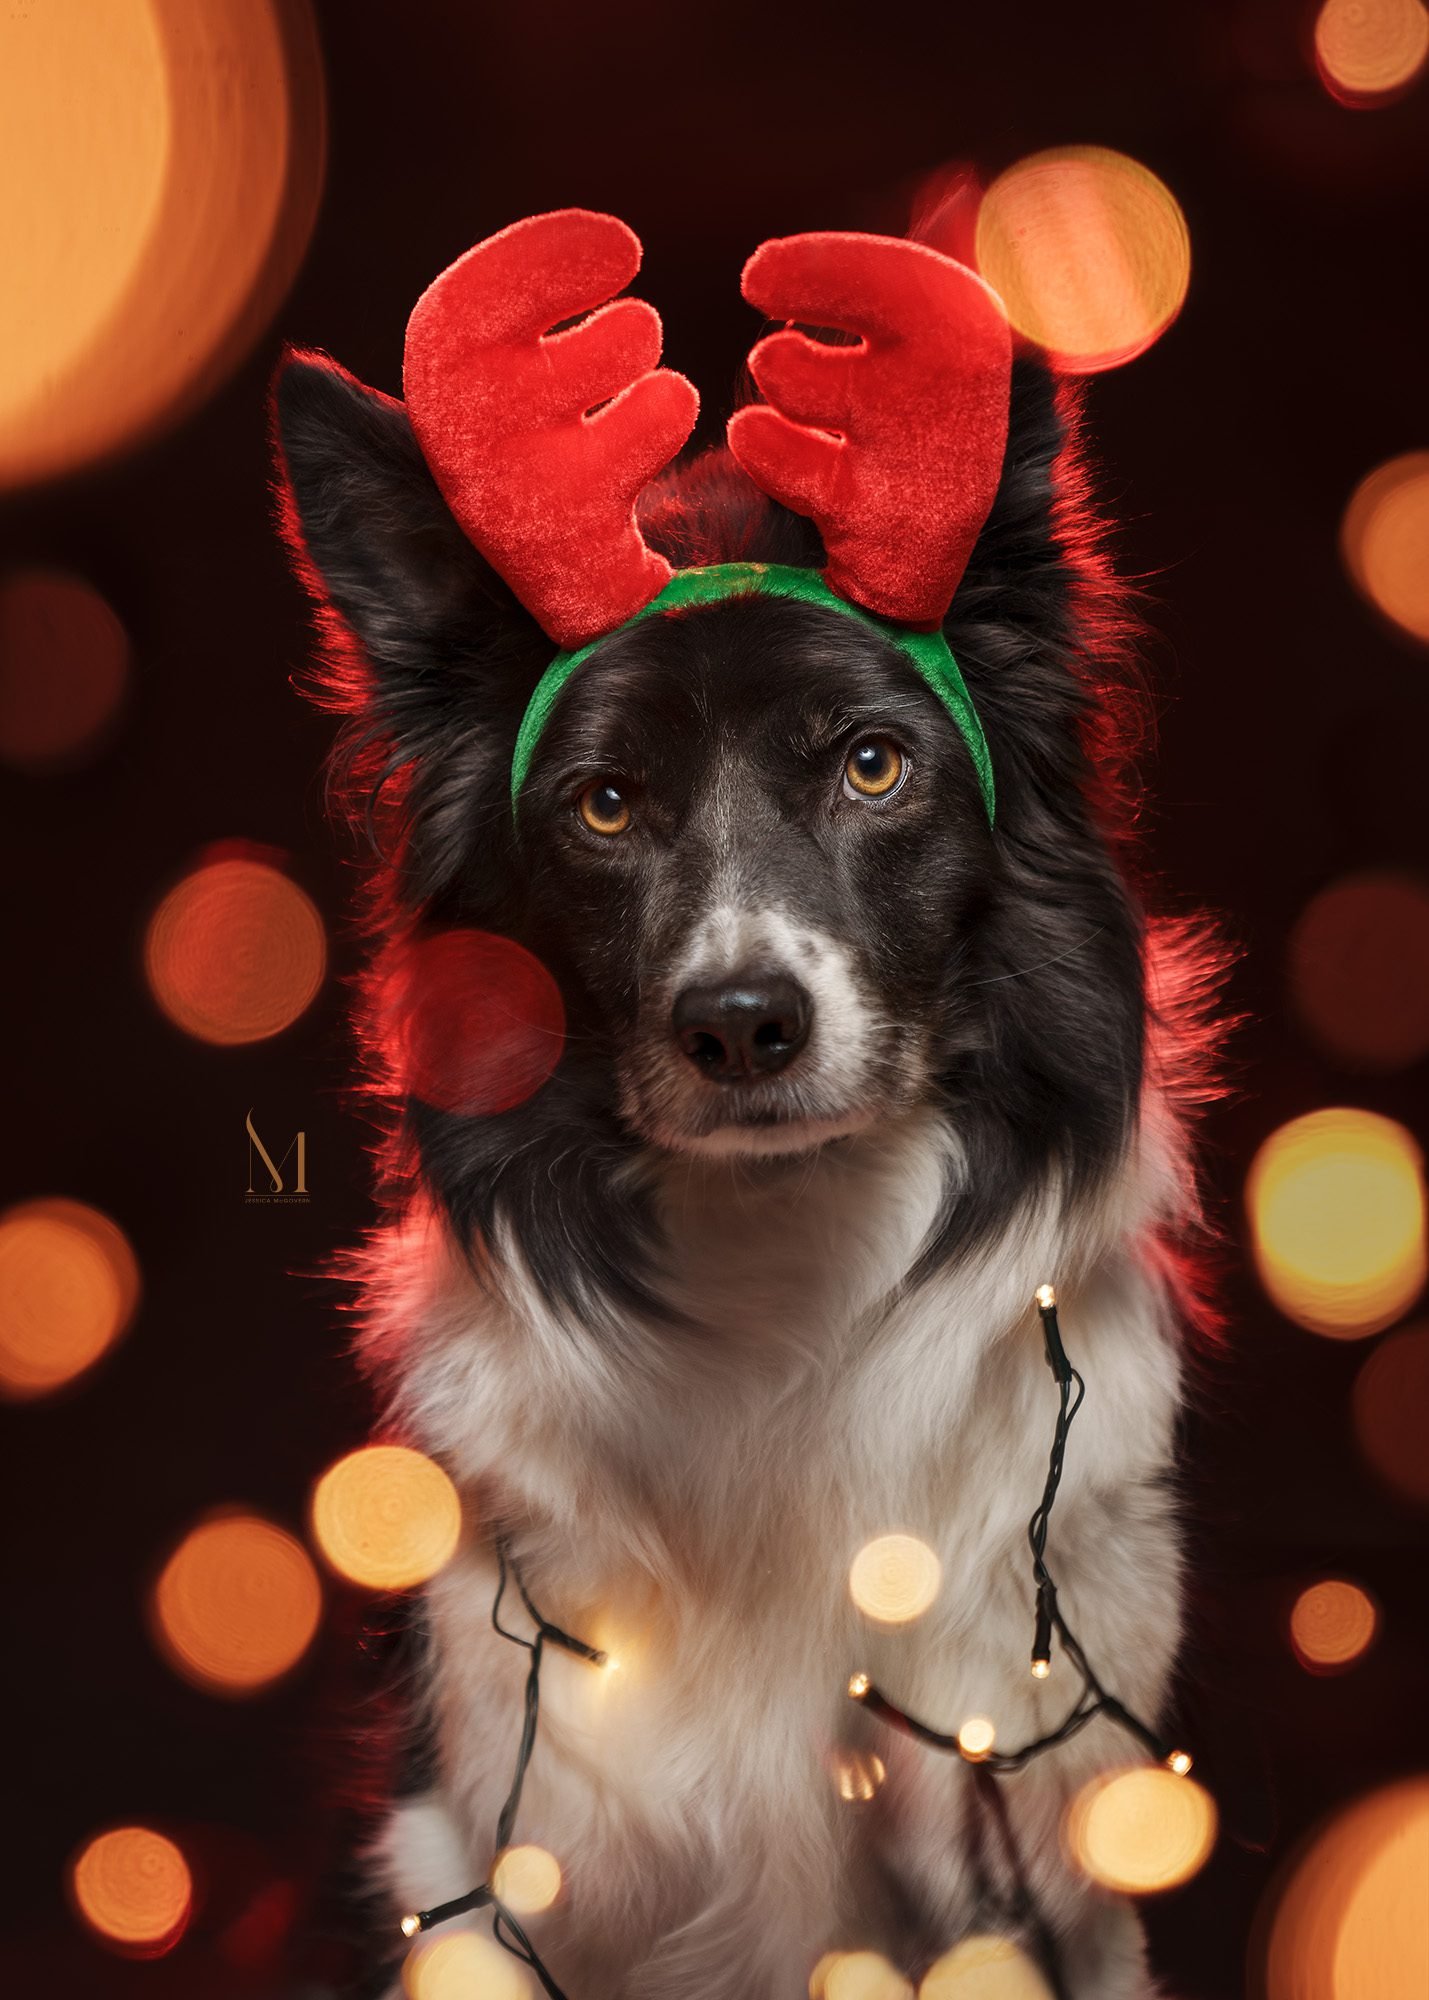
For today, we’re going to use the image of Alfie shot in our 2023 Holiday Reel/TikTok:
@thattogspot No Prada here 💁♀️ When dog photography meets Christmas & studio all at the same time 🎄 IF YOU TRY THIS: Ensure safety is the top priority – do not dress or wrap your dogs without training and positive reinforcement 🙏 #dogphotography #photographytips #petphotography #photographytutorial #photoshoot #dogphotoshoot #studiolighting ♬ Carol Of The Bells – Lindsey Stirling
There’s a video to cover all of this, that’s here:
Honestly, for this one it is probably easier to just watch the video above, but in case you really want to follow written steps, here’s what you need to do:
- Get yourself an image you want to add more fluffy bokeh holiday lights too
- Get a few alternatives with additional bokeh that you’d like to steal
- Get Photoshop open and ready to start the process
For reference, the before and after looks like this:
Step 1: Open your photographs in Photoshop
Go ahead and make sure they’re all open, ready to go. Make sure you know which image is your working image, the one you want the main structure to exist in. The spare images are just for the bokeh, so they don’t need to be perfect by any means!
Step 2: Navigate to a holiday light bokeh image
Make sure you’re looking at one of your spares, not the main image.
With this open in front of you, you need to select either just the bokeh you want using a lasso or a marquee tool, or go ahead and take the entire image. We’ll do the latter.
- On the keyboard, press Command + A (that’s Control + A on Windows). This will select the entire image and all its pixels
- On the keyboard, press Command + C (Windows, follow the pattern from step 1). This copies all the pixels
- Go to your working image, the one you want to add holiday light bokeh to, and then,
- On the keyboard, press Command + V (Windows, yep, you know)
Step 3: Add the bokeh to the working image
From here, resize or align the images as needed, then:
- In your blend modes, change the pasted layer to “Lighten”
- Head to the new mask icon at the bottom of the layers panel and hold down Option (Windows, press Alt) then click on the icon. This will add a black mask
- Next, get a white brush, 100% opacity and flow, and mask back in the bokeh circles you want to add to the working image. They should pop through like magic as they’ll likely be lighter than the working image in this area
Repeat as many times as desired until you’re happy with the amount of bokeh in your working image, then continue your edit as normal.