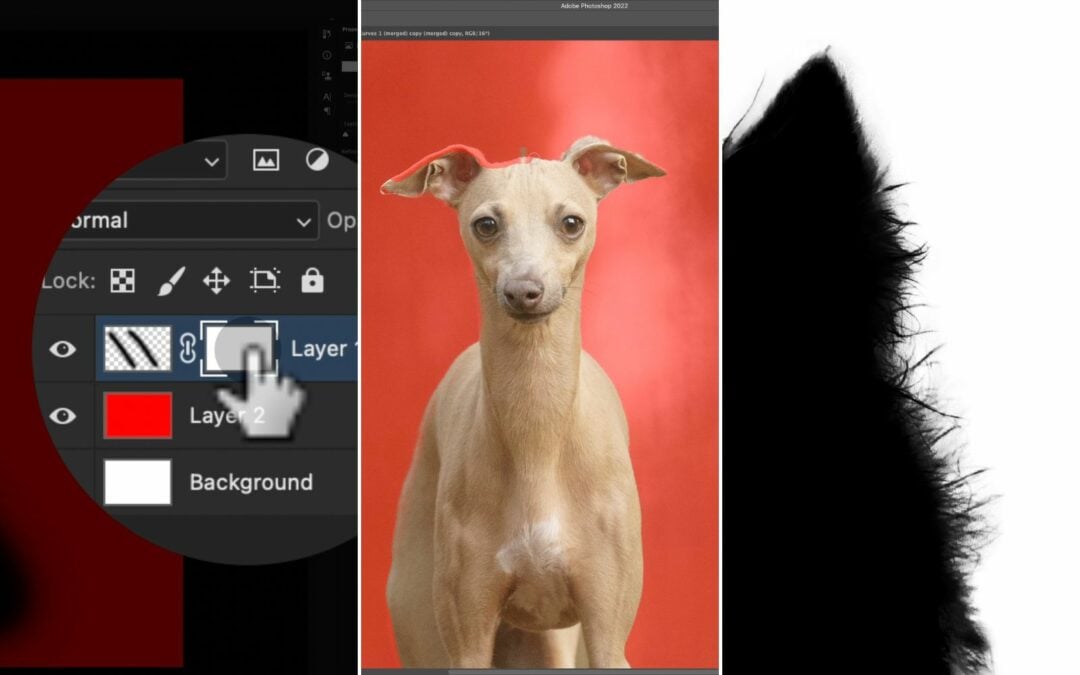
Masking hair in Photoshop is probably one of the biggest stumbling blocks people have. I’ve been asked time and time again on Instagram and Facebook for a how-to so here it is, the holy grail of how to mask hair in Photoshop:
2023 Update:
Photoshop CC 2023 saw some additional bits and pieces for Select & Mask which need a tweak to work like we’d hope. Again, we’ve gone with a photo of the “problem child” Piper the Border Collie whose fluff is THE hardest thing to mask for some bizarre reason!
Pairing this update with the previously covered steps lower down in this post should result in a perfect mask for most occasions. If you’re looking for a full, clear and true isolation, you’ll need to hand mask and potentially double mask if required.
2021 Update:
Photoshop 2020/2021 saw an update to the Select & Mask module which includes a refine mode toggle. On the hardest dog we’ve ever masked, Piper, it makes the process far easier.
For most dogs, it makes the perfect mask straight away without a need to brush up (later on in this post).
Let me just start by saying that this isn’t a 1-minute job, it’s going to add maybe 3 minutes to your workflow when you master it, and until then, allow 5-10 minutes depending on your computer speed and your confidence. You have to practice these things, don’t give up too soon!
Shall we break it down?
Written Tutorial: How to mask hair in Photoshop CC (2020)
Step 1: Select the subject
This is exactly what it says on the tin, so the first step is to click on your main layer which must contain the dog you want to mask out, like so:

With that layer selected, the next step is to head up to “Select” on your top menu bar and click “Subject” in the drop-down list.
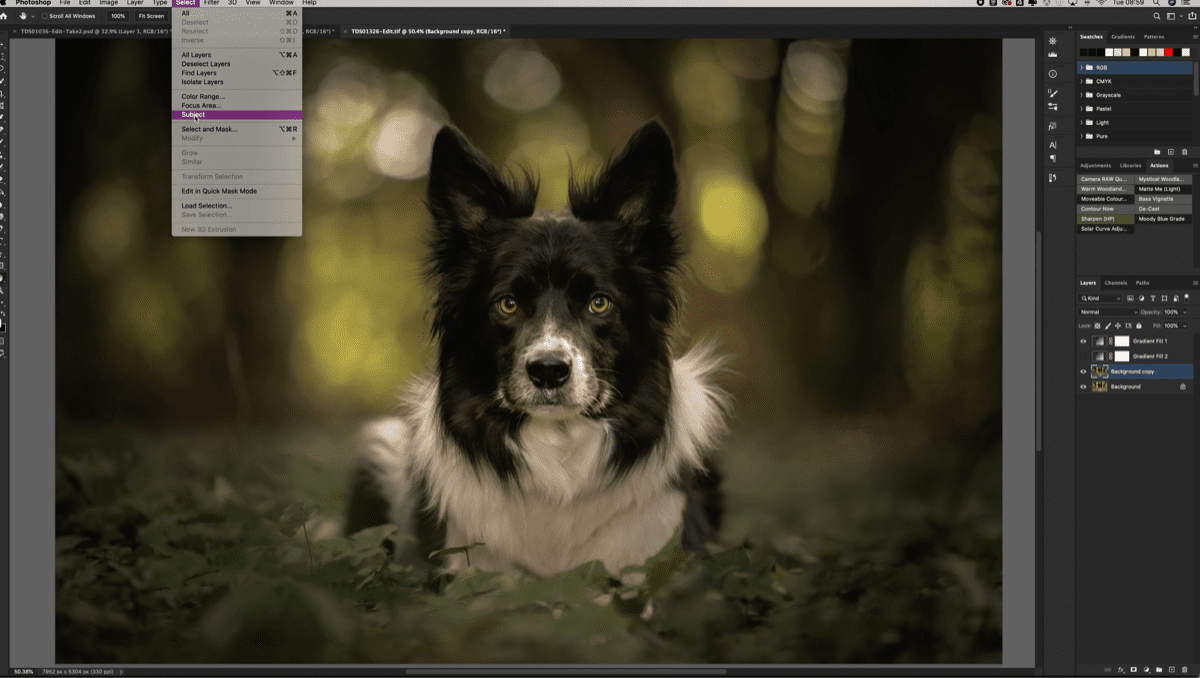
When you’ve got to this point, you should have “marching ants” circling your subject. If Photoshop has done a good job, most of your subject should now be selected. Continue onwards if so.
If Photoshop hasn’t done a good job, you’ll need to help it out and select your subject with either the quick selection tool, the lasso tool or the pen tool.
When you have your subject generally selected, go back up to “Select” on your top menu bar and choose “Select and Mask” like so:
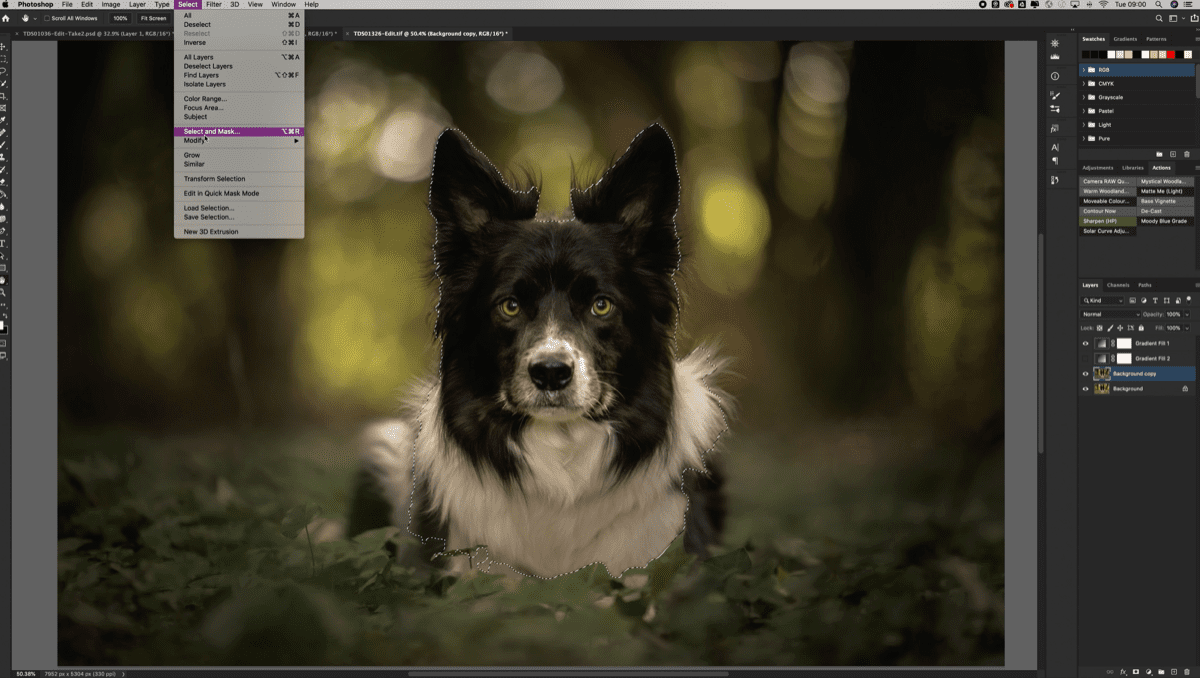
Step 2: Mask Hair in Photoshop via Select and Mask
In select and mask, you’ll have some options to the right of the screen to help you mask hair in Photoshop itself, these ideally should be set as follows:
- View: Red overlay one
- Checkboxes: Only the last one selected
- Opacity: 50% ish
- Edge detection: 0
- Refinements: All at 0
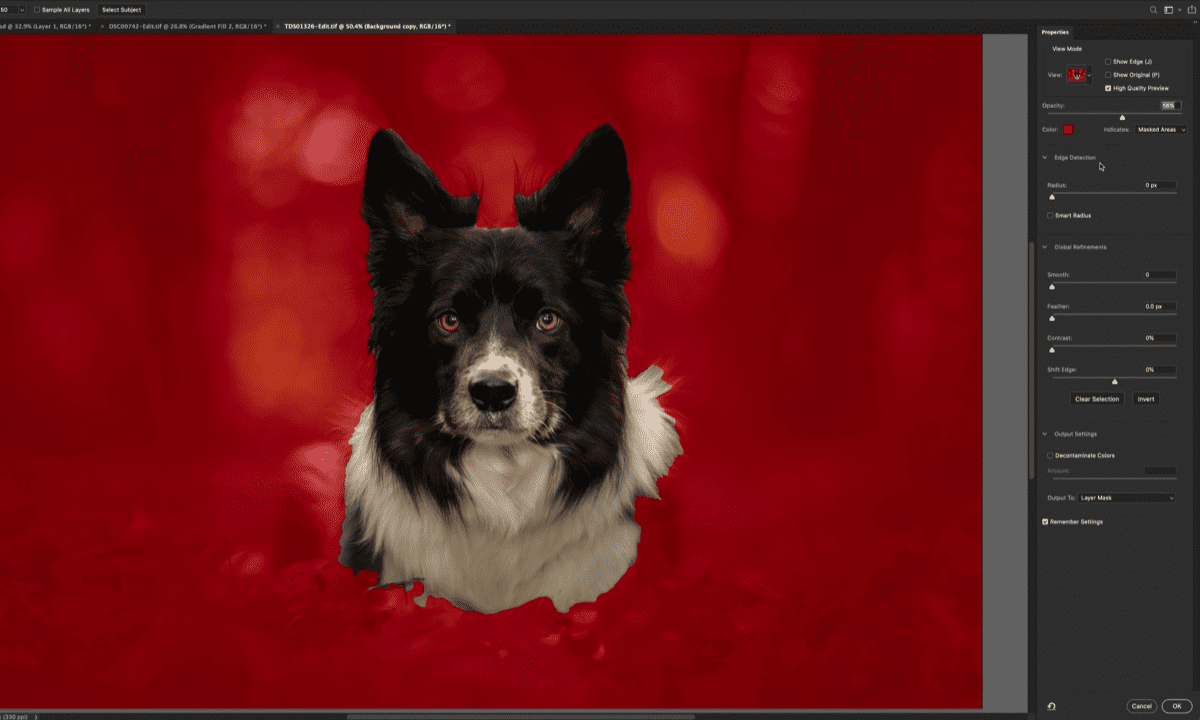
The next thing to do is to add or remove any large areas that Photoshop missed when it was doing its own little Masking session. To do this I personally use the top tool on the right, the Quick Selection tool and use the plus and minus buttons on the top bar to add or remove larger chunks.
You could use the basic brush to do this if you wanted to, also on the left tool bar. After doing that, you should be ready to tackle the hairs…
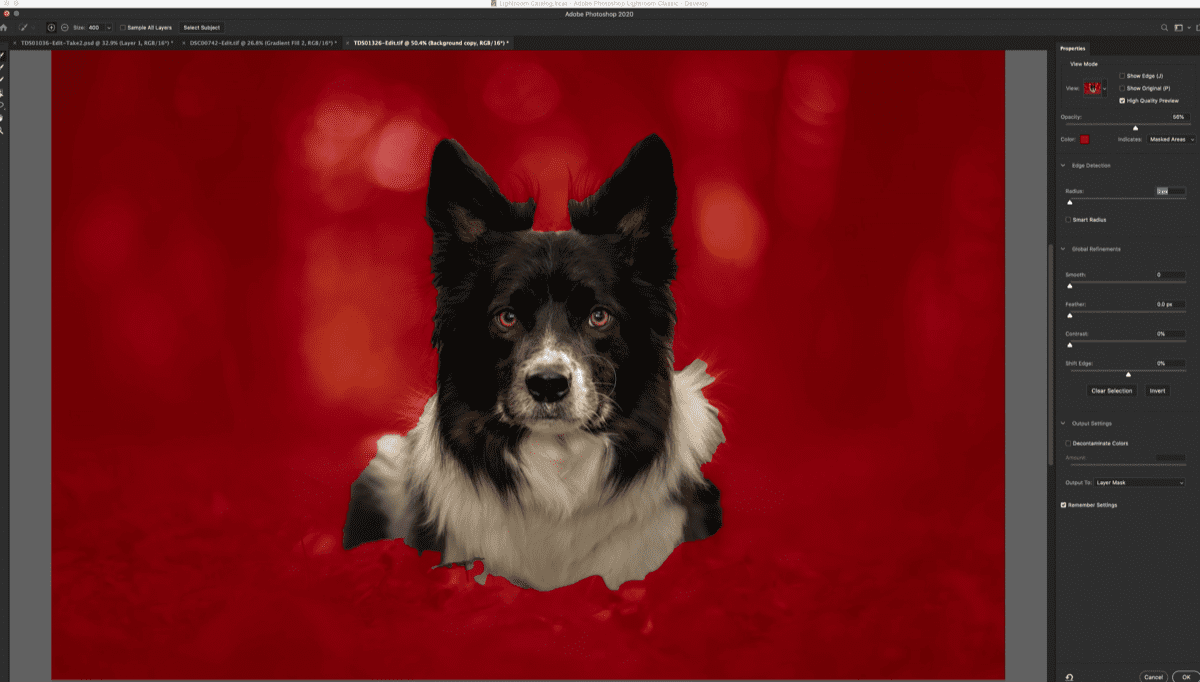
You need to select the Refine Edge tool on the left. It looks like a hand with a brush, but its actually hairs with a brush (I think?!). Click on that and set the size to be big enough to easily brush out over stray hairs but not so big that it’ll obliterate your subject in the process.

At this stage it’s time to start. Your aim is to keep the brush pretty much on the edge of the subject. Don’t move into the subject, really only go outwards. Click and hold to do sections at a time and when you let go, Photoshop will try its best to match everything up and mask hair.
Once you’ve gone around the subject masking the hair, changing your brush size as needed, the next step is to clean up a little using the normal, plain brush tool in the left toolbar. Stay clear of hair where possible and neaten up any obvious oopsies.
When you’re happy, you want to then change your refinement settings on the right a little bit to mask the hair well. I usually add a bit of feather, contrast is optional and then I usually pull the edge inwards (minus figures) to just cover any areas where Photoshop was a bit too lenient.
This is up to you and may depend on the image you are working on. My export settings are below. I set the mask to go to a layer mask, and then click OK.

Step 3: Neaten the hair mask
Once out of Select and Mask, your mask will be added as a layer to the subject’s layer. In this example, I’d set up a moveable colour layer above. I want to copy the mask from my original layer to my moveable colour layer. You could just click and drag to switch which layer the mask is on, but instead, I copied it over, holding down Alt, clicking the mask and then dragging it up onto my moveable colour layer above.
A warning came up and I chose “Yes” to replace my layer mask.
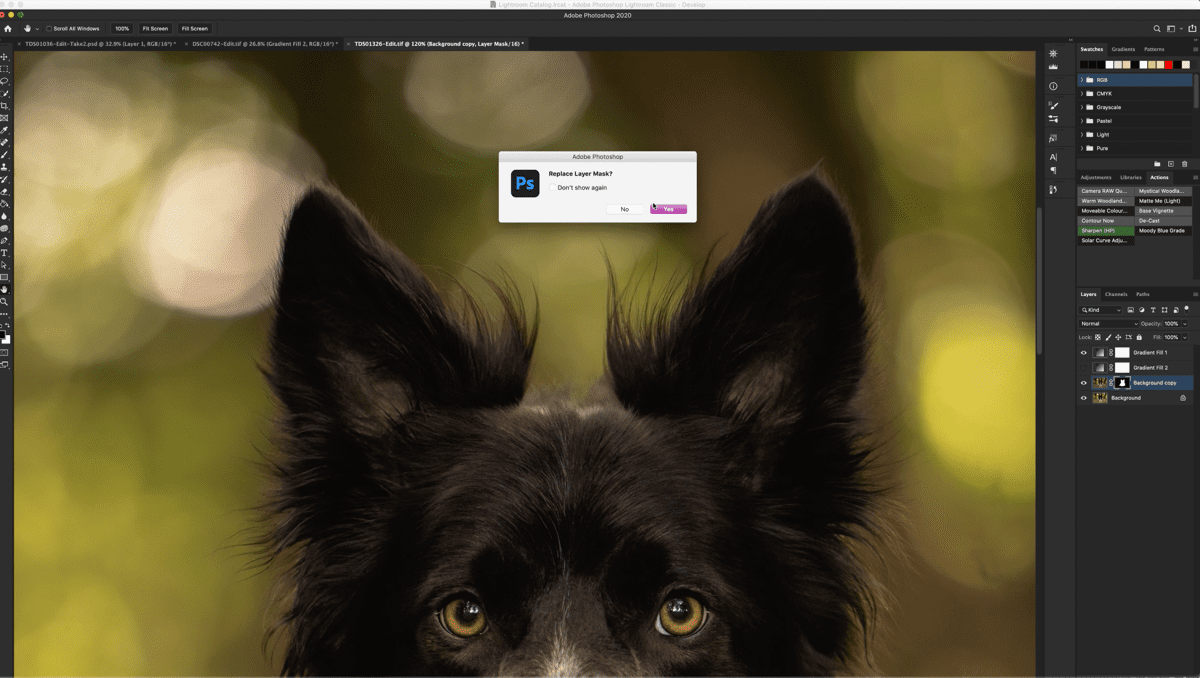
With the mask replaced and moveable colour layer set to “visible” we end up with this view below. As you can see, there are some “misty” areas to the outside of the mask that we’ll want to tidy up.

To get a really good view of just the mask, hold down alt and click on the layer mask itself. That will switch it to be black and white (and shades of grey). This way we can see the edges really clearly. To fine tune the edges and remove any of those misty grey areas, select your normal brush (press B on the keyboard), switch your palette to default (press D on the keyboard) and toggle your colours (X on the keyboard) to get the opposite colour to the main subject area. In this case, that’s black.
With our Black brush selected, set the brush style to Overlay in the dropdown as shown below:

With this brush mode selected, dust carefully over any misty areas from the outside on a mid-low opacity brush, taking care not to go too close. This will leave anything white alone, but it can affect the softer hairs if you go too far.
On this mask view, you can also set your brush back to “normal” and clean up any obvious error areas and fill them in with black or white. Be careful though!
When you’re happy, hold down Alt again and click the mask in the layers panel. That will take you back to the normal mask view.

At this point, it’s just a case of tidy ups and fine tuning. Clean up carefully. You could choose to fill in the wispy fine hairs with a solid fill colour at this stage, but I’ve not added that into this tutorial.

The finished image looked like this, and lots of different effects have been added inside and outside the mask on multiple different layers:
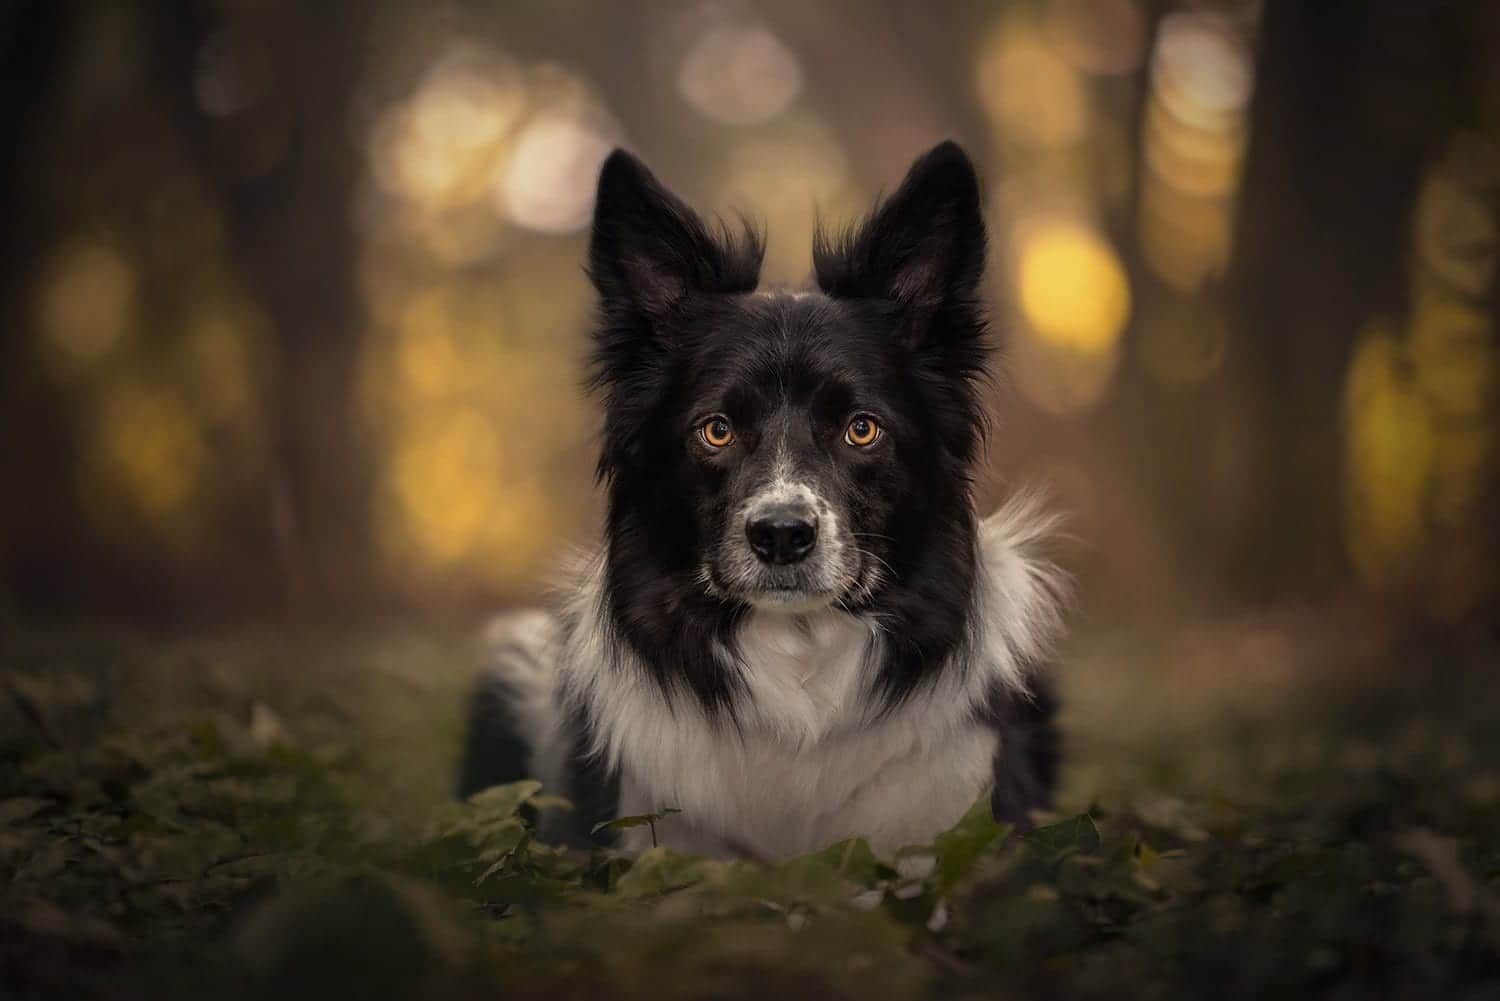
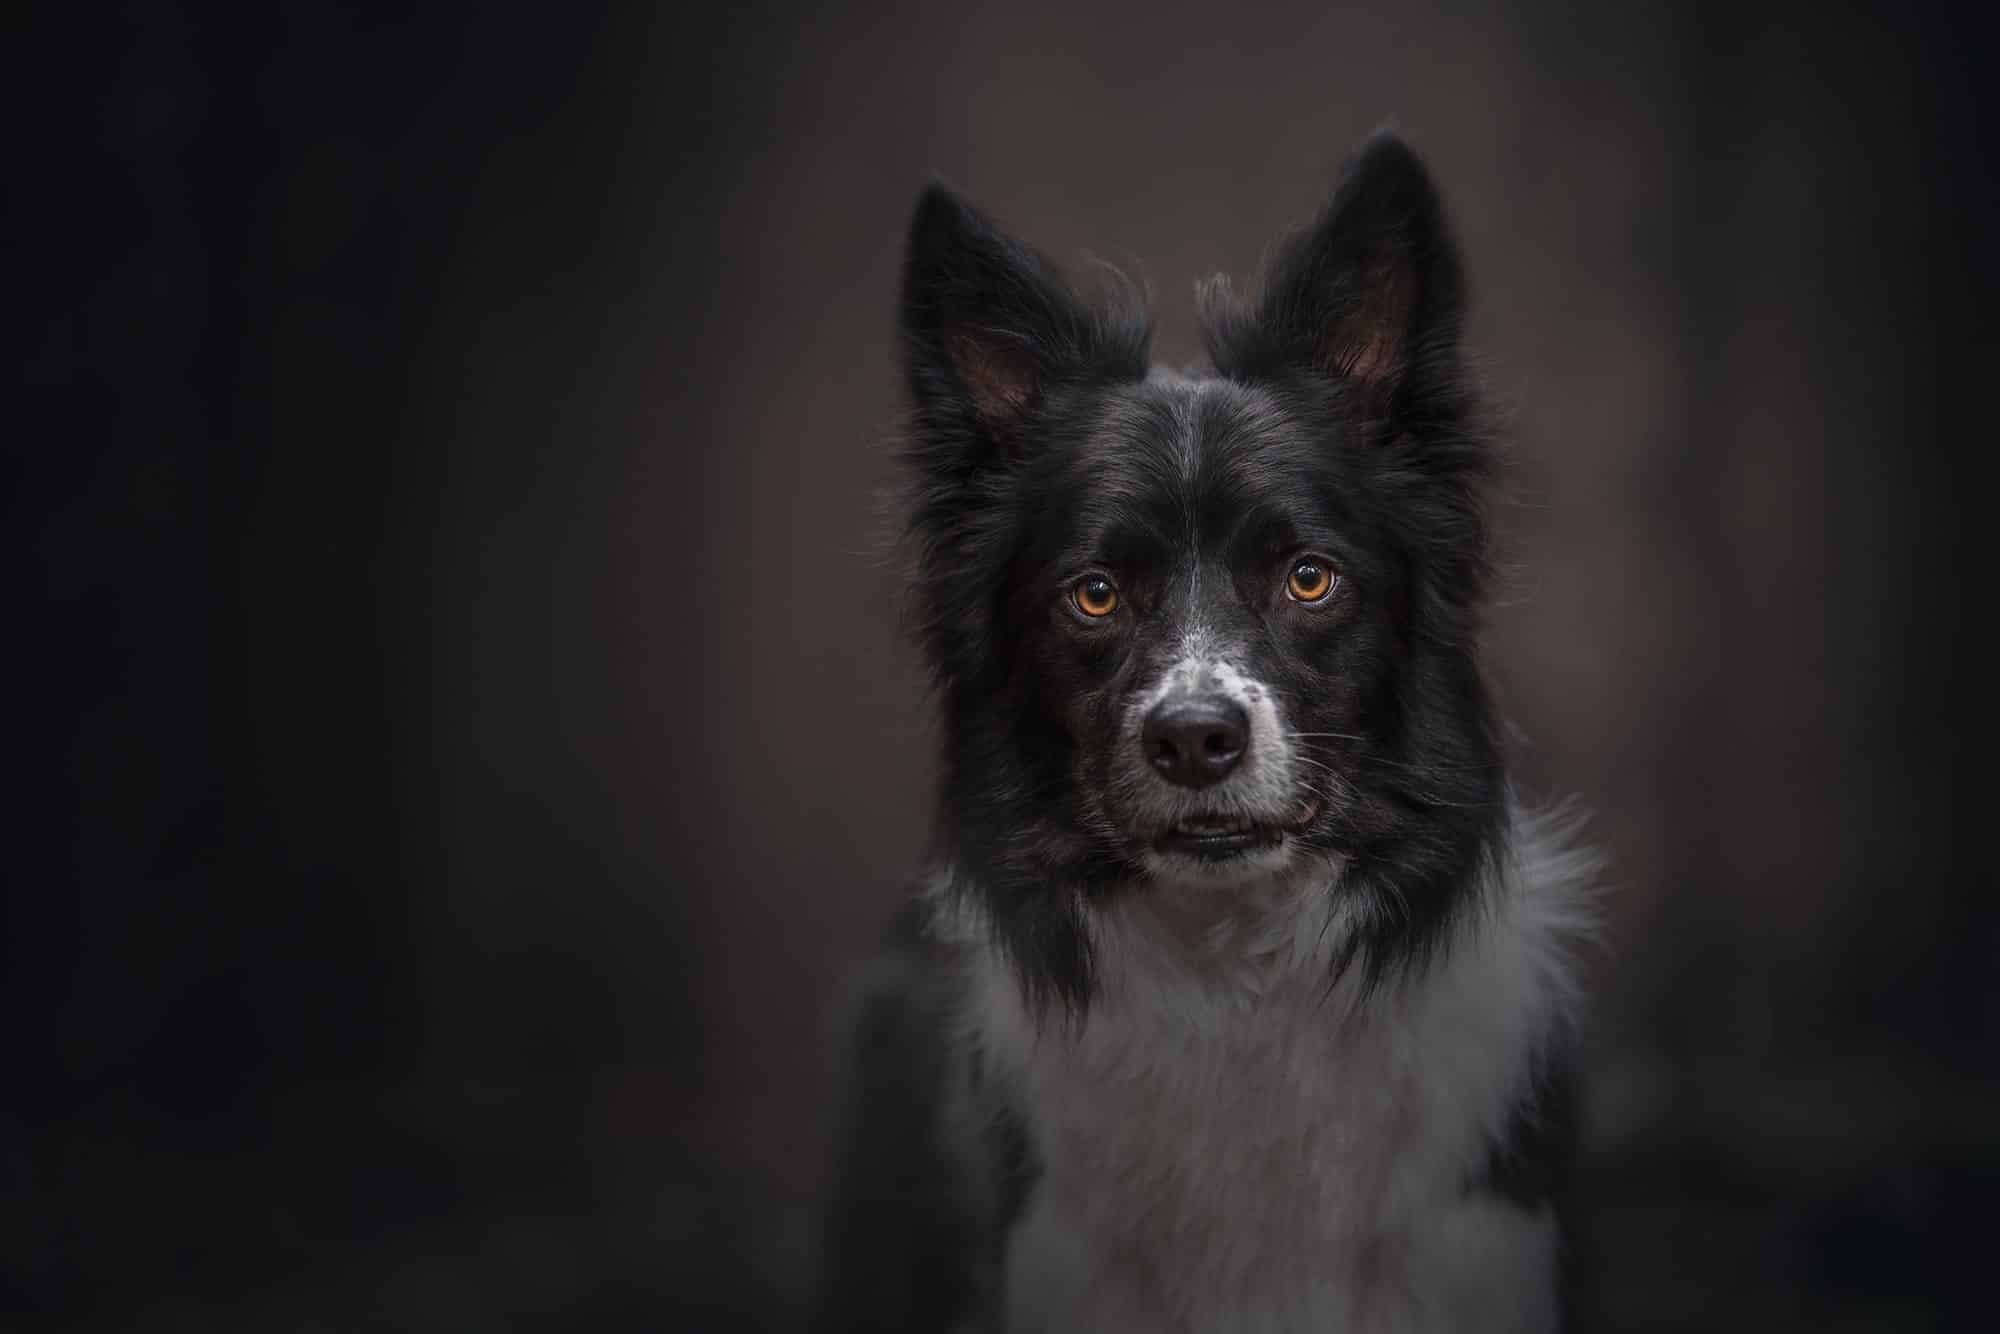
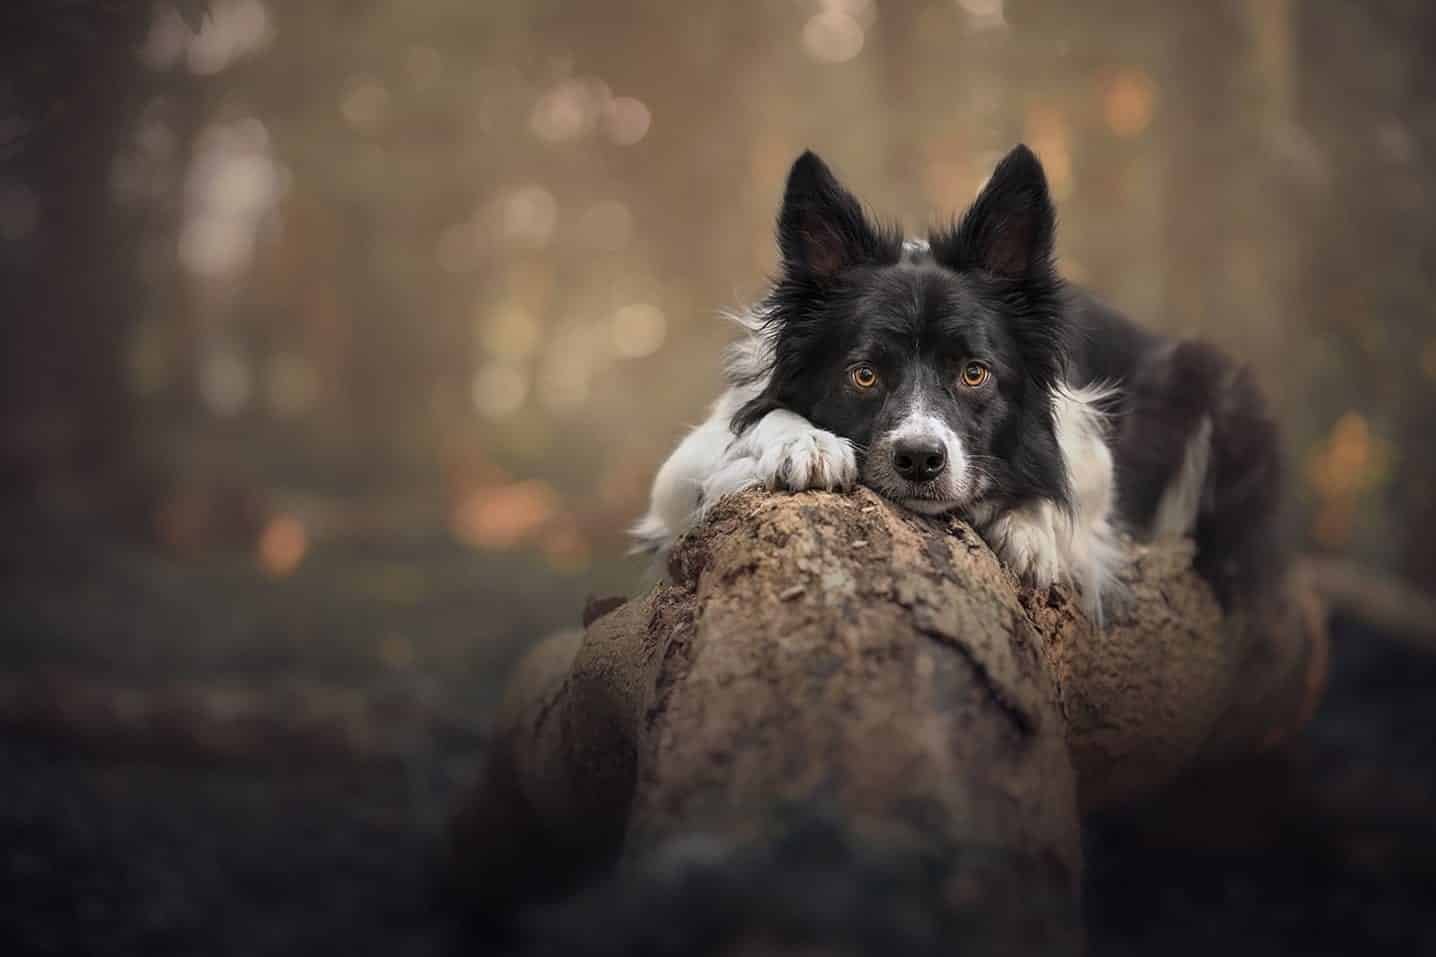
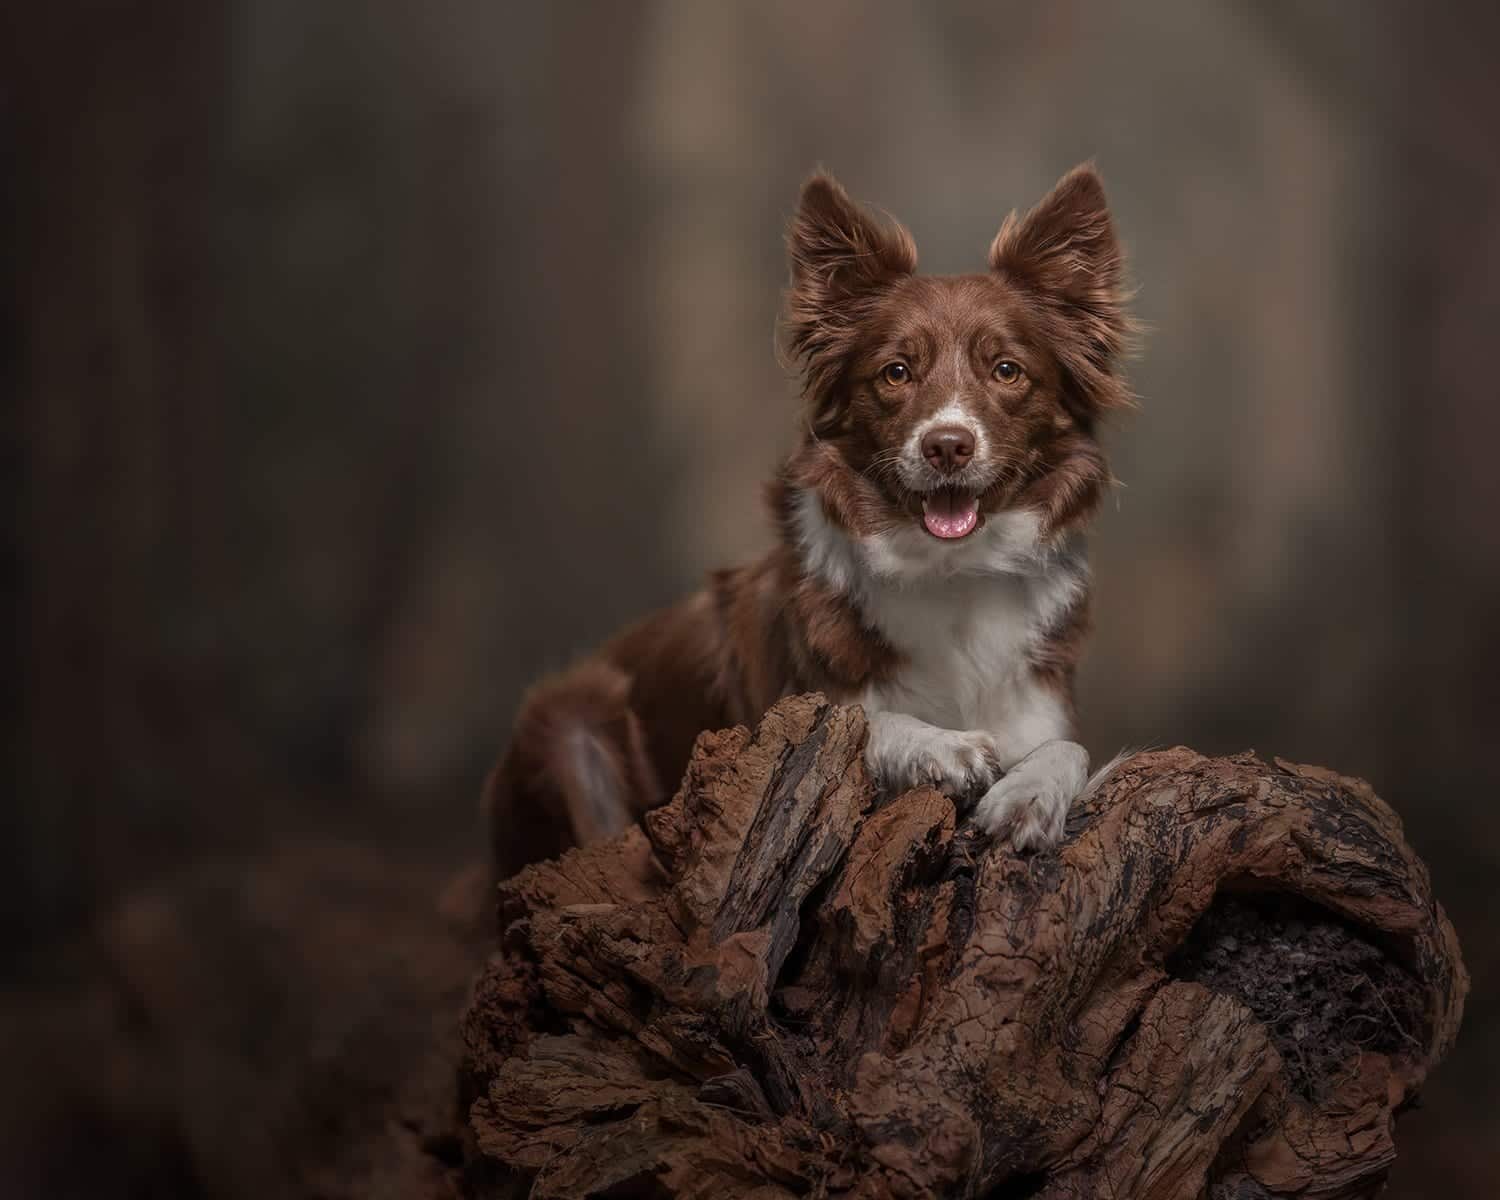
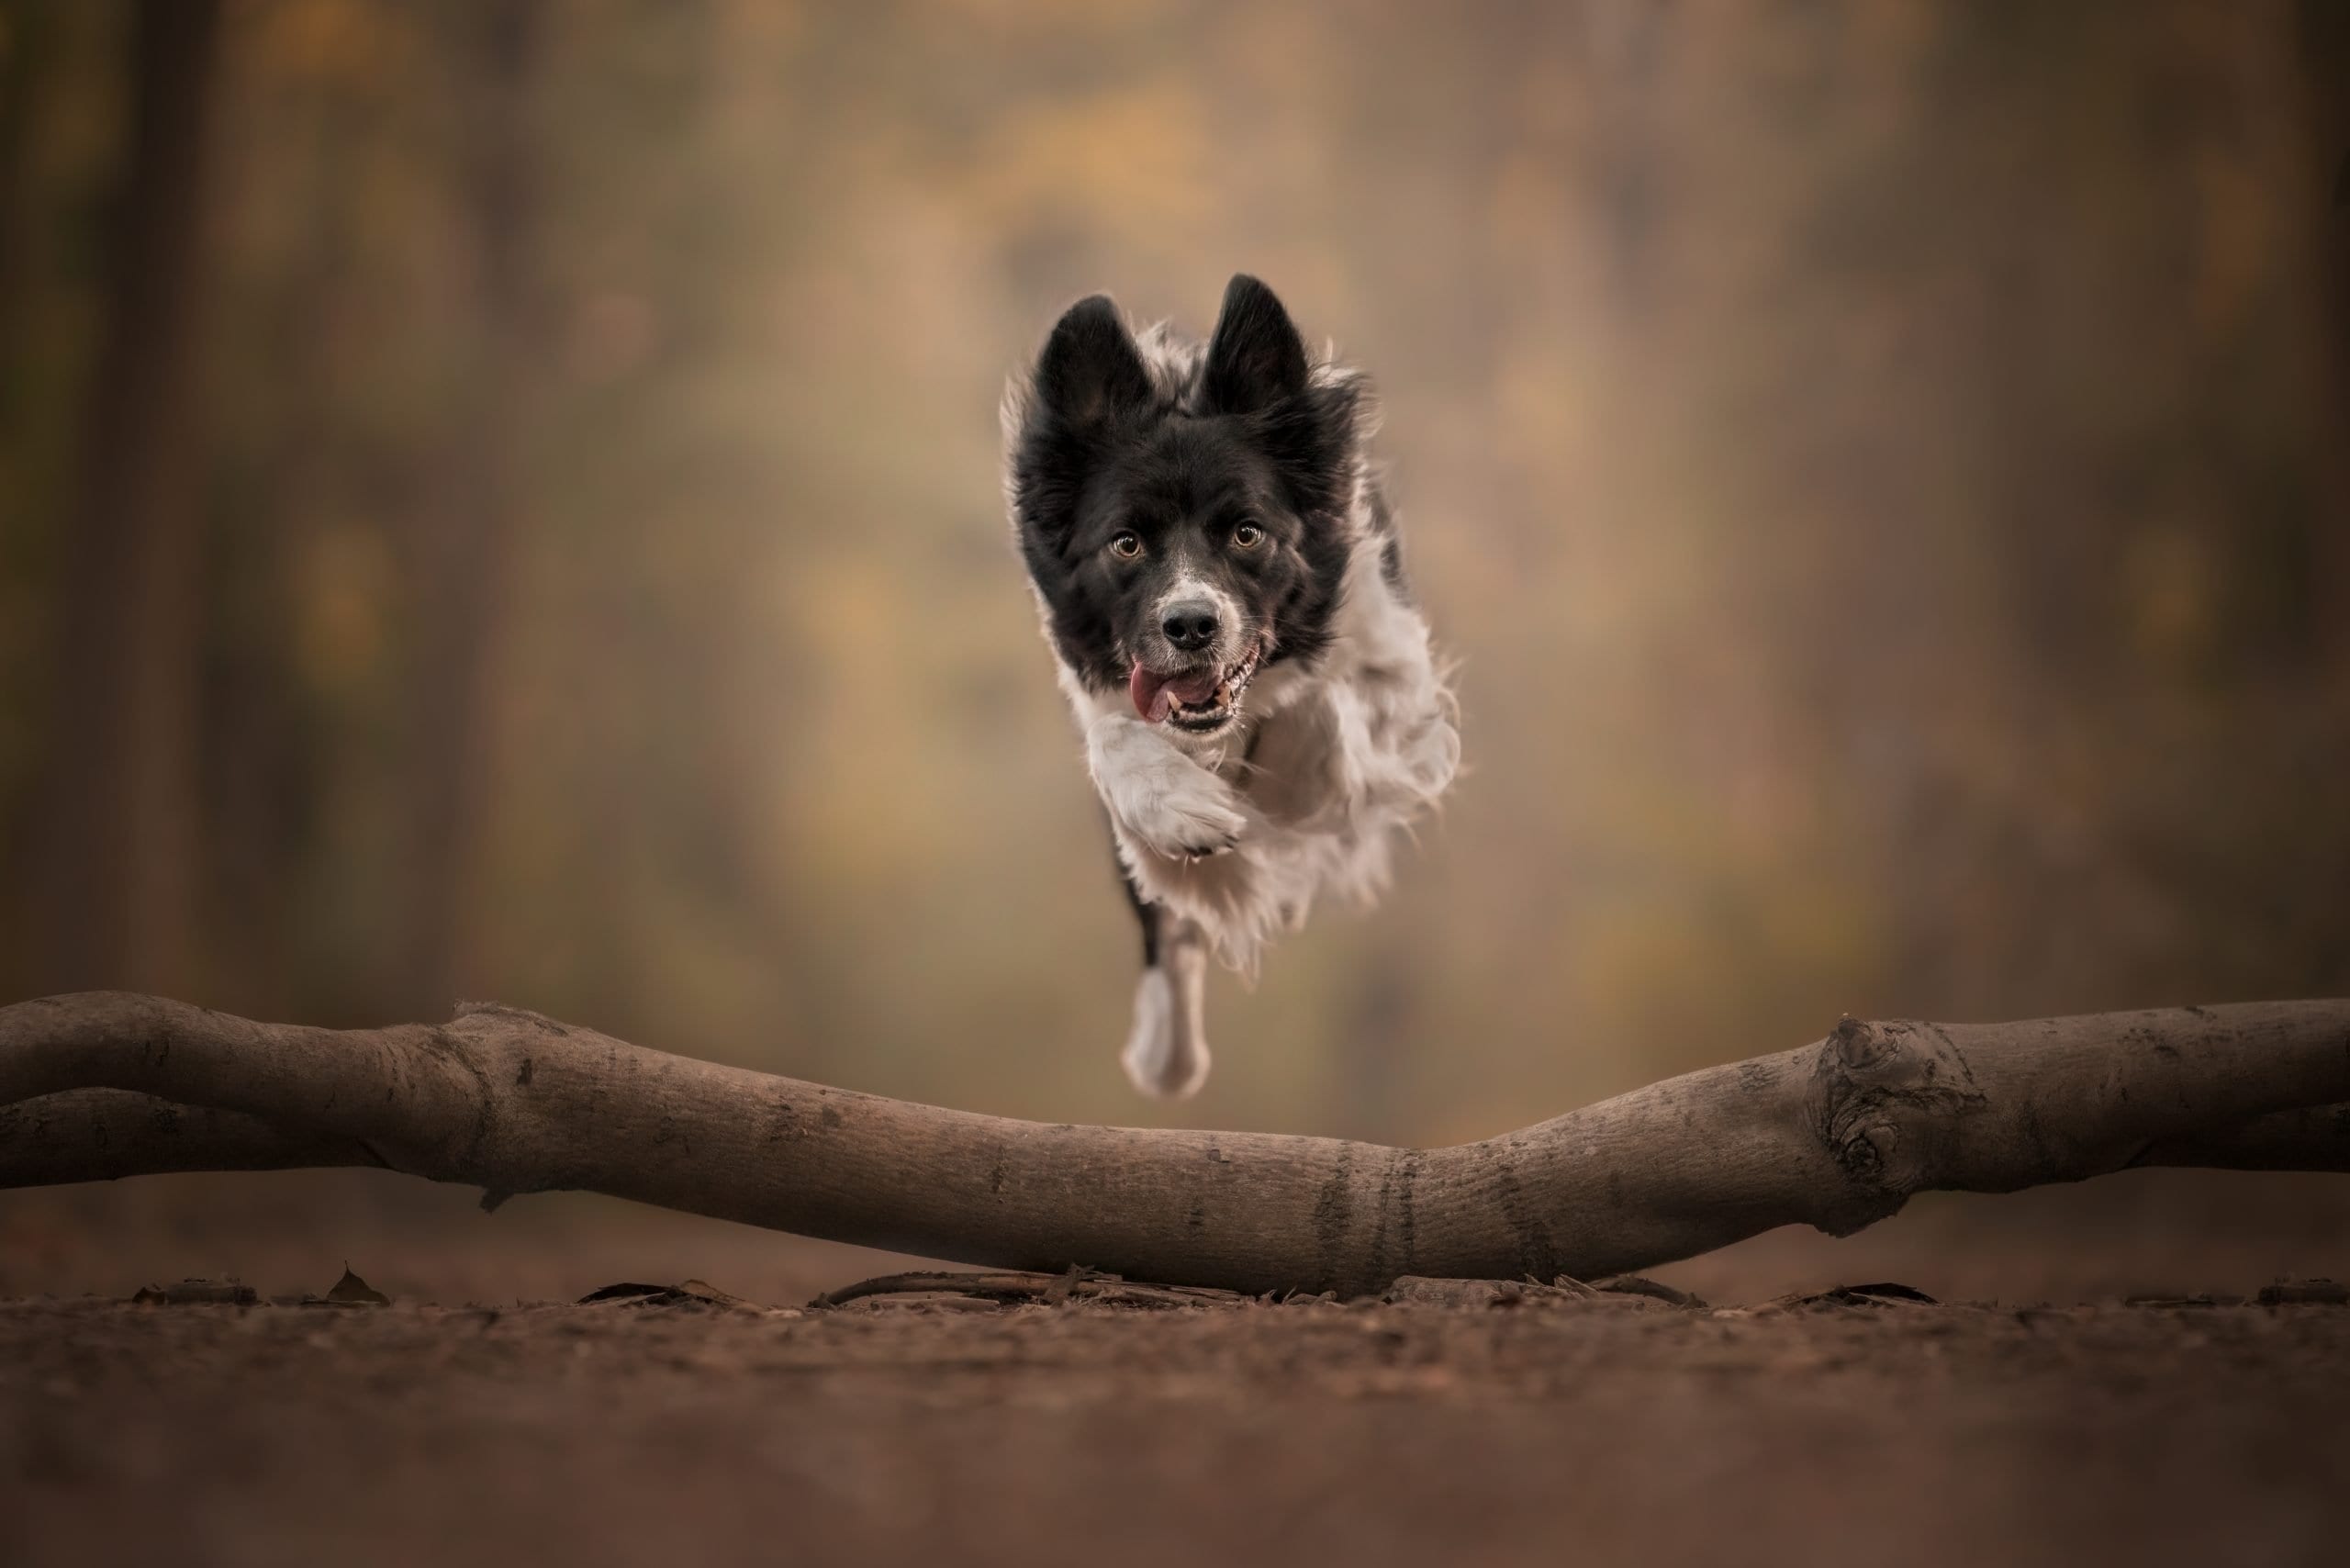
Recent images which used the same technique to mask hair in Photoshop include these below.
Please let me know if you found this helpful and consider subscribing to the YouTube channel too!
