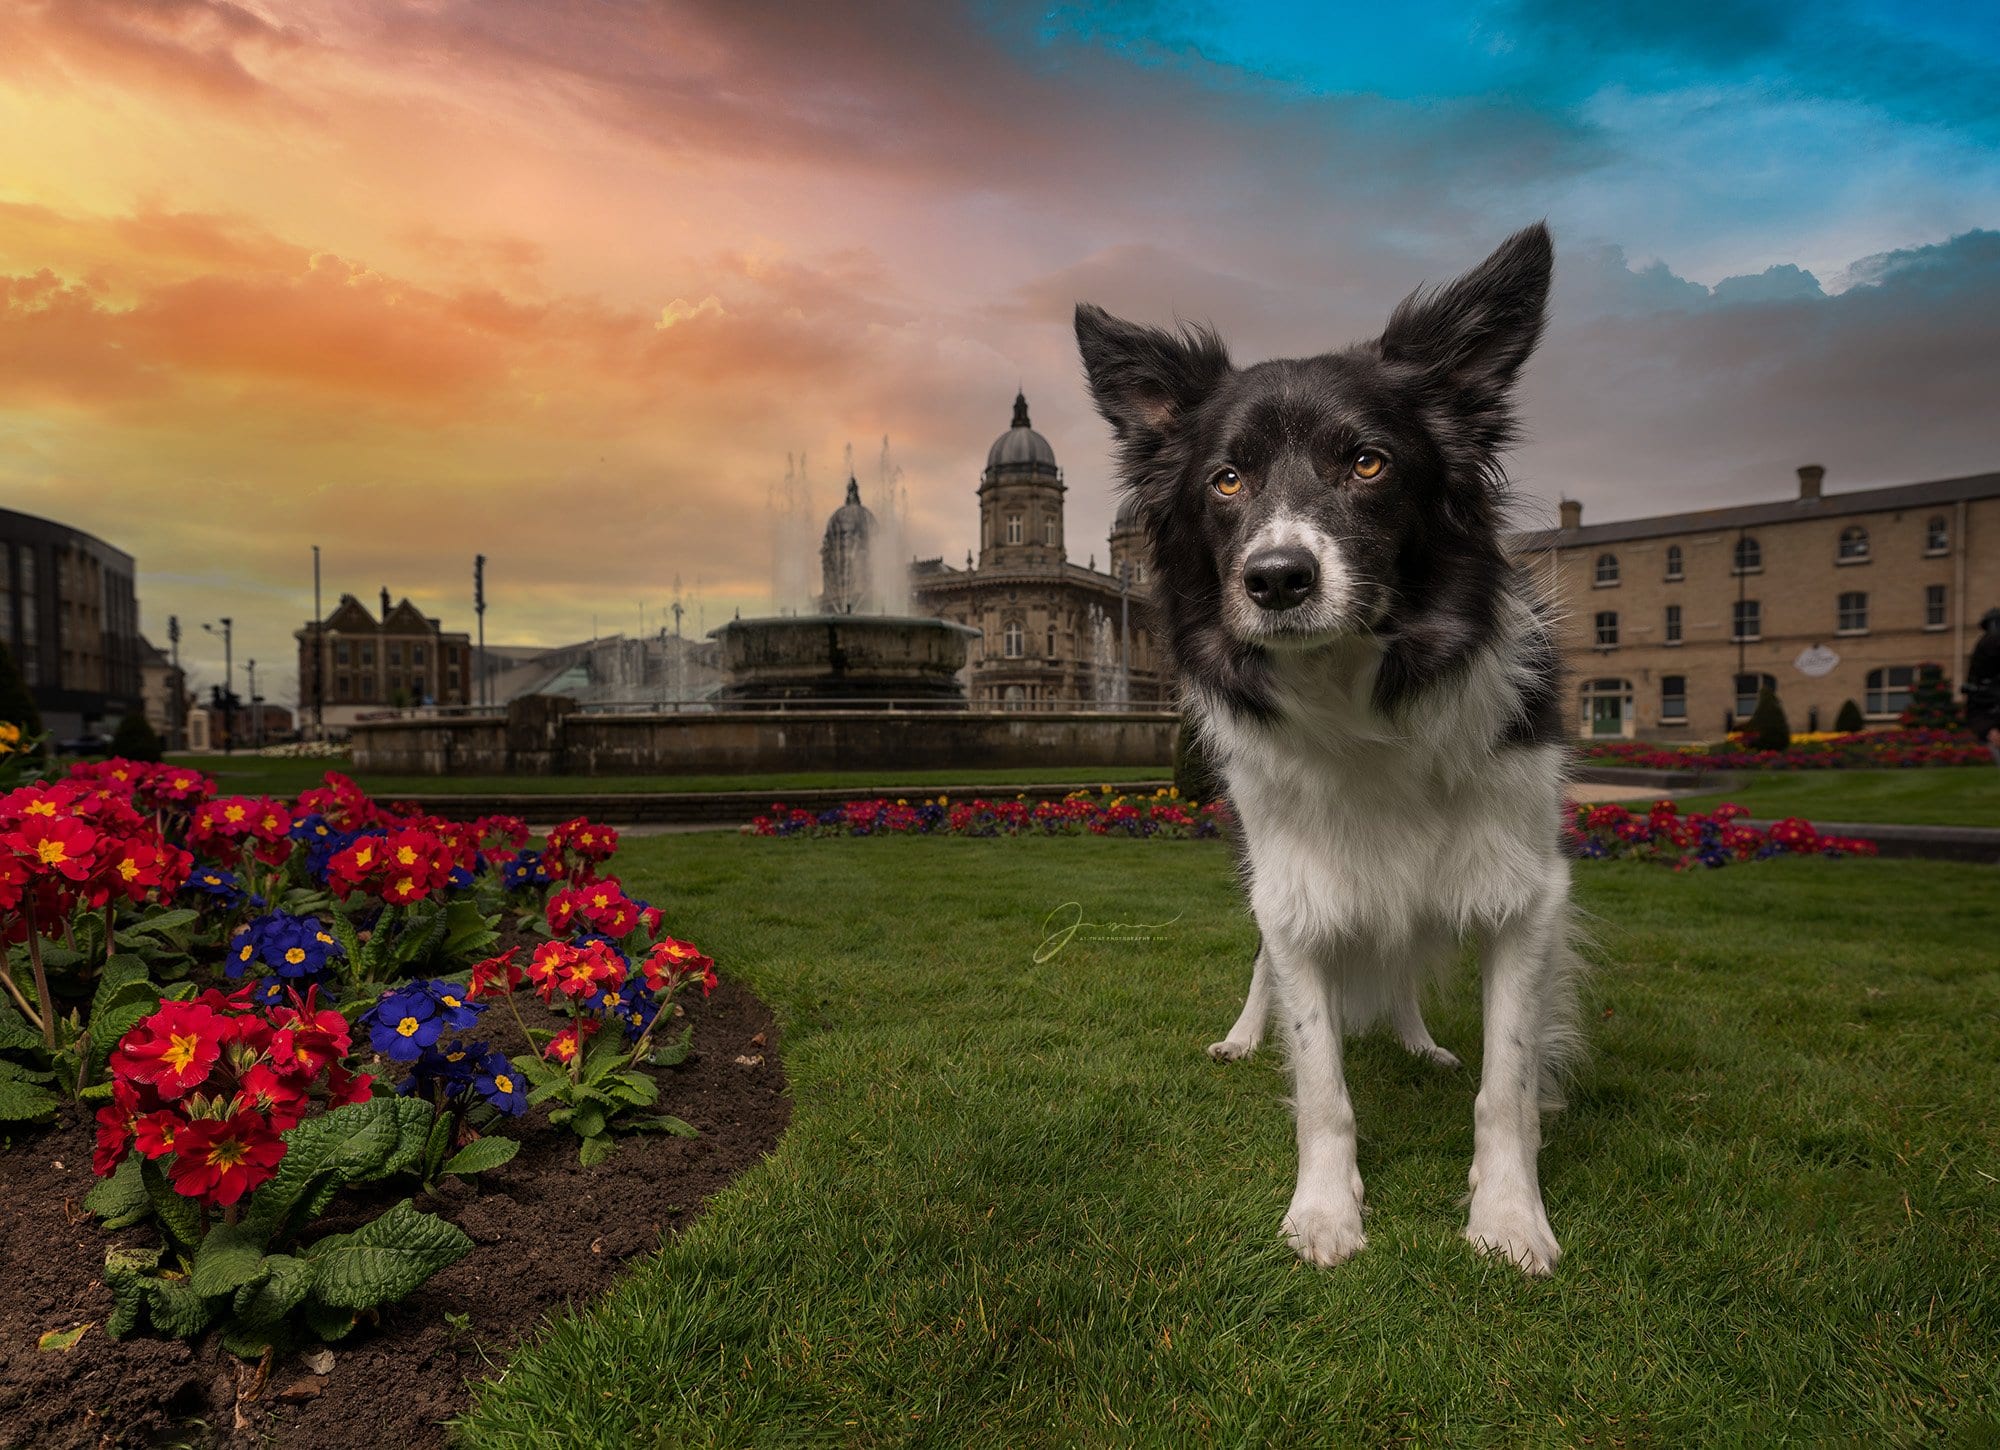
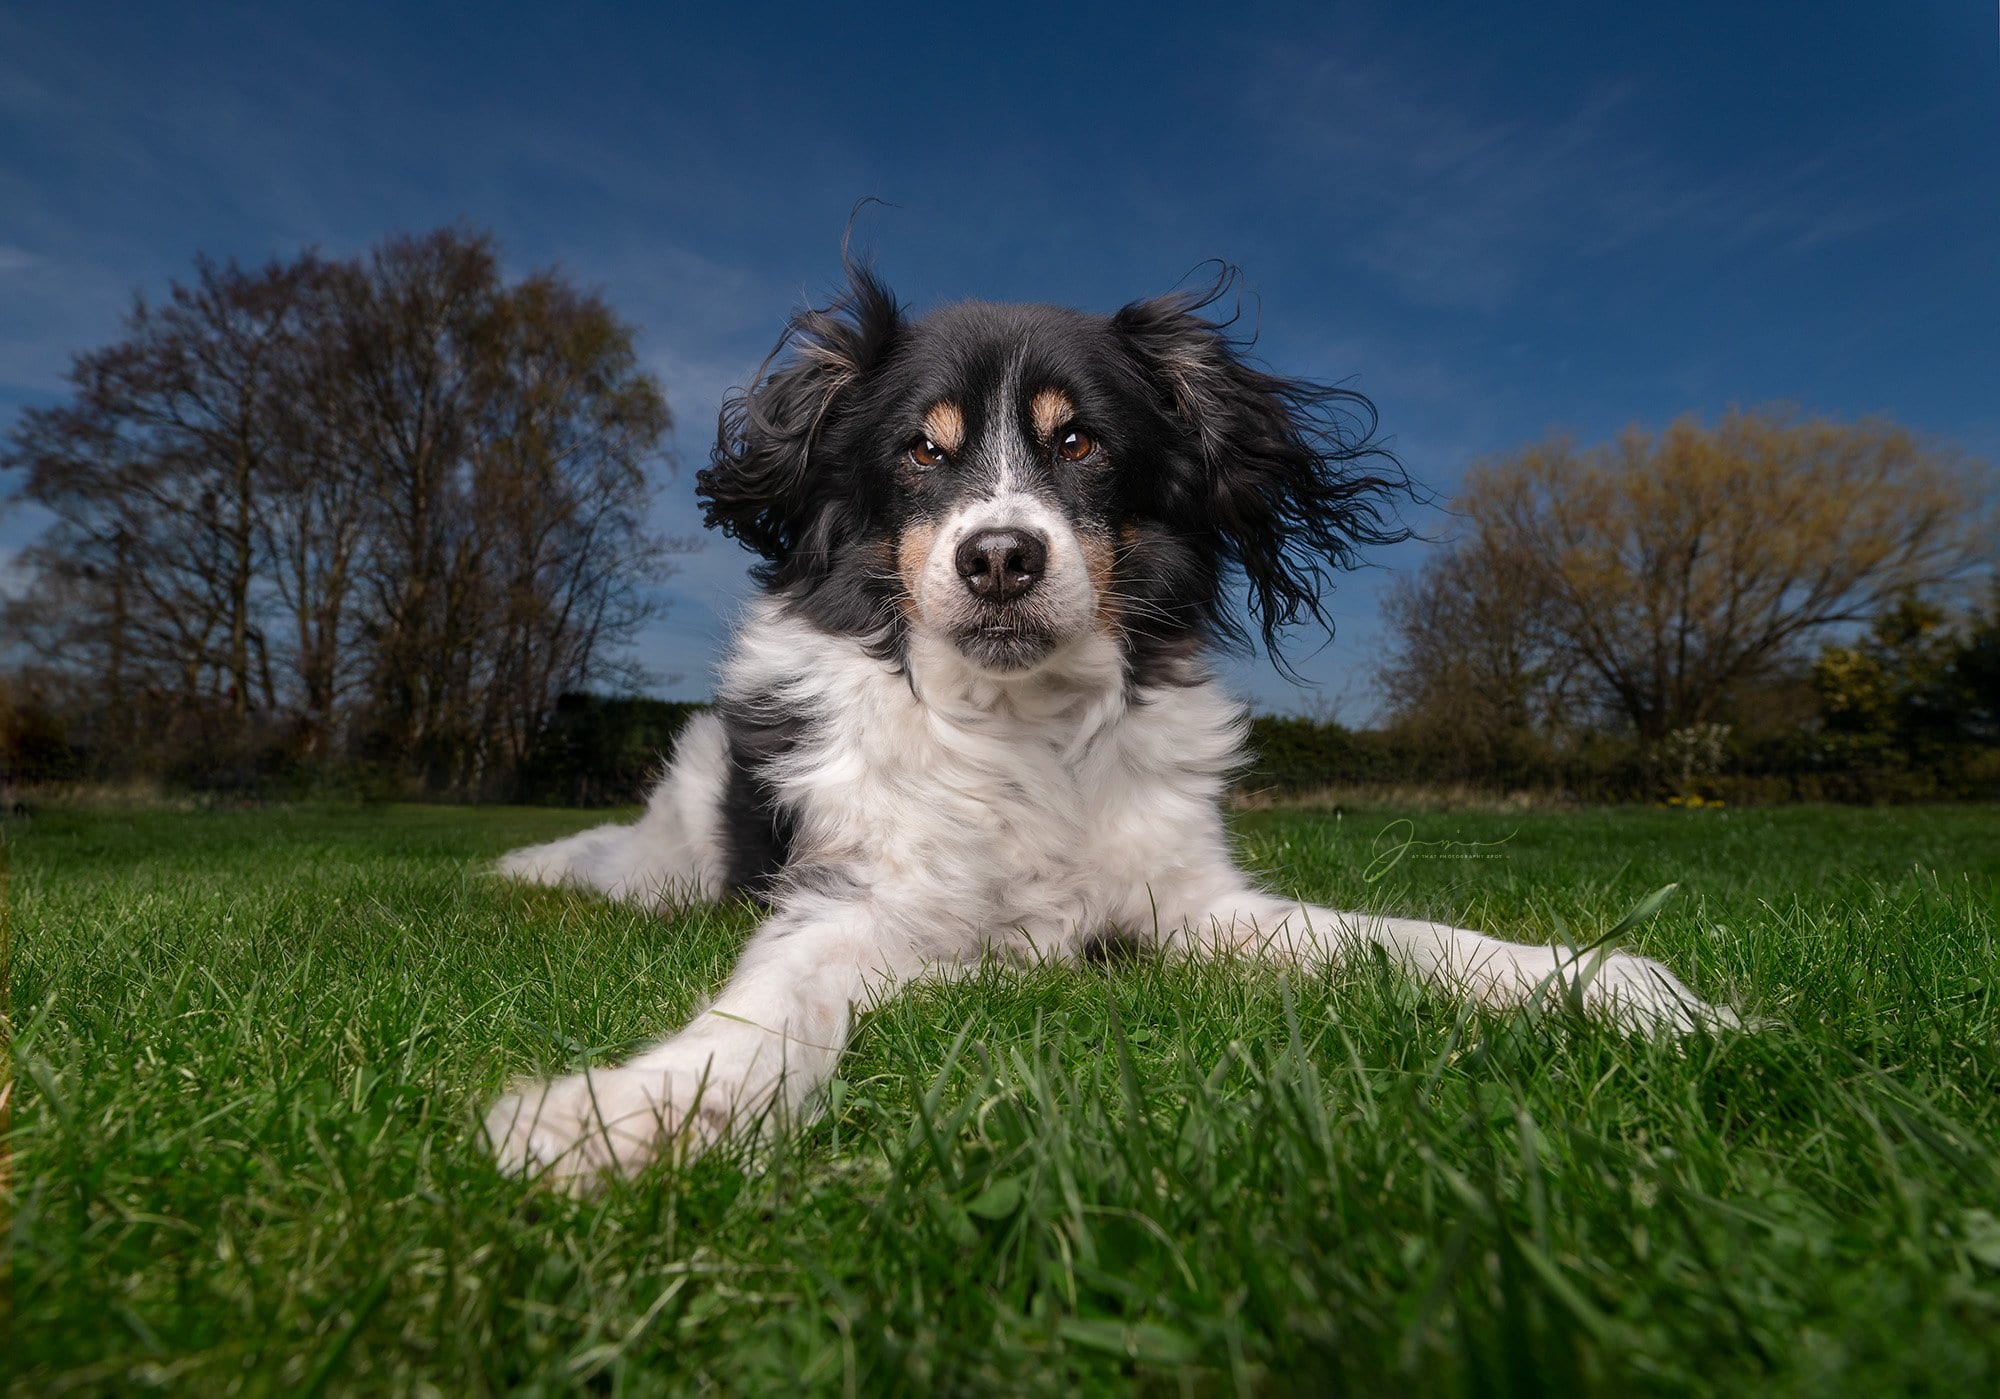
We’ve gone through flash basics, we’ve gone through the strobes or speedlight debate, and we know how to control out ambient and flash exposures. All of that was covered in the mammoth Flash Photography for Beginners post the other week. Today, I felt a bit rubbish and I needed a pick me up. There’s nothing that makes me smile more than a SOOC Big Sky OCF (off camera flash) portrait. Like that one, up there.
Now, we have covered a this before but with super basic budget kit here. This is kind of the step up, better version of that post which was written in the 2010’s.
There IS a video for this post, that can be found here:
So the aim of this post is to end up with photos like this:


Summary of what we’re doing here:
We want to mix light sources with ambient light focussing on the exposure of the sky, and artificial light focussing on the subject, to create a final image that features both shot as-is in-camera.
How do we do this?
In really basic terms, we go ahead and set our ambient exposure for the background, and then set our flash exposure for the subject. There is very little more to it than that. To get a banging shot though, let’s run through how I do this:
1. Equipment
For this we’re going to need a flash (speedlight or strobe), triggers/receivers, a camera and ideally a wide angle lens. You may want to pop a modifier on your flash – beauty dishes and softboxes work well because they don’t catch the wind as much as octaboxes and umbrellas.
For doing this with dogs, some yummy treats (check for dietary intolerances!) and interesting noises help a lot!
2. Ambient exposure
First, you need to set your ambient exposure, so bin off the flash for now and work on your naked camera only. You want to underexpose the ambient exposure by 2 stops (ish!). Now, in the midday sun like we were in, you may need to use your shutter speed to cut out ambient light, so keep tabs on if you need to switch up to HSS. If all of this is foreign, you need to be in this post here.
If you don’t have high speed sync and you are wanting shoot in midday sun, you need to grab yourself some ND filters. These pop on the front of your lens to add a flat darkening effect which allows you to reel back some of your settings.
You want to keep your ambient exposure around this point but take care not to underexpose it too much. If it’s too dark back there, it’ll look all weird and out of balance. You’ll know what I mean when you do it!
If you are using a mirrorless camera, at this point skip to the end to look at some extra settings you might want to dial in to make the next step super easy to work through. Skip to mirrorless setup tips ->
3. Flash exposure
With your ambient exposure dialled in, on manual in my case, and your camera set up for what we’re going to do next, let’s connect that trigger to our hotshoe and move into the flash exposure.
You can either have your flash set to manual, or have it set to TTL. In situations where the natural light it likely to change quickly (sunset) or your subject is not reliably going to stay the same distance from the camera (puppies, crazy dogs, rescue dogs), TTL is the easiest way to go.
I set my TTL to +1.0 – so that means that the camera and the flash are going to talk together and whatever exposure they decide on for the subject, I want them to add 1 stop. This decision is made with metering in the mix, so you may need to experiment with different metering modes. For the most part, I use matrix/full/wide (the whole scene), so that it’s +1.0 on my entire screen, letting the dog pop more out of it.
I do, however, switch to centre-weighted where appropriate/necessary.
That’s kind of it for the flash. Simple.
4. Shoot techniques
So we have our ambient sorted, our flash ready and the location (with ideally a dramatic sky) set. It’s time to bring in a subject.
You’re going to be really, really close to the subject if you’re using a wide angle lens so please desensitise your subject to you, the shutter noise and the flash before you start. A scared dog is not cool, don’t be that person.
Get yourself RIGHT on the floor, ideally lower than the subject. That gives this style real “power”. You want to have a helper hold the light with the bottom of the modifier in line with the pup’s nose, above your camera lens, titled slightly downwards.
This is quite a specific placement but it’s quite important (i think). Positioning the light like this gives you those catchlights up at the top of the eyes, and it lights the foreground between you and the subject. Both make a HUGE difference to the end shot.
The light-positioner will need to be ready to shift sideways if the pup looks off to one side slightly – it’s important you have a catchlight in each eye, and they’re solely responsible for that.
Keep low, keep an eye on the wider composition, keep the pup engaged and have fun! That’s really all there is to it. If your images look flat or boring, ask yourself if you should wait until there is a better sky, or if you can alter the balance of the light to get some extra impact. Both will help!
Hope this helps! I’d love to see your experiments!
Processing tips:
Work on your contrast, clarity and saturation. Ensure the eye is still the brightest part of the image, but you want grit, contrast and “pop” to these photos. None of that soft fluffiness here – get the grit!
Mirrorless setup tips:
Go ahead and grab your manual as we work through the settings you should change on your mirrorless camera before mixing ambient and flash light…
- Turn off silent shooting / electronic shutter
- Turn off electric front curtain shutter (doesn’t play nicely with HSS)
- Separate exposure compensation from flash to ambient (Exp.Comp.Set in Sony menus)
- If you have any flicker control systems in play, turn them off (Anti-flicker Shoot. in Sony menus)
- If your camera turns the EVF preview off when you put a trigger on the hotshoe, it’s very helpful to add a control back somewhere for this. On my camera, I have my custom button 2 set to “Shot. Result Preview” so I can tap it and my EVF will switch to just show me my ambient exposure

