A couple of weeks ago we released a video about 2 common retouching errors and you guys LOVED it, so we figured why not add another? This time we’re looking at a widespread issue that happens to every photographer in their learning journey and I hope that by popping this here, we can whizz you past this problem and into the safe zone right now. Today, we’re looking at Over Sharpening. How sharp is too sharp and when should you push the breaks on your sharpening missions?
Let’s find out:
What is over-sharpening?
In summary here, really hairspray is the best analogy. Sharpening in post-production sometimes isn’t needed at all, other times you need to add a little to really finish a shot. You should, however, always stop when things get too crispy. If it looks like you’ve sprayed hairspray on the image, you’ve gone too far. Let me show you:

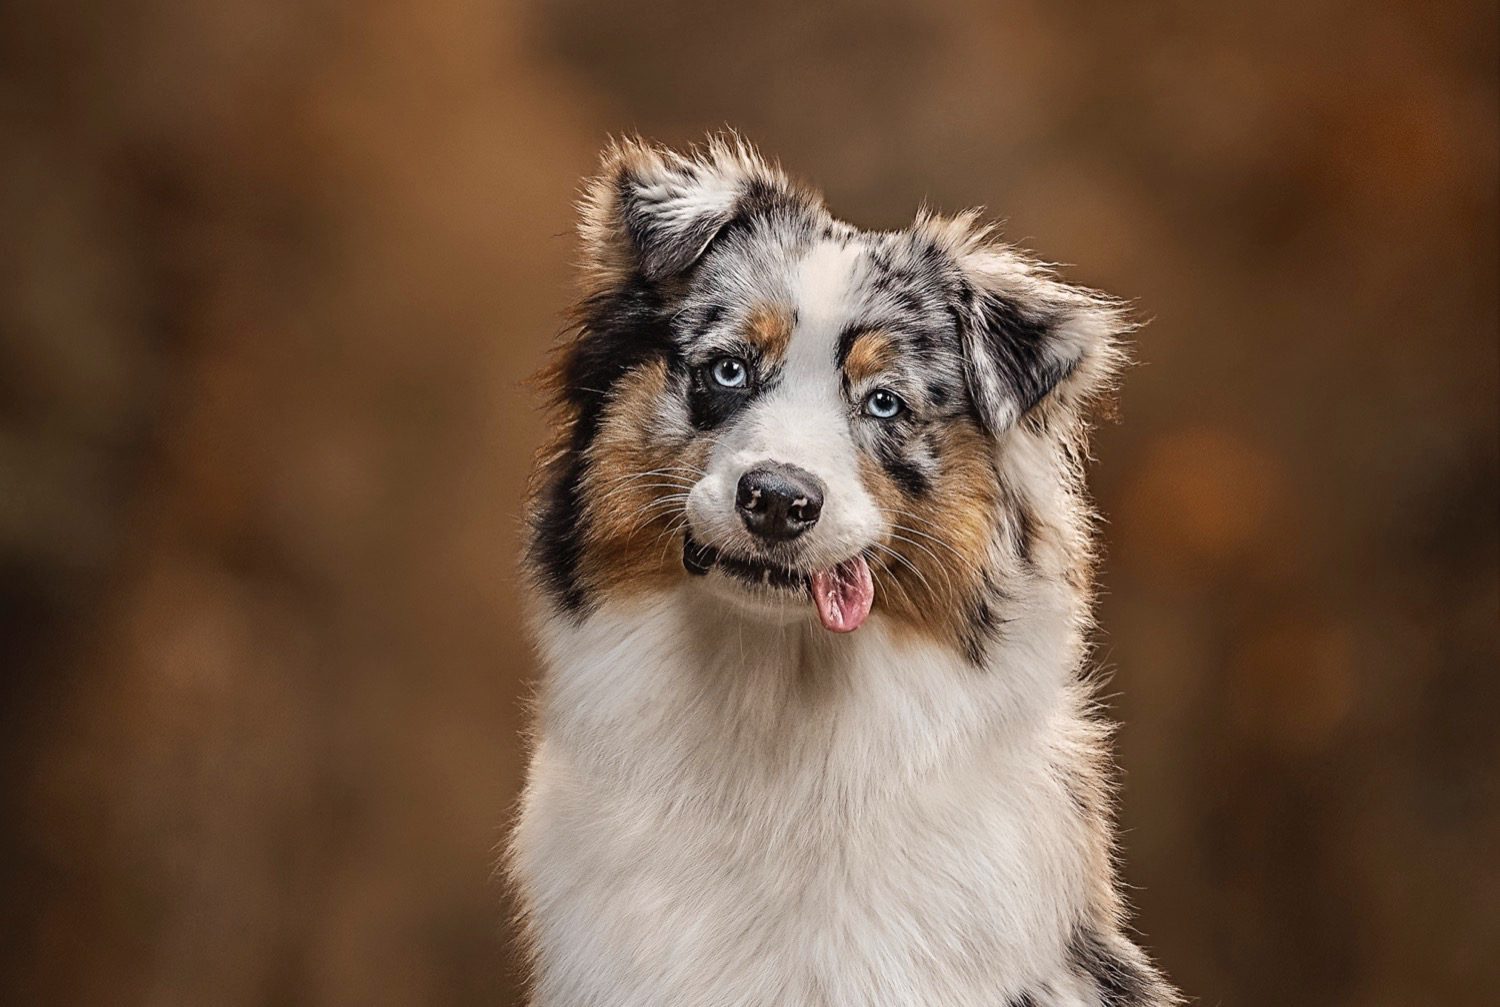
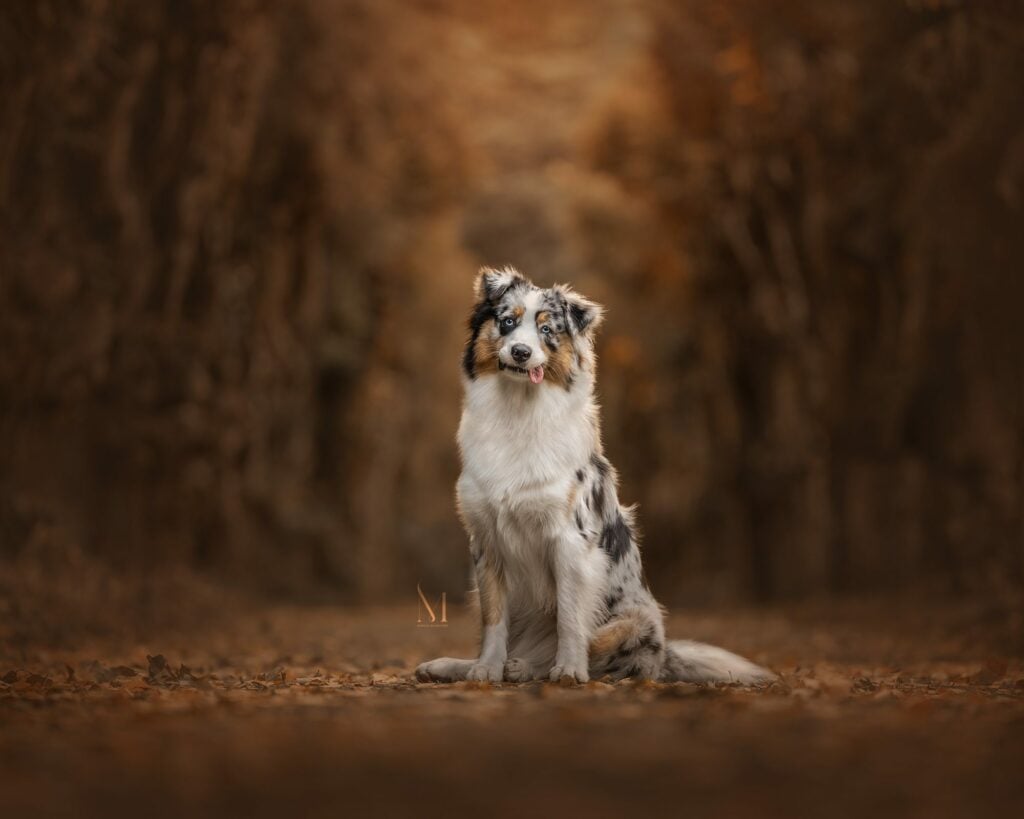
Above are two versions of the same image. On the left, you can see Nala’s face, head, and eyes clearly. They are defined and crisp to view and there are no blurry areas.
FYI, Nala was a model for one of my classes at the very first Retreat for The Pet Photographers Club, so this image was taken near Lecco, in Italy, surrounded by awesome students!
On the right, you can see that it looks like there is a lot of hairspray happening over the top of her head, her cheeks and her ears too. This “hairspray” effect is classic over-sharpening. I’ve deliberately whacked the sharpening in Photoshop up WAY to much to show you an obvious example, but really at 100% zoom the original image on the left was already verging on over-sharpened.
So how do you get the right level of sharpening without over-sharpening the image?
To get the right level of sharpening in Photoshop:
Personally, I prefer to do any sharpening in Photoshop because it gives you super high levels of control and I am a control freak.
Beware of using outside plugins to sharpen soft images because they will almost always introduce over-sharpening and artifacts to the image.
To sharpen in Photoshop I…
- Retouch the image as desired. You can find over 20 full-edit workflows in the Premium Membership, or you can use your own processing instead if you’d like to
- Create a new merged layer of your retouched image to be able to run a sharpening effect
- DON’T USE ACTIONS (unless you promise that you will spot-treat and turn the strength down too!)
- Run a high pass sharpening over the image. You can find out how to do that on this old video right here and you want to stop with the High Pass slider when you can only just see the deep edges around the eyes start to come through. It takes practice to learn when to stop, but for a simple brick wall, whenever you see colour starting to come through, stop. Complete the high pass steps including switching the blend mode to overlay, then…
- Add a black mask. Or add a mask and then invert it, either or – you need to have a black mask on this high pass grey layer
- Take a white brush, soft round, about three times the size of the eye in the image. Make sure it’s set to 100% on opacity and flow
- Paint firmly over both/any eyes in the image (if there are no eyes, paint over whatever you want a viewer to look at)
- Zoom in to at least 100%. Does it look like there’s hairspray on the subject?
- If yes, turn the layer opacity down or paint black over just that area
- If no, continue
- Carry on with your retouching because you just sharpened perfectly!
And that’s it! Here’s Nala’s photograph in all its glory, with the hairspray dialed right down: