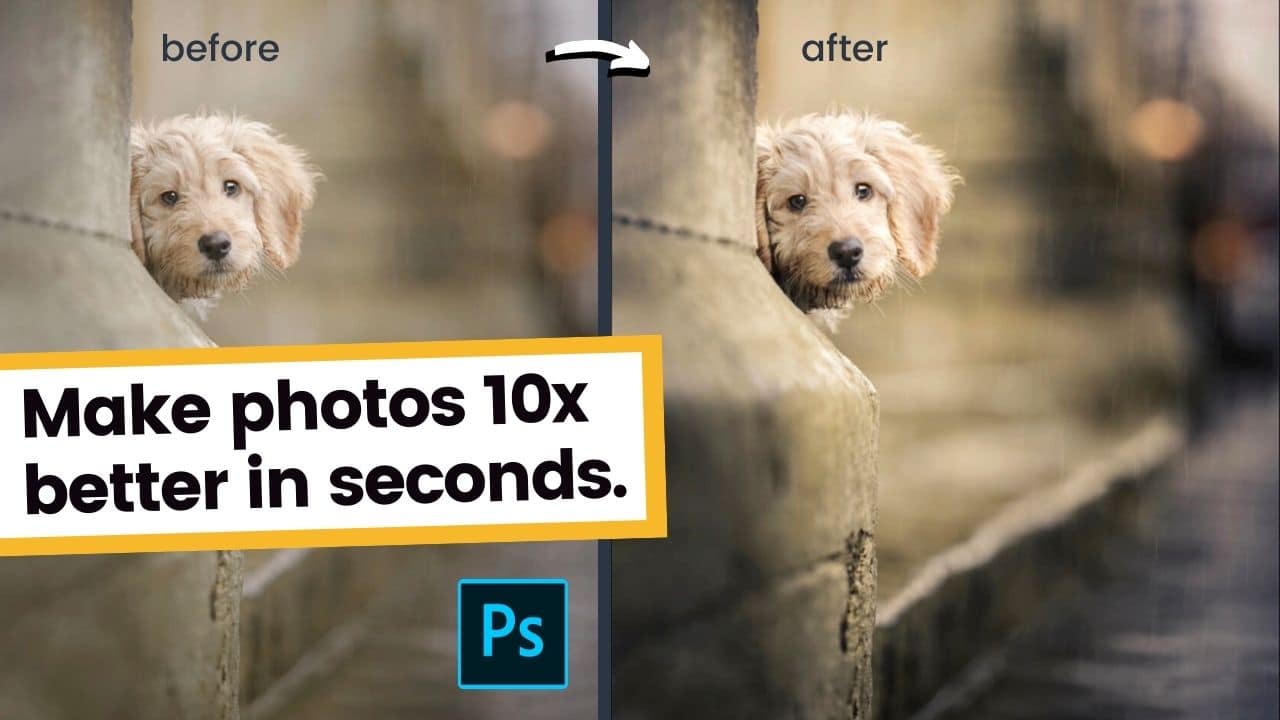
For the past 12-14 months I’ve been using gradient maps on and off to add a bit of grit and power to certain images but it was only when someone asked me what they were that I realised we’ve never covered them before! Today, we change that. First things first, gradient maps are an adjustment layer in Photoshop so if you’re terrified of Photoshop, you might want to head here, or here, first. If you’re ready for another adjustment layer breakthrough, read on…
There is a video on this topic, that is available here:
MTog’s, you guys have a gradient map pack and an applicator action available here. You can find it inside the MTog Vault. If you aren’t a member yet, check it out here!
Let’s dive into the world of gradient maps:
What is a gradient map
A gradient map is an adjustment layer in Photoshop that is used to replace pixels in an image with a specific colour, usually transitioning smoothly along the line of a gradient. It starts on the left-hand side in the darkest areas of an image and moves to the left, to the lightest part, following the path of your histogram.
How to gradient maps work
Essentially, you can change any colour along the entire gradient to map a new colour into those pixels. For example, you could replace all of the darker pixels with white, and all of the lighter pixels with black and every pixel in between will be coloured a corresponding shade of grey.
That in itself is kind of pointless though. The magical world of gradient maps only really happens when you get creative with your colours and really push the boundaries. For example, you could colour the lightest areas of an image a warm orange, and in doing so, your bokeh in the scene would turn to sun-kissed golden hour in just a few clicks.
There is a lot more to the maps though, so it is worth watching the YouTube video above to see more.
How can I use a gradient map
In its basic form, you can just slap a gradient map on and off you go. However, the best results (I think, personally), come from using the gradient maps with the blend modes of either Overlay, Soft Light or Hardlight. You can, of course, use them in any way you’d like – you are the creator here!
When using your gradient maps, and especially the MTog Gradient Map Pack, take care to not change the colour of the subject too much. Whether it is human skin or the fur of an animal, you don’t want to completely shift the colour of the subject to some weird and unnatural colour. Therefore, you need to use your masks and other tools to ensure you don’t make it all go too strange!
The best way to use gradient maps is to practice and just play around. Often the same map won’t look great on different images, so you will need to tweak colours, slide the colours along or change the opacity to make it work.
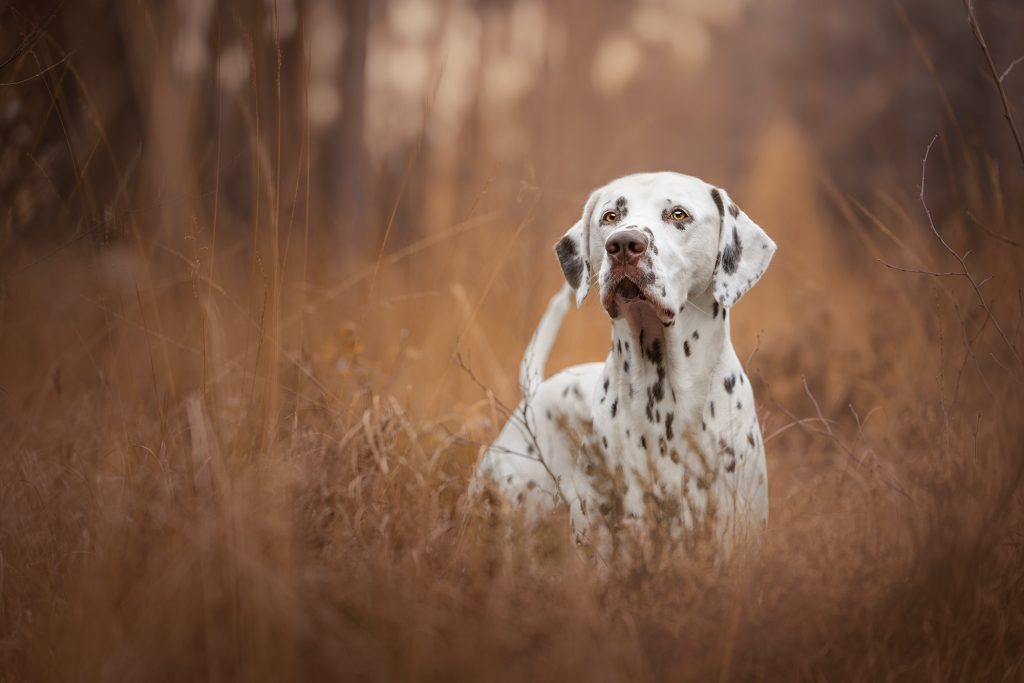
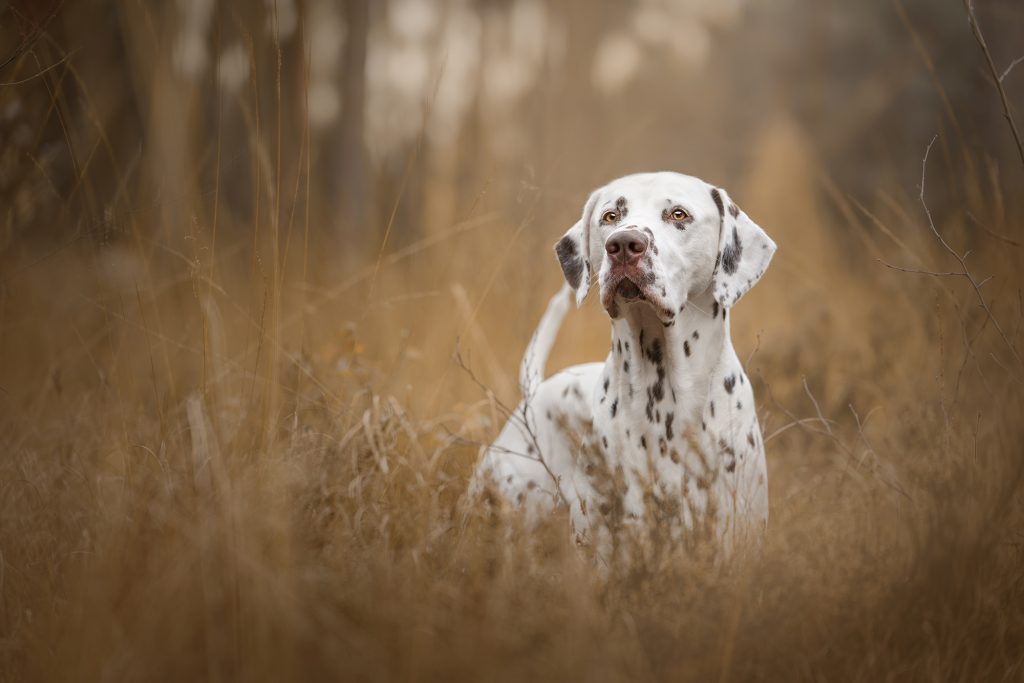
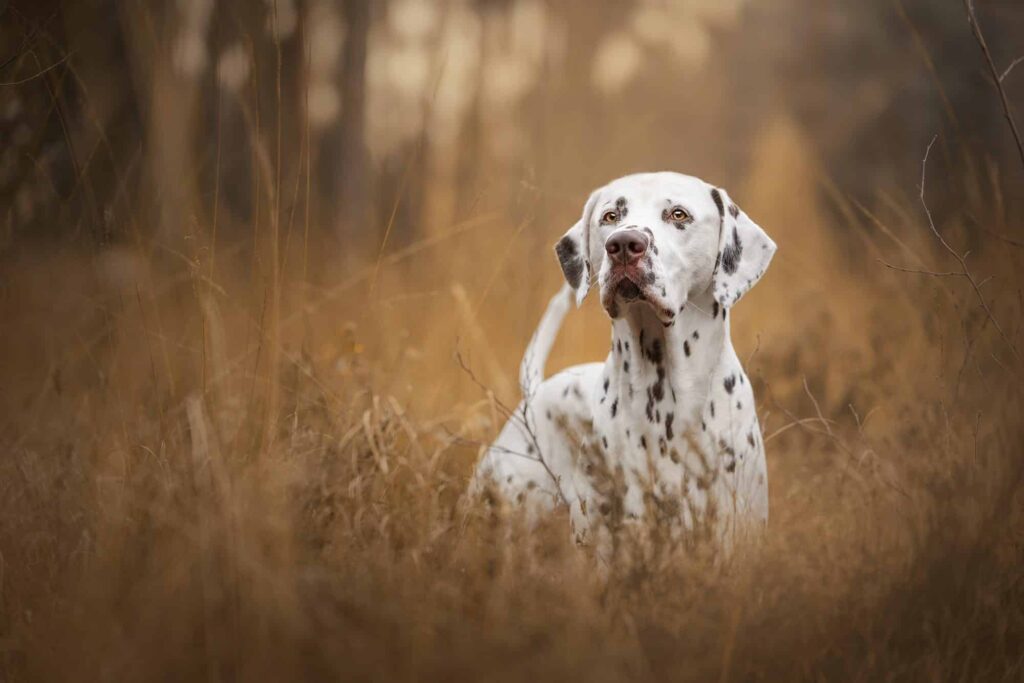
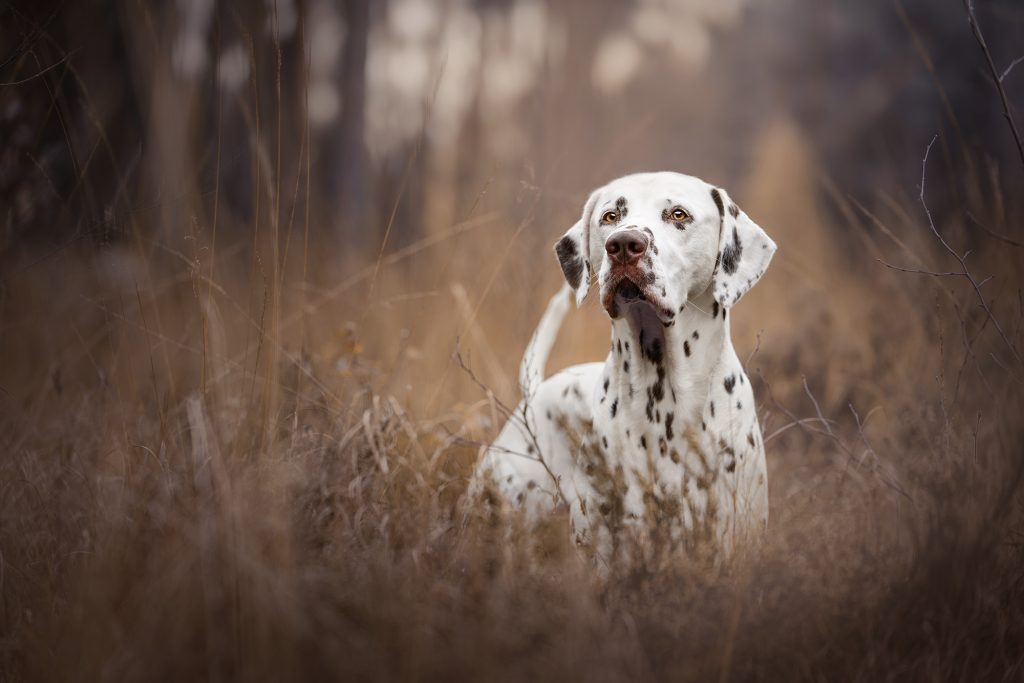
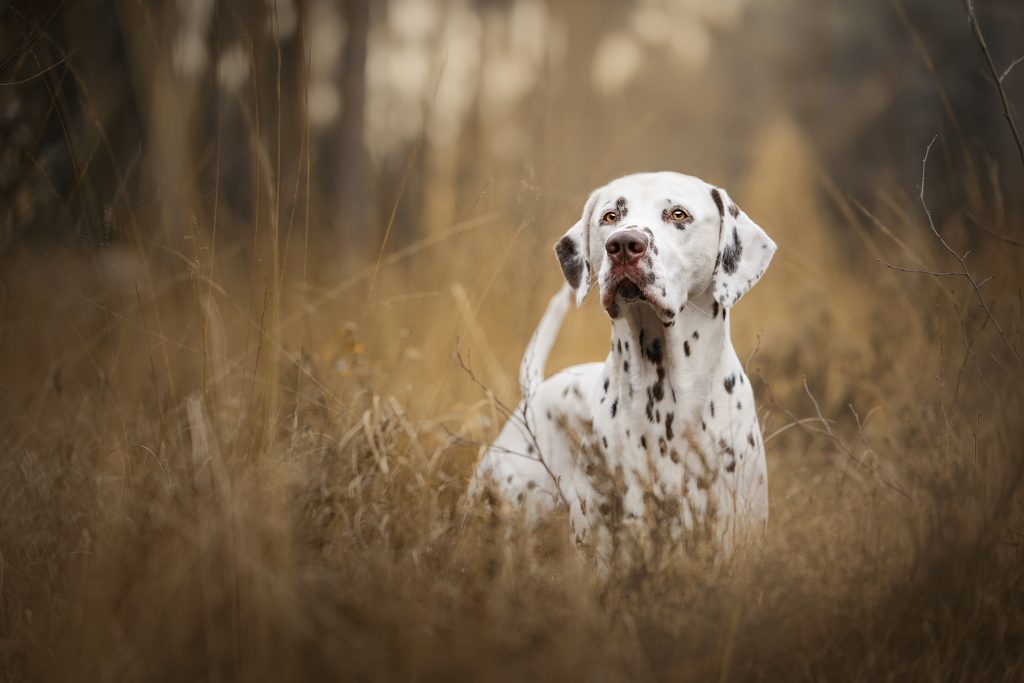
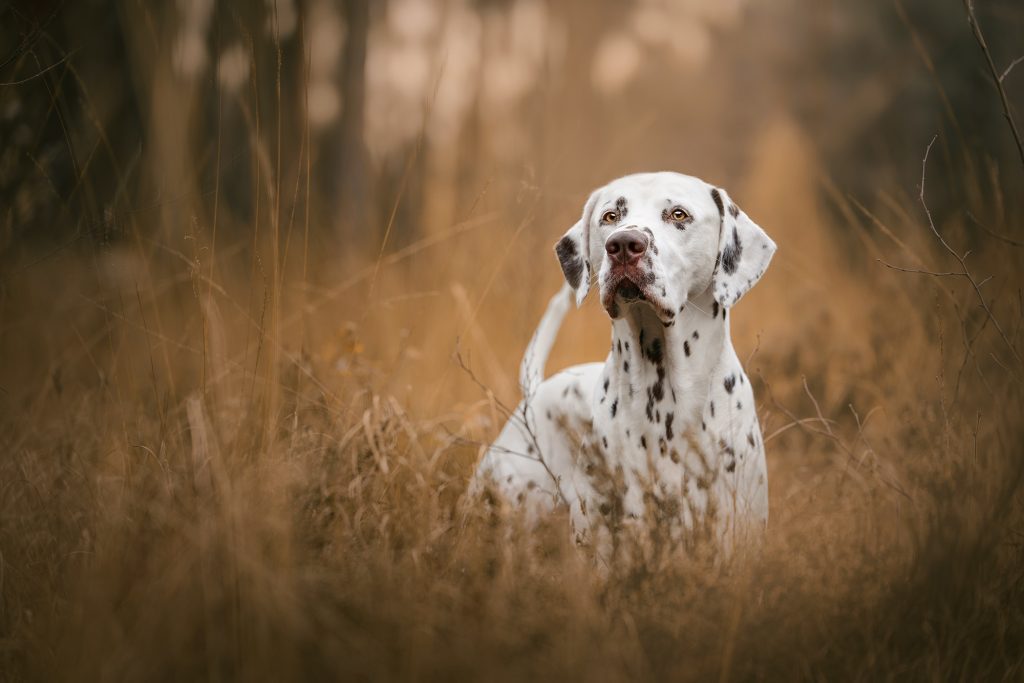
Using gradient maps you can add grit and depth to images that need a little help. To illustrate, here are the 5 Gradient Maps in the MTog Gradient Map Pack on the same image at about 55% opacity:
Example 1: Cyan Summer
Example 2: Ice Packs
Example 3: Midnight Depths
Example 4: Safari
Example 5: Summer Vibes