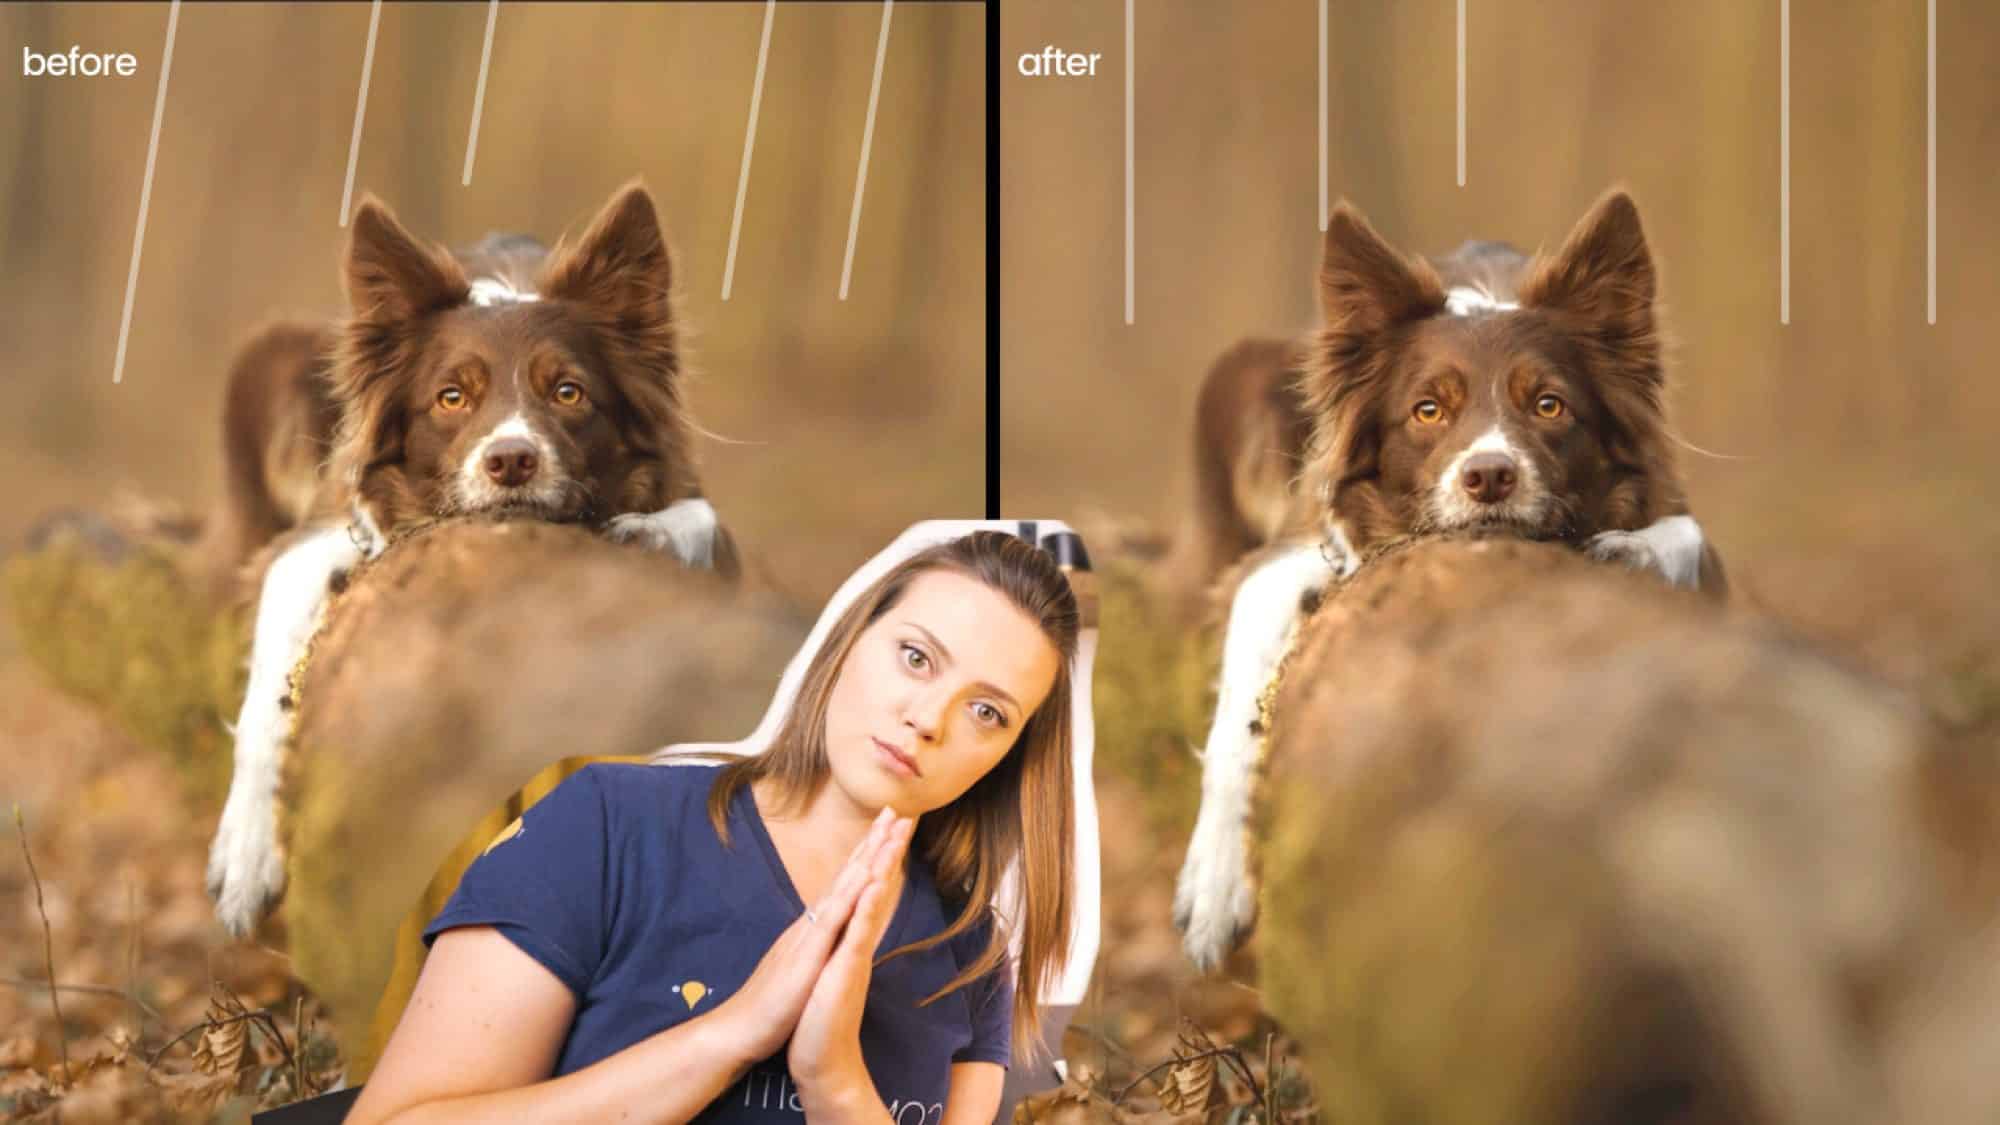
Today’s video came about as a result of a message sent into the Request Box and the request read:
“How to straighten the background of an image (eg. more for woodland) and keep the subject as shot”
@jadekcphotography
The video tutorial for how to straighten backgrounds in photoshop can be found here:
Essentially, to complete this task we need to break the image down and work on it in a few different parts. Now, as always with Photoshop there are lots of ways to do the same job, but for me, this would be my process:
Step 1: Identify the zones
In most cases just looking at the image will highlight what needs to be changed if you are wanting to complete this process. In the video above, I opt to draw the areas on a blank layer to be super sure of what needs to change. I colour this in black for ease of reference.
Step 2: Split out the zones
Next, you need to duplicate your layer and create a mask that specifically selects the offending wonky zone. I use select and mask to select the subject, refine that further and then expand the mask manually to include the rest of the zone we want to keep safe.
Next, I just invert this mask and remove the top section of the mask.
Next, I remove the subject from this particular layer, which gives us a broader background area. Then, I heal that area to ensure it looks realistic and accurate.
Now, reorder the layers, so the Background is under the subject and foreground in the layers stack.
Step 3: Transform and correct the individual zone that is the problem
Now you need to transform the background (Command + T or Control + T on Windows) to straighten it up.
Heal and fix up the entire background layer as needed, sometimes this is not necessary.
Step 4: Repair the image
Finally, just blend the mask on the subject layer to get a nice transition from foreground to background.
Et Voila, job done!

