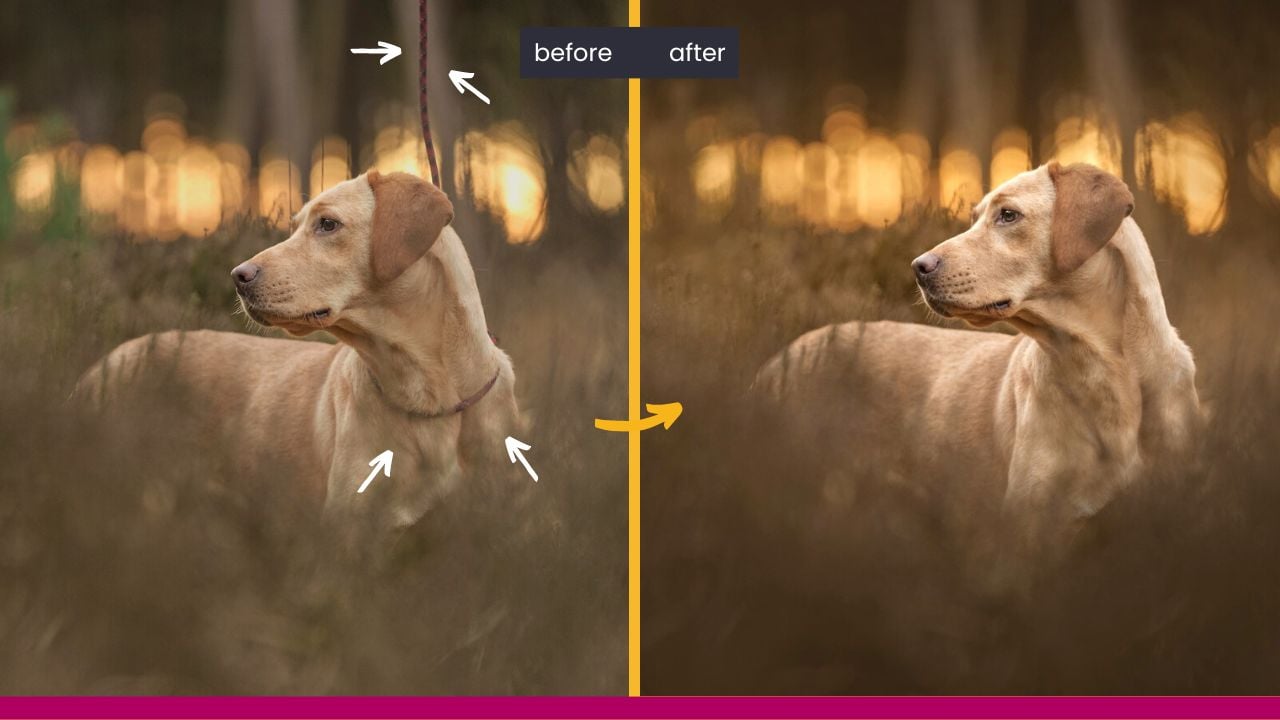
If there’s one staple exercise that every single pet photographer needs to be epic at then it is removing leashes in Photoshop and the question of how to remove dog leads and collars in Photoshop is one we get thrown almost every week. We have previously covered more complicated but related topics, like 5 ways to remove stuff in Photoshop, how to repair a complex leash removal (also useful for harnesses) and how to use the epic healing brush tool, compositing empty frames and OH SO MUCH MORE. But we’ve never done a straight-up collar and leash removal in Photoshop so that’s what we need to add to the catalogue of removal and healing things.
Today is the day. And for the record, I’m going to jump between calling this a leash and a lead throughout to make our North American friends feel welcome whilst not losing my local UK team in the process!
There is a video to follow for this topic that I’d wholeheartedly recommend watching instead of reading these steps, that’s here:
Let’s dig into this in writing:
Step by step on how to remove a lead and collar in photoshop
The main aim of removing leads in Photoshop is to leave no trace that it ever existed in the first place. Keep that in mind always.
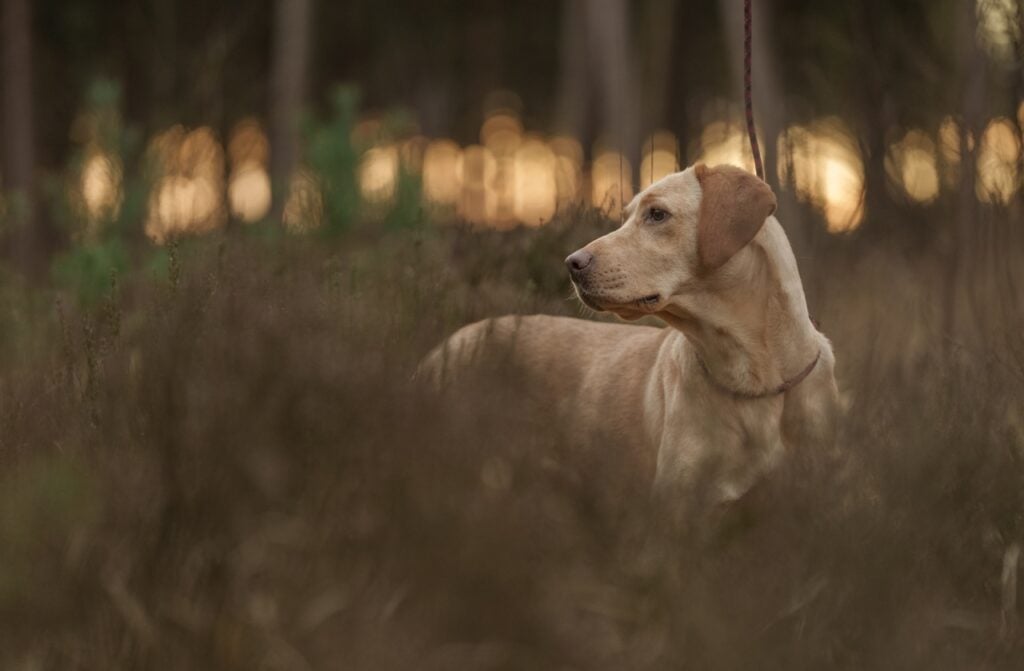
For reference, this is my starting point:

Step 1: Prep the file for leash removal
The first thing you need to do is open the image with the leash present in Photoshop. No, Lightroom isn’t going to cut it, even in early 2023 at the time of writing this post. Photoshop is the right place to do jobs like this at the moment.
Next, whilst in Photoshop, duplicate the background layer with a Command (or control on Windows) + J. This will ensure that if something goes wrong, it’s super easy to start over by deleting every layer other than the “background” and starting over.
Then click on the topmost layer – this is the one we’re actually going to be removing the lead and collar on whilst inside Photoshop.
Step 2: Use a selection tool to content-aware fill the lead and collar itself
Now, you’re going to grab either the lasso tool or the polygon lasso tool. I prefer the latter because I don’t have a steady hand and I find long precise selections freehand almost impossible. If you find that easy, the lasso is fine.
You’re going to go ahead and start your selection by leaving a small gap between the leash/collar and whatever is around it. You need to leave this little gap around the entire object to allow Photoshop the best chance to remove the leash and/or collar. Do each item individually, and if you have to go from being over the background to over the subject, break that part into two different selections.
When you have made your first selection, go ahead and hit shift + backspace. That will create a pop-up for content-aware fill. You want to make sure it says content-aware in the drop-down and then hit enter.
Photoshop will now have magically removed the selection thingy and filled in the spaces with its best guesses. Repeat for all of the areas you have where the lead or collar is present.
For collars, also include the shadow causes and the overlapping part of the coat if any does hang over the top. This is important.
Step 3: Fine-tune the filled areas with healing tools
When you’ve content aware filled to your hearts content, what you’ll end up with is almost great results but some will be sketchy and others will be hell on earth.
You may also have areas of repetition along with issues with blurry and sharp bits sitting side by side. There are major, major problems. We’ve looked at these before in common retouching errors to avoid part one.
Using either the healing brush tool or the clone stamp tool, you want to go ahead and heal up those damaged areas to perfection. Check every part, and use your stamp rotation menu to get an un-recognisable finish.
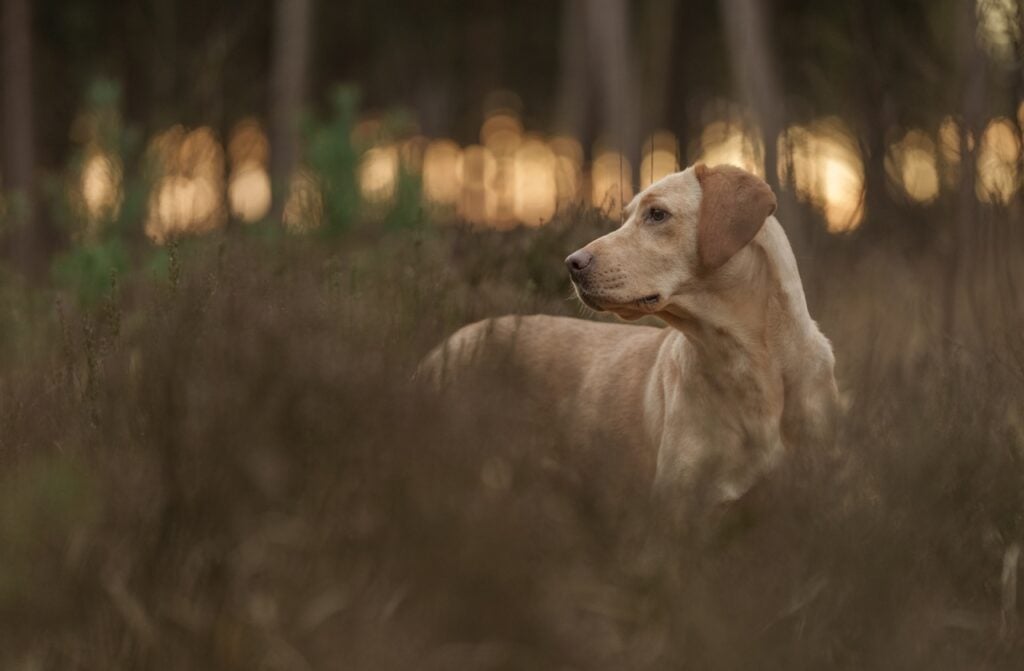
With those steps complete, we’re now at this point in the process:

Step 4: Complete your edit
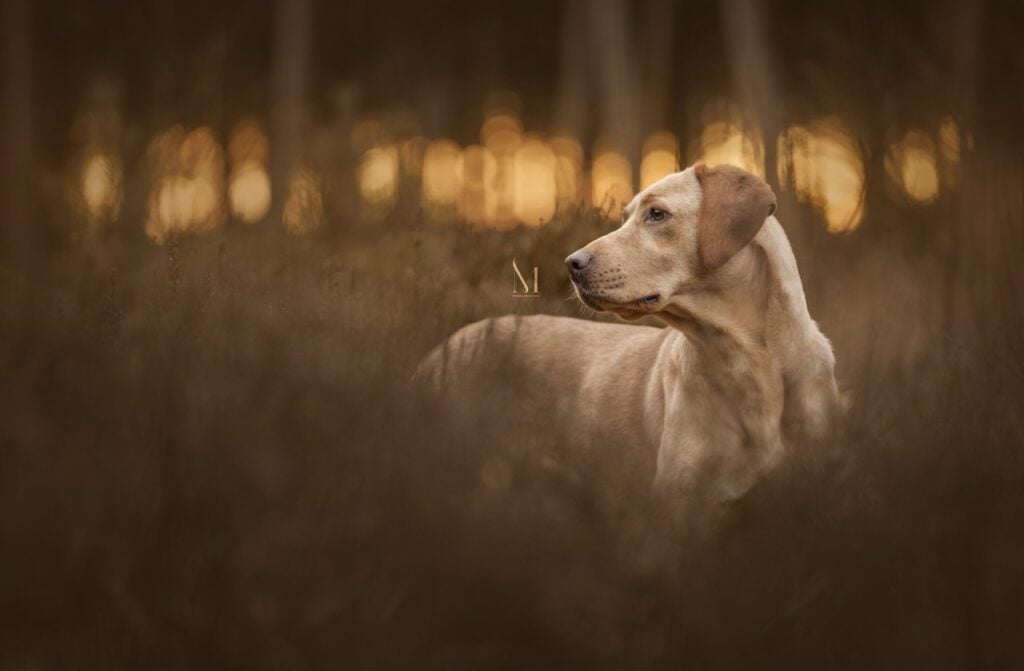
Finally, you just need to go ahead and complete your editing workflow, whichever way you want that to go. Here’s my finished image:


