
Photographing white things, for example photographing white dogs, is just the same really as photographing anything else but there are a few special little things to take a conscious and specific note of. This post was first written in 2014 but has been update in 2023 with the addition of new examples and a video too.
Whenever we head out to shoot we need to be aware of our core settings and make sure that the shots we take have the correct exposure. For me the priority is always to protect the highlights in an image and this is never more important then when you are photographing a white or light-coloured subject. White dogs, grey horses, blonde humans and even caucasian skin all fall under this area of “white subjects” that really includes anything that is very very light in colour.
There is a video on this topic, that’s here:
Steps for photographing white subjects:
Protecting the highlights in any image should always be a priority but the nack with white subjects is to constantly keep an eye on your exposure as you’re shooting. This can be hard if you’re new to photography in general because there are 4000 things to focus on at the same time. However, if you can, try to get into the habit of using your histogram to read your exposure situation. We’ve talked about histograms before at length in this post.
If you set up your camera to have a histogram visible whilst shooting (this is usually only possible with an electronic viewfinder found in mirrorless cameras), or after the image is taken on one of the playback screens (any camera can do this), you should be able to read your histogram whilst out shooting. We’re aiming here to have zero information touching the right-hand side of the graph. If you have a peak at the right, you have blown highlights, which is bad news!
By utilising the exposure triangle you can set up your camera to give you a good exposure, not clipping any of those highlights and losing the detail held there. If you shoot on a semi-automatic setting, A, S, TV or even just Auto ISO, you’ll also need to be aware of your metering modes and exposure compensation. I tend to underexpose white subjects or caucasian skin slightly to ensure I protect all of that sensitive highlight detail.
Your image may come out looking a little dark, but it shouldn’t have a peak at the left-hand side of the histogram graph either – that would mean that you’ve gone too far and clipped the blacks, losing data there instead. Soft light is your friend in this situation with a white subject!
If you have control of your exposure well, the slightly dark image can be moved into your favourite editing program and then with a few small tweaks on three sliders, you’ll end up with the perfect result to take forwards into editing. These three sliders to tweak are shown towards the end of the video linked above.
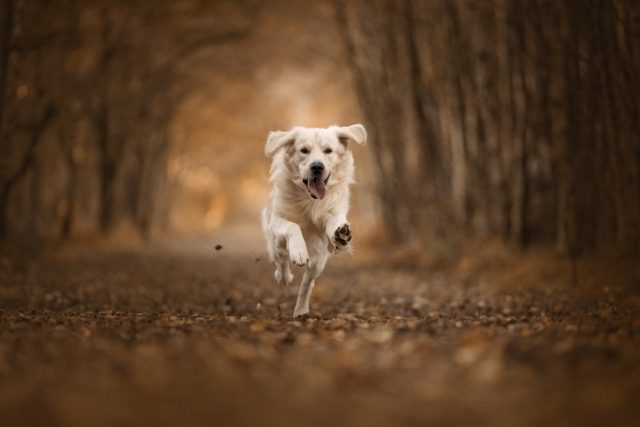
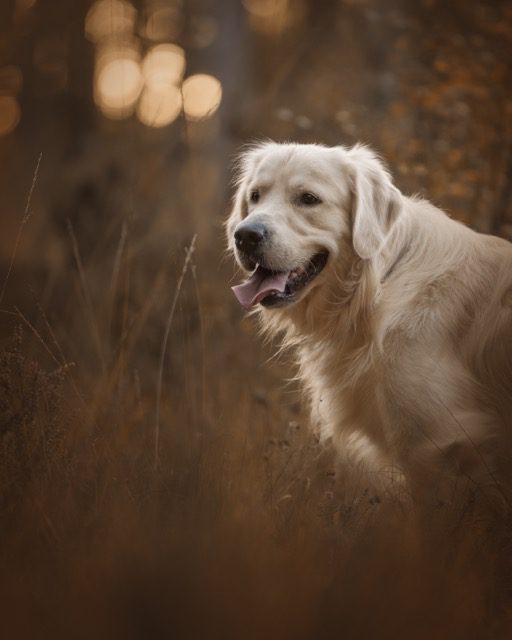
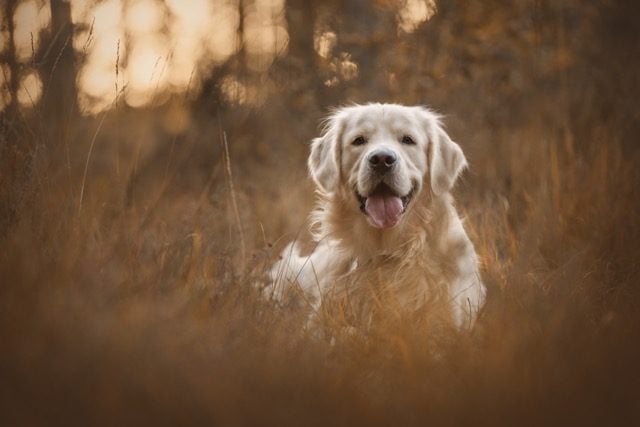
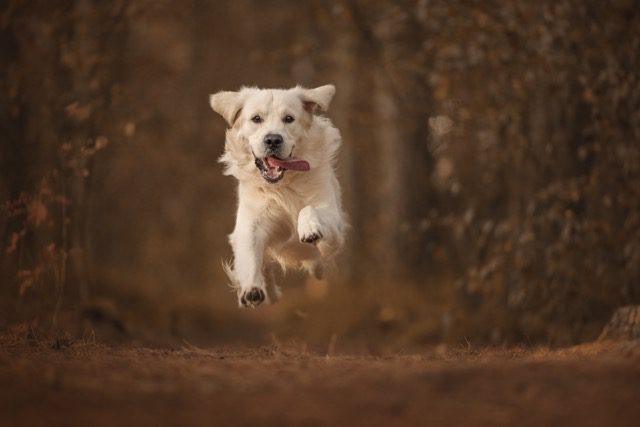
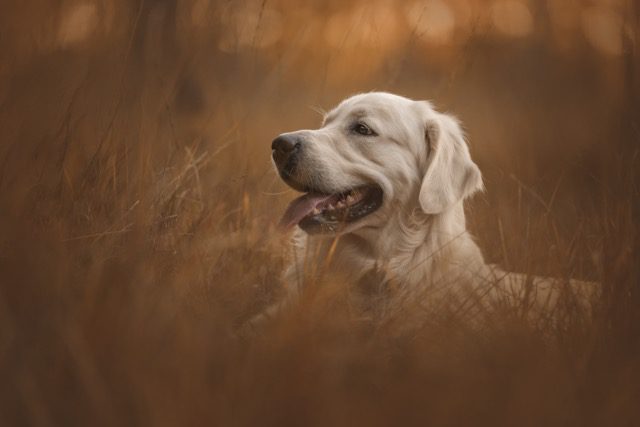
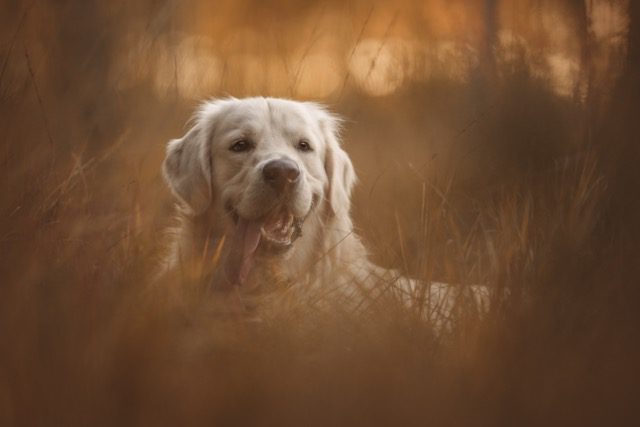
Toto the smiling Golden was a supermodel and nailed his portrait session, and not one of his photos has any clipped highlights or lost shadows. Perfect!
The original post from 2014 which is focussed on DSLRs is below:
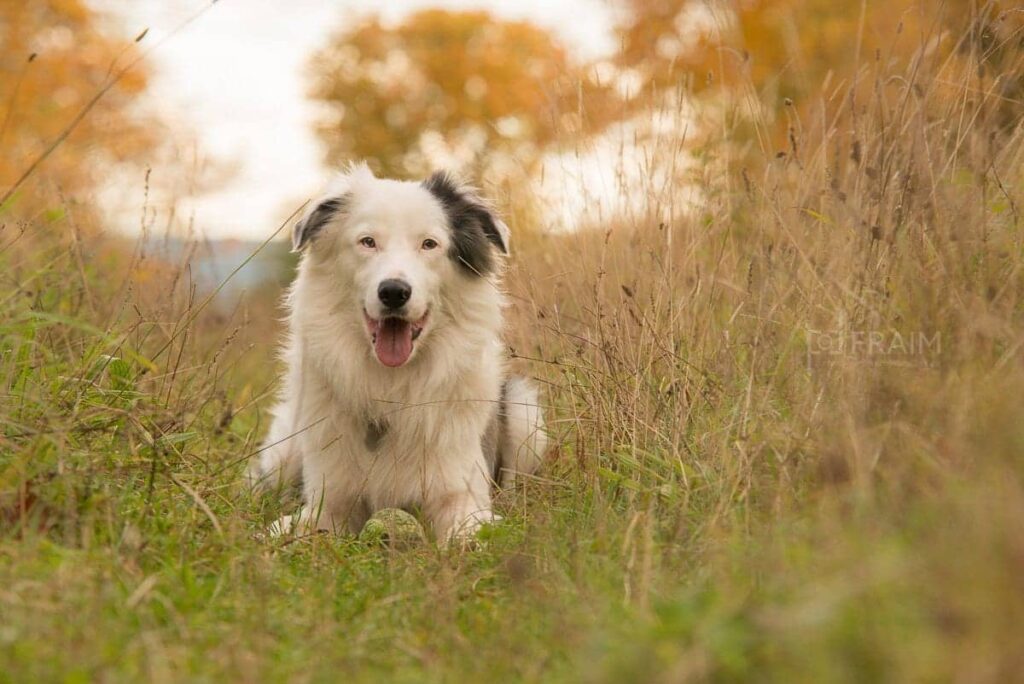
Meet Beau:
I headed south to Bedfordshire with work this week and stayed with a fantastic friend & student, Angela, and her household of dogs. One of which is Beau, a lovely double merle border collie.
Because of poor knowledge from his breeders, they crossed two merle border collies together, resulting in what is known as a double merle or a double dilute. Double dilutes often have a wide range of health problems, ranging from sensitive skin to being completely deaf and blind. Beau is just deaf, totally and utterly deaf.
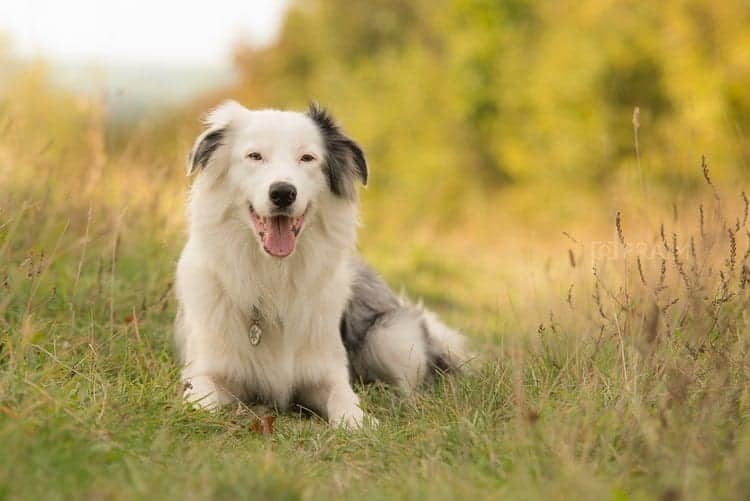
However, Angela adopted him, and a deaf bitch, Zoe, at around the same time, when they were still young dogs. She has trained them both using a repertoire of specific hand signals – like sign language – so that they can live a full and normal life just like any other dog would. Beau is incredibly good off lead & has a great wait, and, given the amount of white in his coat, we figured he’d be perfect for this blog post! Here he is:
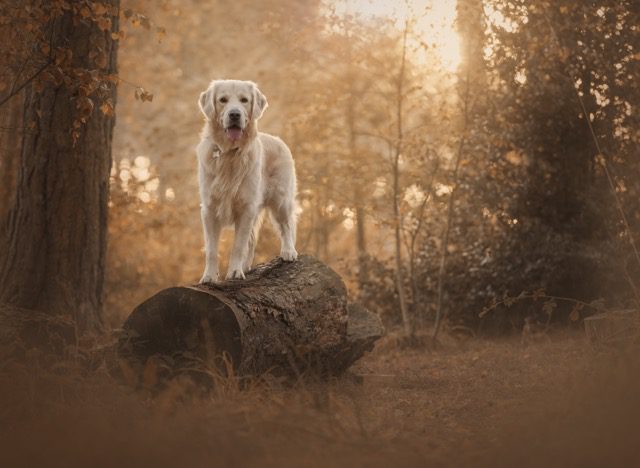
We headed out around 4pm, in close-to-golden-hour-light conditions, to a meadow close to Dunstable, in Central England. With strong warm sunlight casting its way across the field and through the grasses, it was important to find shade near to the trees.
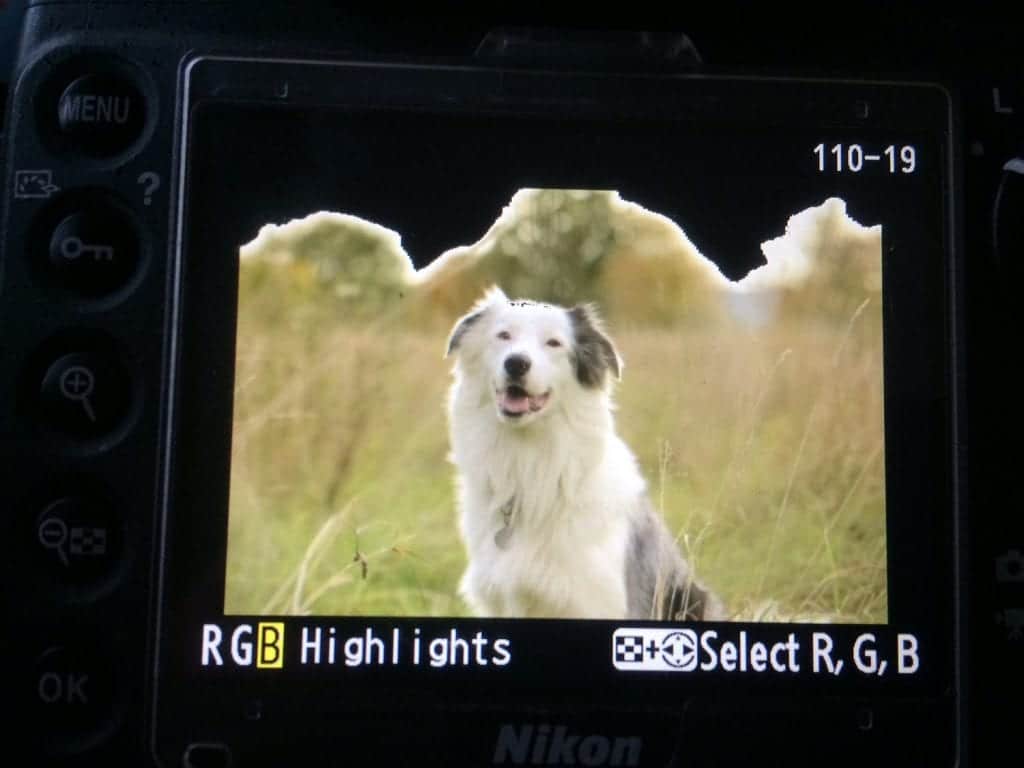
When you photograph a white dog, you must be acutely aware of your settings & how your highlights are coming out after each shot. Therefore, we switch to checking the back of the camera regularly and activating the highlight clipping setting on the playback screen. Most cameras have this setting, check in your manual if you are not sure how to, a) turn it on, or b) find it when playing back the shots on your LCD screen.
This is what clipped highlights look like on the LCD screen with the setting turned on:
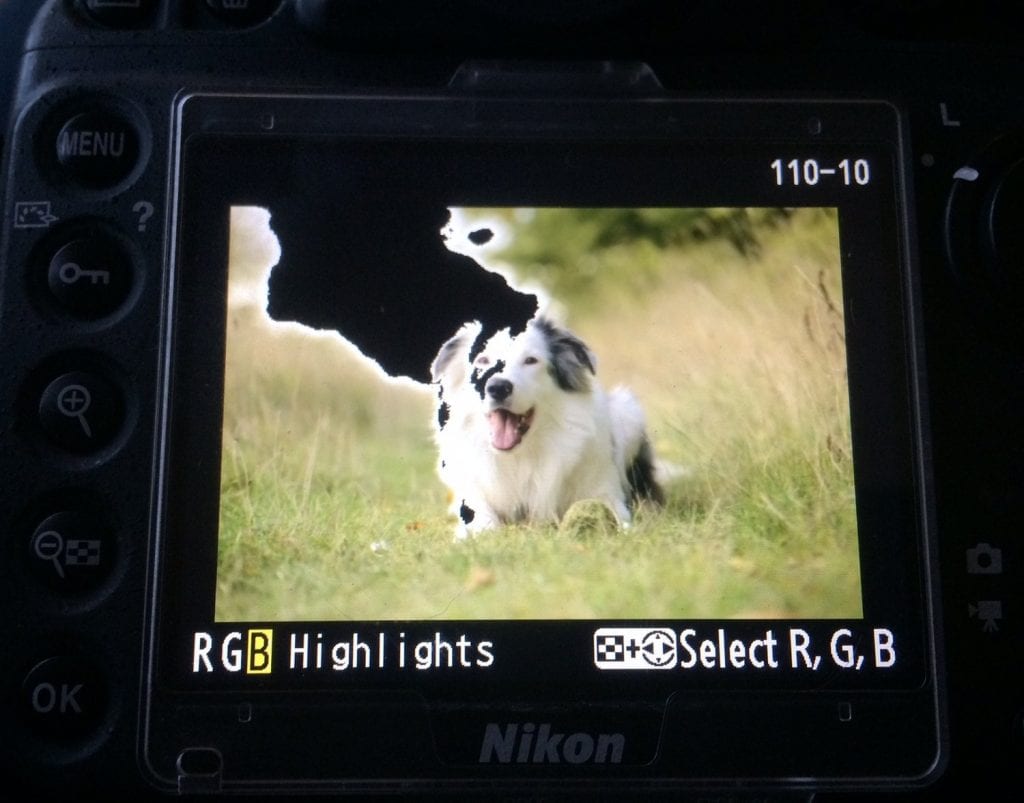
Because we shoot in RAW, I’m not too concerned about clipped highlights in the sky, however, I definitely do NOT want clipped highlights on the subject, so dial back your exposure settings until you no longer clip your subject’s highlights. If you are not sure what to change, read this blog post here to work out your exposure triangle.
Next, you want to follow all of the other golden rules for portrait photography – good composition, wide aperture, low ISO & tack-sharp focus.
Finally, you want to ensure that your subject is engaged & focuses on your attention objects. Then, nail the shot and repeat!

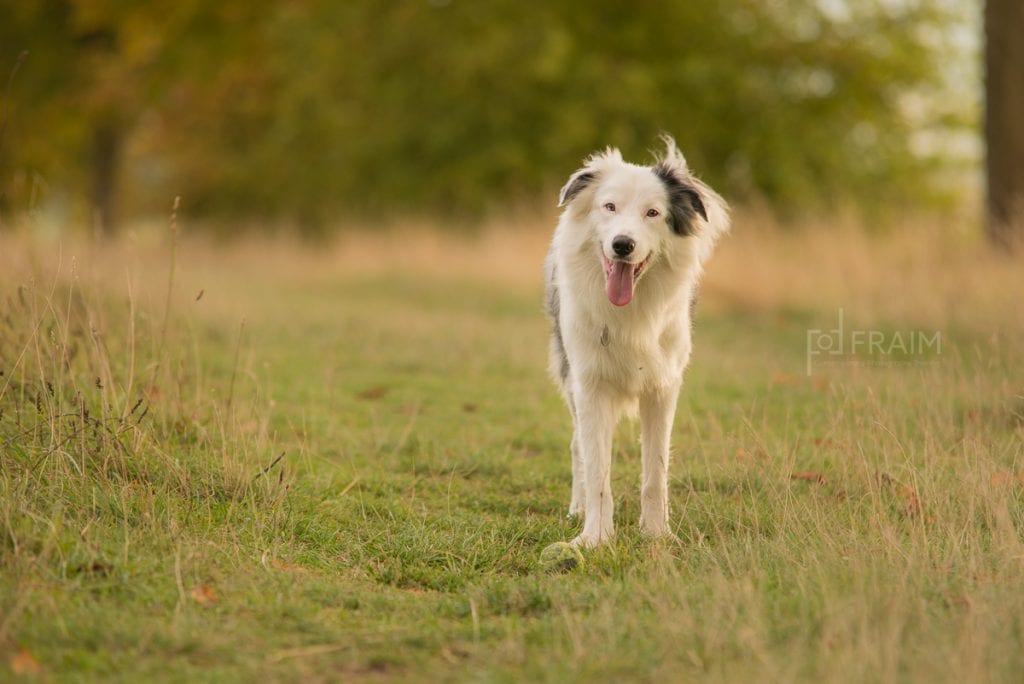
So there you have it, how to photograph a white dog, in brief – just watch your highlights!