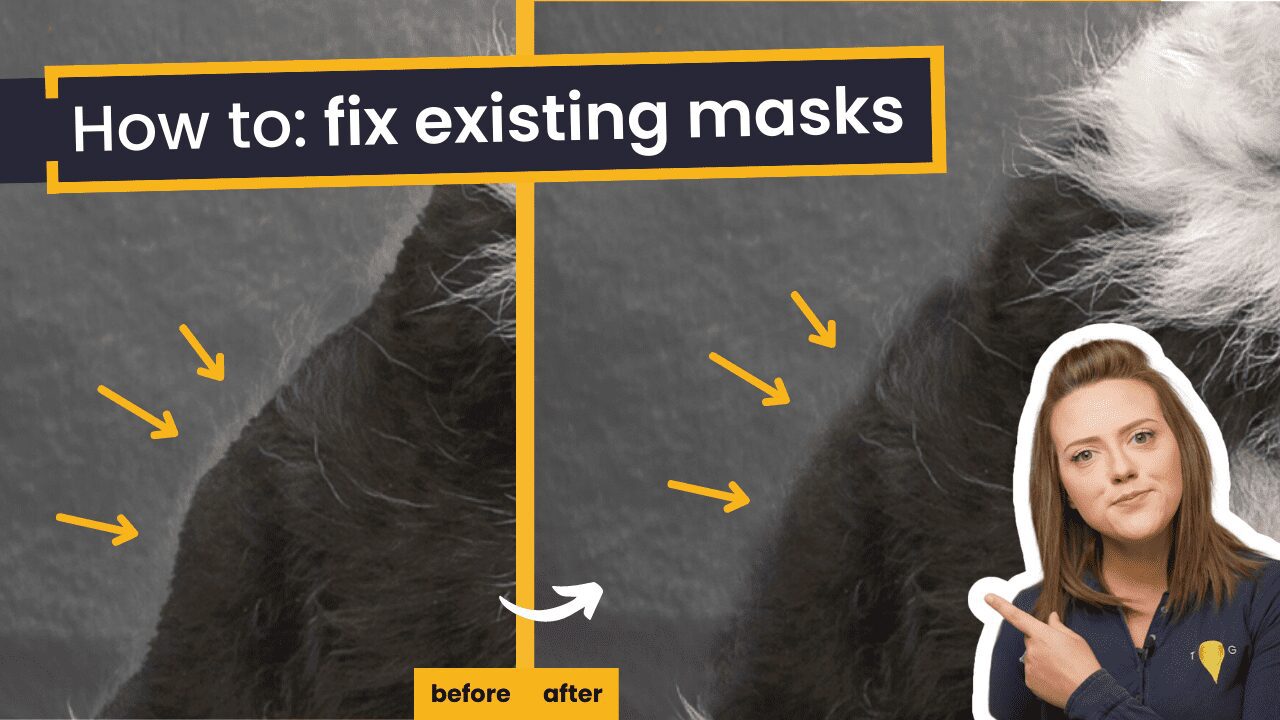
Kinda going backward slightly to cover this topic because it is SO important and I see it genuinely all of the time – editing masks that you’ve already applied in Photoshop, and finding the offender if you can’t. Let’s start:
This topic came hot out of The Request Box (thank you Laura), a box that we dealve into from time to time to let you pick your YouTube video topics. If you want to add your own request, you need to be here.
There is a video on this topic, it’s here:
Really this topic consists of two parts, to let’s break it down:
1. How to find the bad mask
This is actually really easy! Find the bit of the image where there is a bad mask edge. Zoom in on it so it is literally all you’re looking at.
Next, from the top of your layer stack going down, turn off the visibility of the layers one by one. As you move down the list, keep your eyes firmly on the bad mask edge. At some point, you will see the bad mask edge go or at least lessen in severity. This is the layer you need to start with. Move on to step 2 below.
[if AFTER fixing that layer there is still a bad mask edge, continue down the layer stack turning layers off until you find a second culprit. Fix that mask and repeat if needed.]
2. How to fix the bad mask
There are two main ways to fix a bad mask and it really depends on the scale of the issue as to which you would use. The methods are:
2a. The hand mask method
Returning to mask theory of what is white is visible and what is black is invisible, you can simply use a brush on either white or black to soften off, move or harden up mask edges.
- To soften off edges, use a soft brush
- To harden up edges, use a hard brush
- To move edges, use any brush
- To subtly change edge, use a brush that isn’t on 100% opacity/100% flow
2b. The select & mask method
If your mask is over hair and the hair isn’t masked well (or masked at all), using Select & Mask with the refine edge tool is probably going to be your best option. Historically, using select and mask on a layer that isn’t the image with the subject in usually doesn’t work well (or at all) regardless of if you have “all layers” selected at the top. Therefore, the process for me looks like this:
- Find the offending mask (step 1 above)
- Drag the mask down onto the layer with the subject in it
- Turn off the original effect layer that the mask came from
- Click onto the mask that you literally just moved
- Invert it if needed so that the subject is white and everything else is black (command or control + I for igloo)
- Go Select->Select and mask/double click the mask/go to properties and click Select and mask (as long as you end up in Select and mask, it doesn’t matter what your route to get there looks like
- Touch up your edge in here, then output to a layer mask
- Invert your mask again if you did that in step 5
- Drag the mask back to the original effect layer
- Hand mask as described in the step above to perfect the mask as it stands now
Technically, you can also just re-do the mask, which should really be option 3 on the list i
And that’s it! Hopefully useful? Please share and say so ❤️

