LONG overdue this one – Today we’re going to look at a method that I’ve used for a few years to dodge and burn using a non-destructive layered technique. Don’t panic, it isn’t as complicated as it sounds. This is the very same technique that was shown in multiple different Full Edit videos that used to exist on the YouTube channel – these now live inside the Premium Membership, along with many, many more.
There is a video on this topic, that’s here:
What is Dodge and Burn?
Dodge and burn is a technique that you apply to your photographs in any editing software to lighten certain areas and darken other areas. When we use the term dodge we mean lighten, when we use the term burn we mean darken.
By utilizing both dodge and burn we lighten and darken areas of the image in a very structured way, because we’re in full control of it. This is different to using something like the contrast slider or the clarity slide which are global adjustments.
How do you do a Dodge and Burn?
The traditional way was utilising darkroom equipment and applying this directly to film. That’s where Dodge and Burn started so you could say that it is one of the oldest editing techniques in existence. When the world switched to digital two tools were added to Photoshop (and other programs), called – imaginatively – “Dodge” and “Burn”. You can use these tools on your photographs in the editing software, but doing so is destructive editing because you are actually altering the pixels in the image itself.
Here, we do things non-destructively using layers and therefore, we do things a bit differently.
How to do a Non-Destructive Dodge and Burn:
Firstly, there are LOADS of ways to dodge and burn in photoshop and this technique is one that I used for YEARS but I’ve since moved onto a new favourite method. You can also use curves to add two separate layers for dodge and burn respectively, but I still find the single-layer method easier.
To do this dodge and burn method, which I personally call Contouring, we need our image open in Photoshop. Then:
- Hold down alt/option whilst clicking once on the new layer + icon
- In the dialogue box, set the blend mode to Overlay
- Check the checkbox to Fill with Overlay neutral colour (50% grey) then press OK
- Now, you’ll have a new layer that will look grey in the layer stack, but be see-through on the image
- Grab a brush, make sure it’s super soft and set the foreground colour to white, at 20% opacity (dodge)
- Looking closely at the photograph, let your eye see where the light is naturally creating highlights and shadows – I usually start around the eye on the lower lid line. Begin to sweep over areas that are naturally lit with an equal-sized brush
- Continue across the subject/image, dropping to 10% or 5% as needed
- Switch your brush colour to black (burn) and do the exact same as above but on the naturally shadowed areas of the subject/image
That’s it – job done!
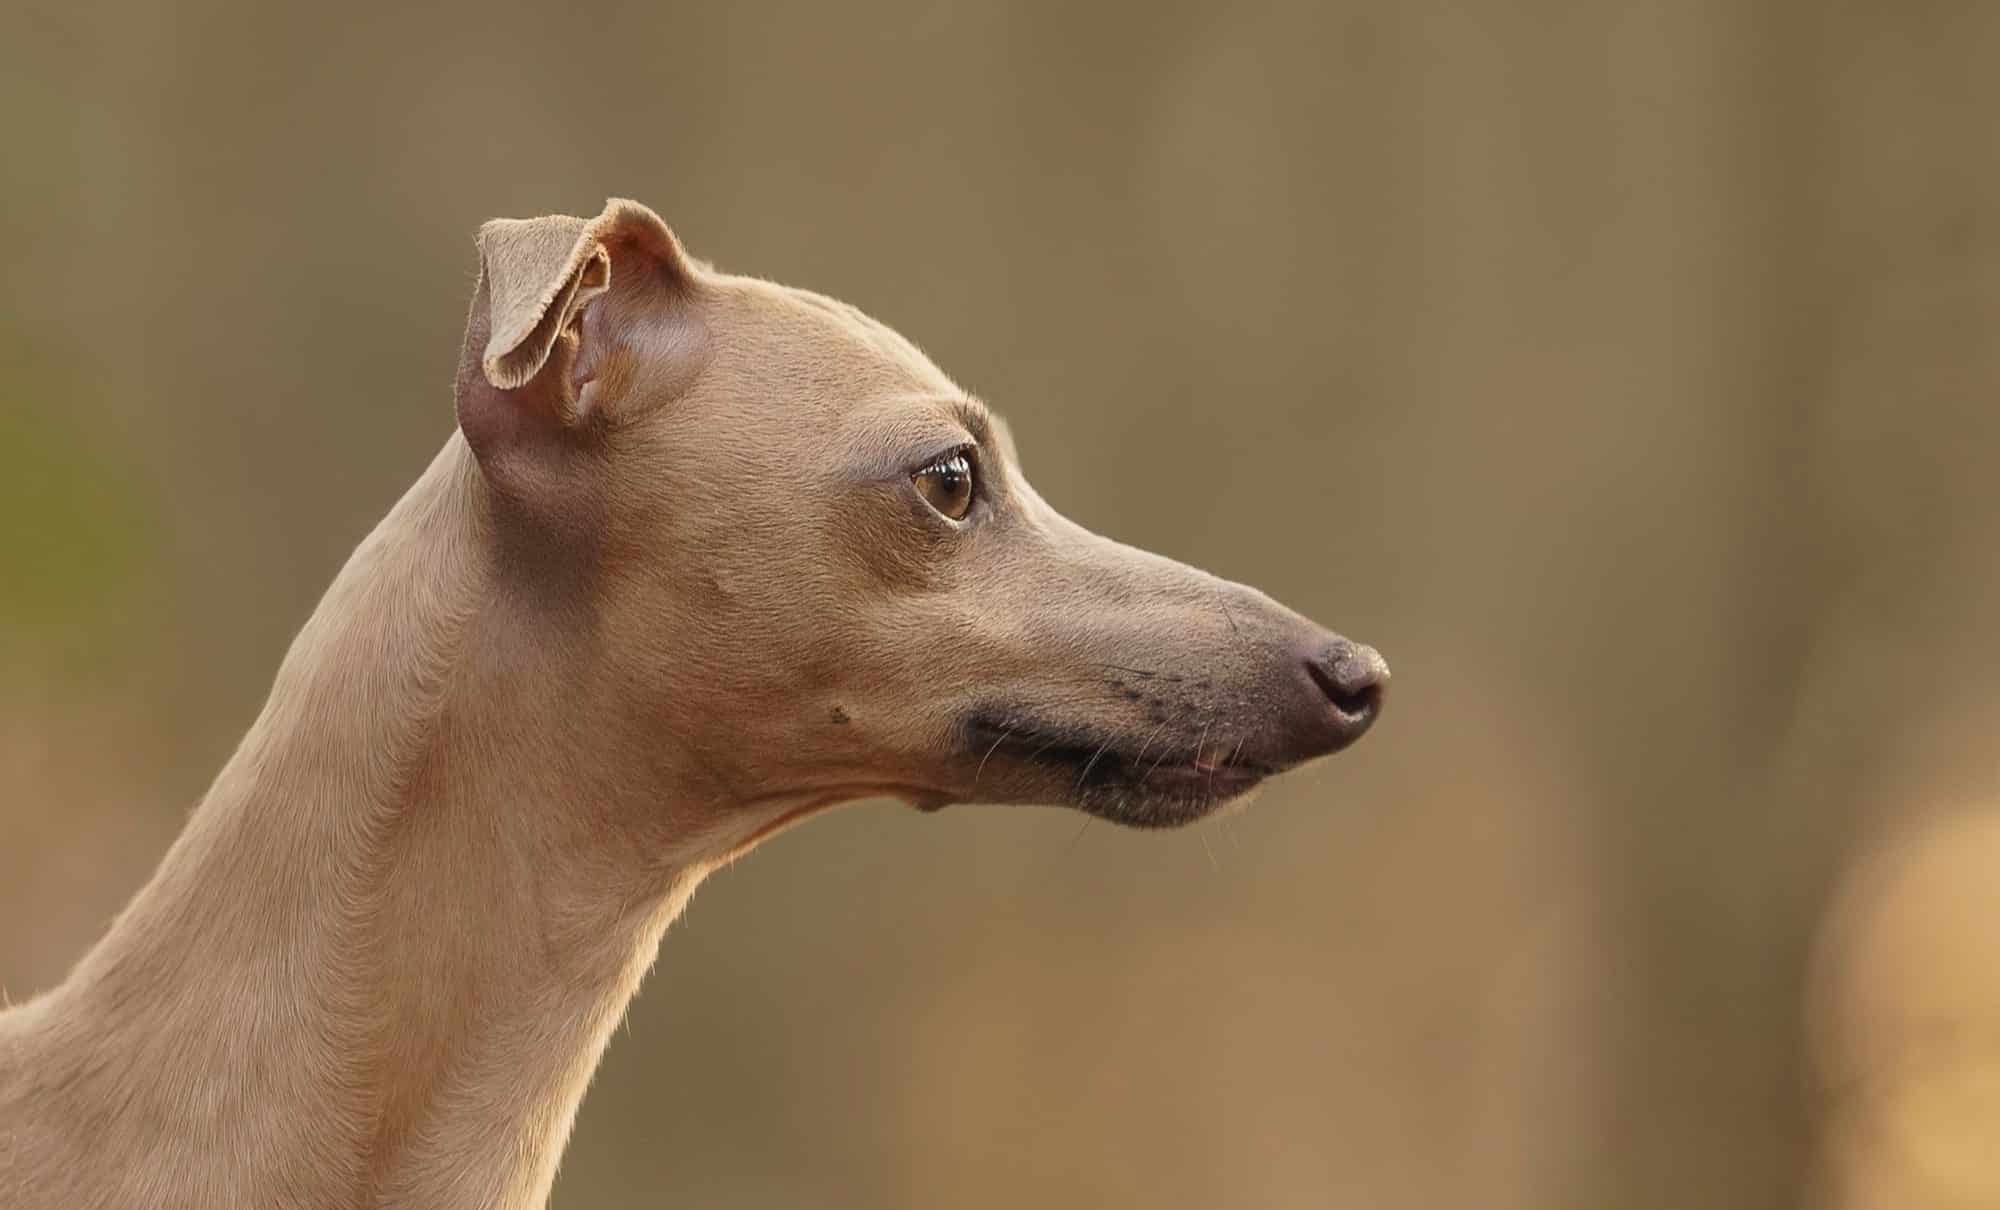
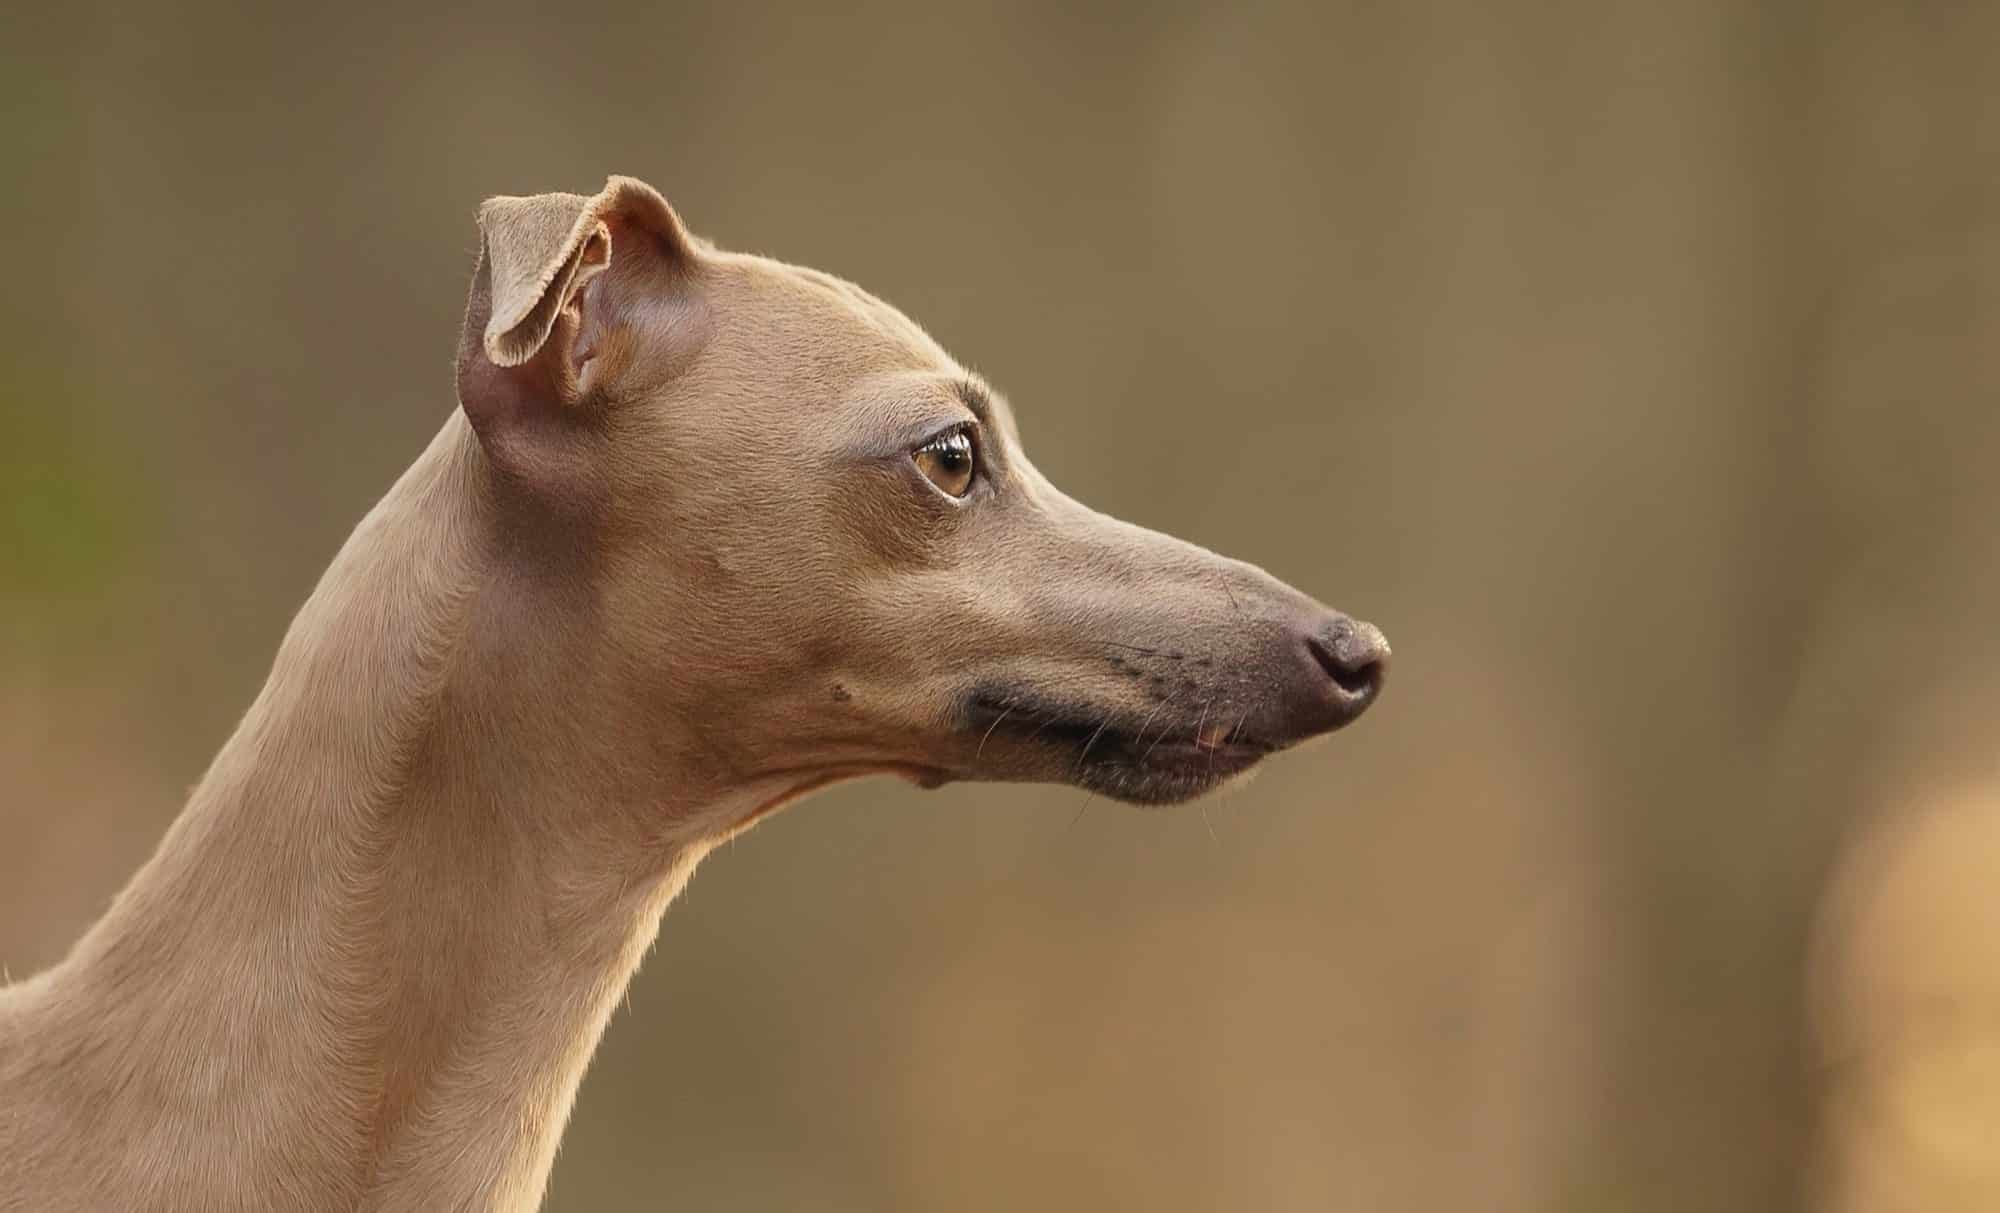
Here’s a before and after – it’s very subtle but it makes a HUGE difference to the final image in print, for a client, or for awards: