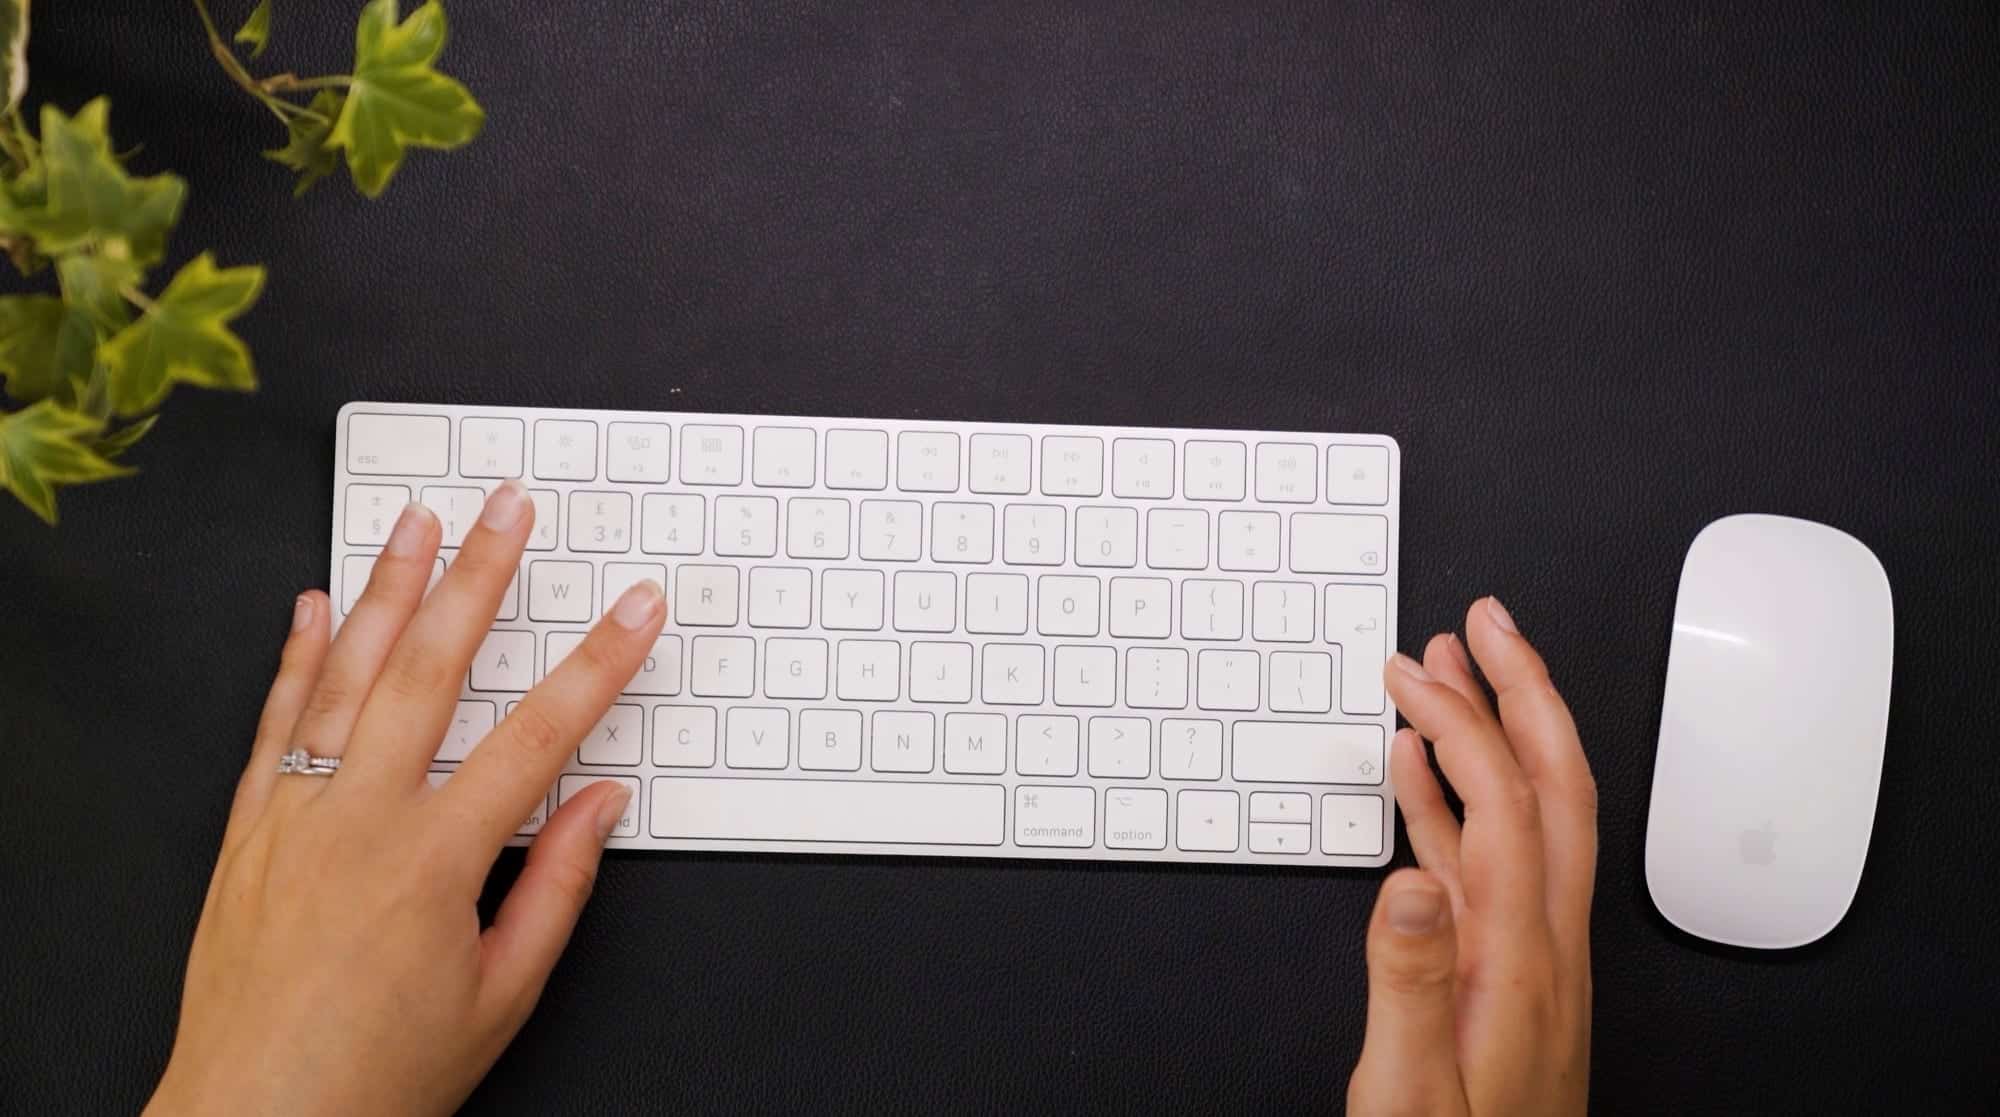
You’ve probably seen me work in Photoshop by now and the single most frequent thing people say is, “how do you work so fast?”. Honestly, the actual answer is a lot of practice, but it all revolves around a set of incredibly useful, efficiency producing keyboard shortcuts.
If you’ve been through our Photoshop for Beginners online course, you’ll already know the core speed-boosting, fantastical Photoshop keyboard shortcuts that I use on the daily, but if you haven’t been through that course, you might not have a solid understanding of how damn great these are for speeding up your workflow.
To try to not overwhelm everyone, I broke this up into two parts, the video(s) are below:
Mac to Windows keyboard substitutions for the elements in this post:
- Command = Control
- Option = Alt
- Control = Right Click
Let’s run through my best, most used and time-saving keyboard shortcuts for Photoshop:
Part 1 covered…
- Getting back to the pointer tool = V
- Getting the Marquee tool = M
- Deselect a marquee = Command+D
- Getting to the brush tool = B
- Changing the brush size or hardness = Option+Control+Click and drag
- Changing the opacity/flow = Press a number, 8=80%
- Changing the other one that didn’t change with 6 above = Shift+number
- Zooming with a scrolling mouse = Option+Scroll with the mouse over the image
- See what only one layer is doing = Option+Click on the eye next to the layer
- See what a mask looks like on it’s own = Option+Click on the mask itself
- Invert a mask = Command+I
- Content-aware fill = Shift+Backspace, then Enter (ensure Content-Aware fill is selected)
- Undo = Command+Z
- Redo = Command+Shift+Z
- Select all pixels = Command+A
- Copy a selection or layer = Command+C
- Cut the pixels = Command+X
- Paste the pixels = Command+V
Then, we had a little break to process all of that craziness before moving on to Part 2:
Part 2 covered…
19. Create a new layer = Command+Shift+N
20. Get the eyedropper to pick colours = I (for igloo)
21. Reset colour palette to black and white = D (for default)
22. Switch the colours = X
23. Show the mask overlay = \
24. Create a straight line = hold down Shift before and during the stroke
25. Create a straight line between 2 points = Click once, hold down Shift, click at the ending point
26. Fit image to screen = Command+0
27. Zoom to 100% = Command+1
28. Select multiple layers = Click on one layer, hold Shift, click on the layer at the opposite end of the stack
29. Group selected layers = Command+G
30. Ungroup a group = Command+Shift+G
31. Merge layers but retain them too = Command+Shift+Option+E
32. Merge selected layers = Command+E
33. Merge all visible layers = Command+Shift+E
34. Duplicate any layer = Command+J
35. Create a clipping mask = Hover mouse between the two layers, hold Option, click once
36. Remove a clipping mask = Hover mouse between the two layers, hold Option, click once
37. Get the crop tool = C
38. Switch the crop orientation = X
39. Scale the crop on all sides = Hold Options whilst pulling one side
40. Cycle through crop overlays = O
41. BONUS: Save as for PS 2021 = Shift+Command+Option+W (make sure you embed your colour profile!)
Like everything in photography, and in life, practice makes all of the difference. Try these out and see how you get on!

