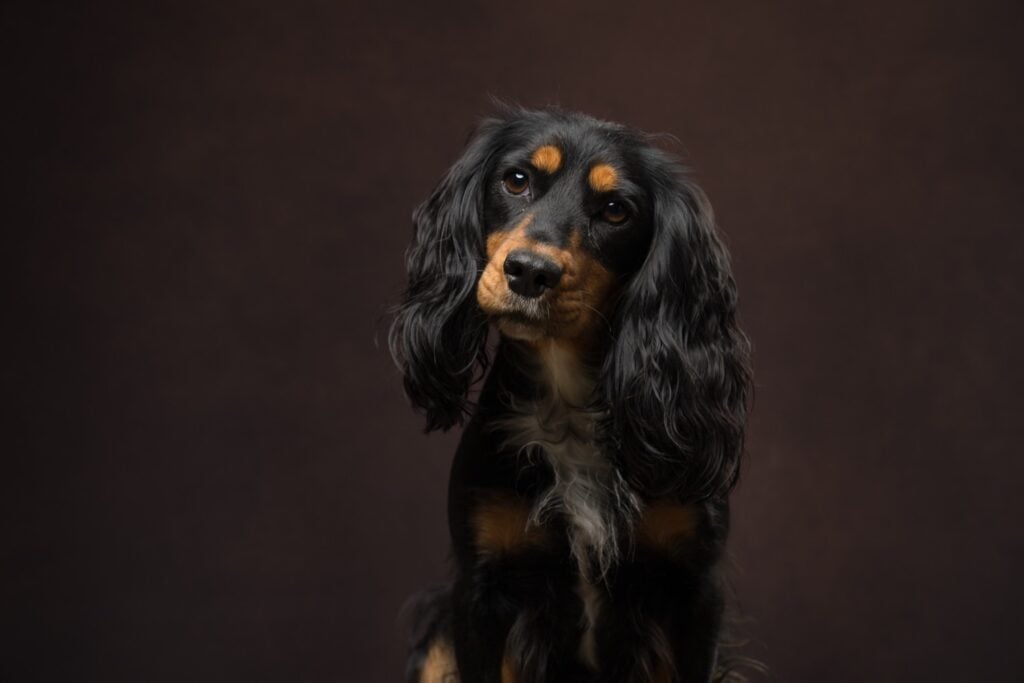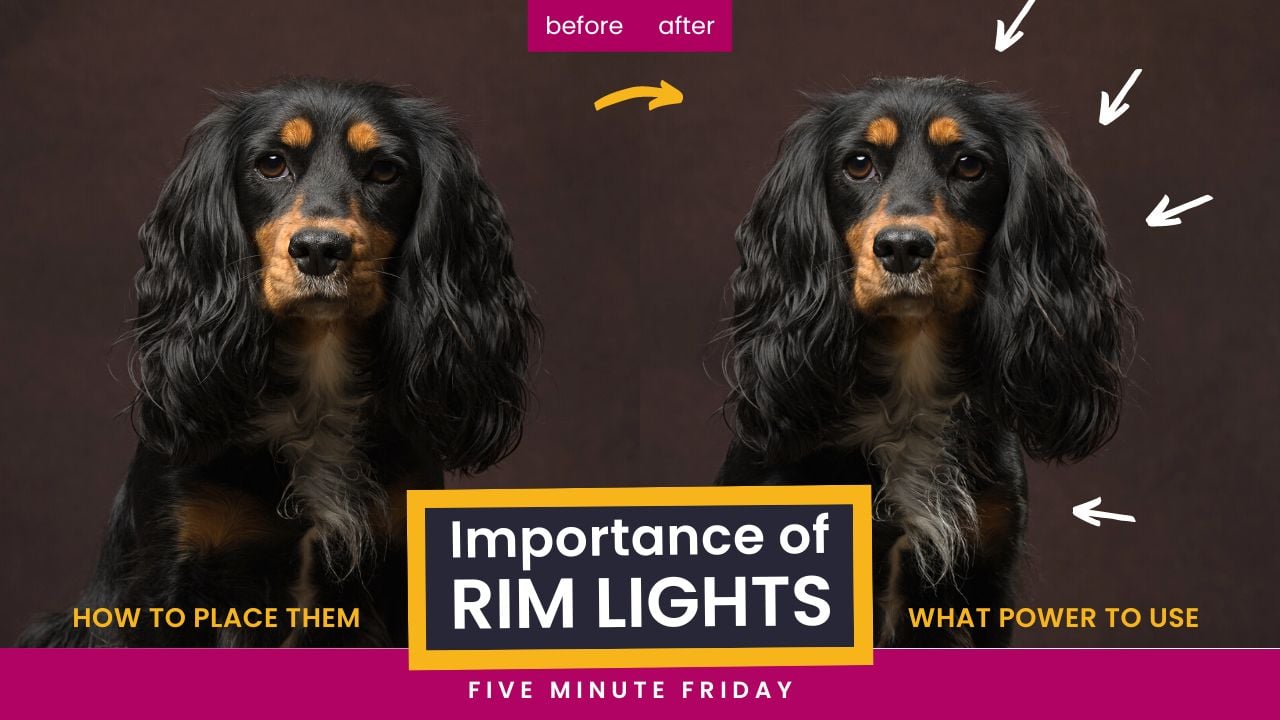
“The subject needs more separation from the background”, said every judge ever and using rim lights on your subjects in the studio gives you exactly that. Seen as dated and old-fashioned by some (usually when used as a hair light), and an essential tool for success by others, today we look at the use of rim lights in dog photography specifically (but this can be applied to anything).
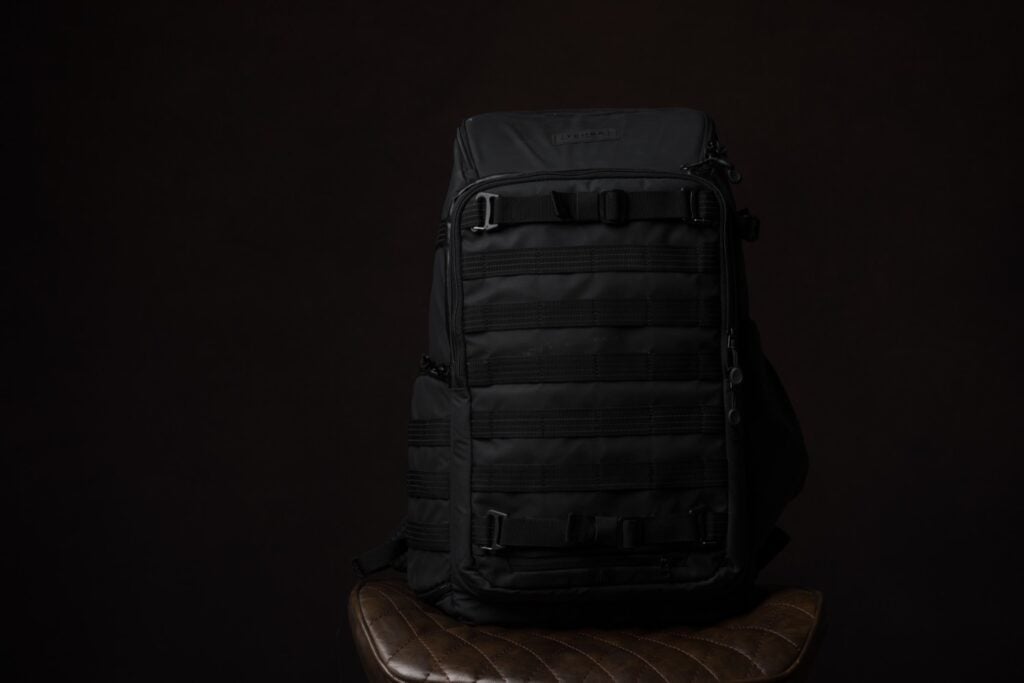
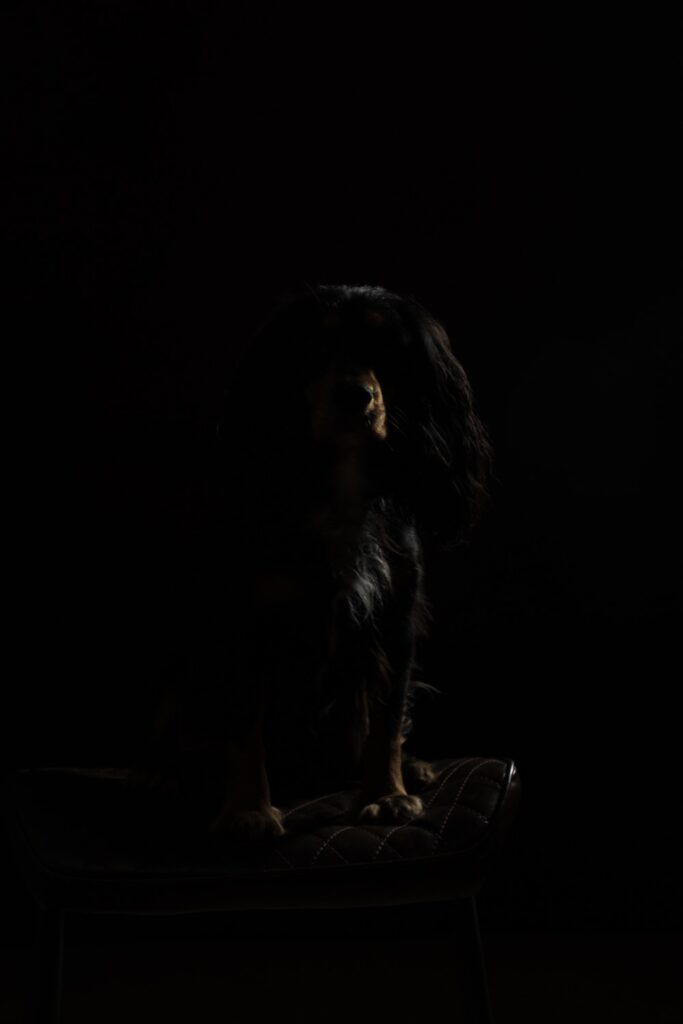
Working with black or very dark subjects against dark, or black, backgrounds can be a recipe for a disappearing disaster. At the highest levels of competition, technically correct portrait photography of any subject needs to have a rim light or some other separation from the background. Placing that light, knowing it’s at the right power and controlling it to prevent flare in your lens are all top issues most photographers face. Let’s look at rim lights in more detail…
There is an additional on this topic:
To view a long-form video of the full studio setup and light building, check out the behind-the-scenes inside the Premium Membership.
1. What is a rim light?
A rim light is a light placed to the rear of the subject lighting the “edge” of them, usually on the darker side if using one key light. It aims to provide a lit “rim” around the subject to separate them clearly from the background. Classic and awards-level portraiture usually always has one in play somewhere, somehow. It isn’t the only way to gain separation, but it sure is the easiest.
2. What power should my light be on?
How long is a piece of string? Your lights are likely a different power to mine, and as such me just listing some fractions here is useless. Your subject may also be smoother, sleeker or more reflective than mine, and your modifier may reduce overall output, reflect it more or be placed closer to the subject.
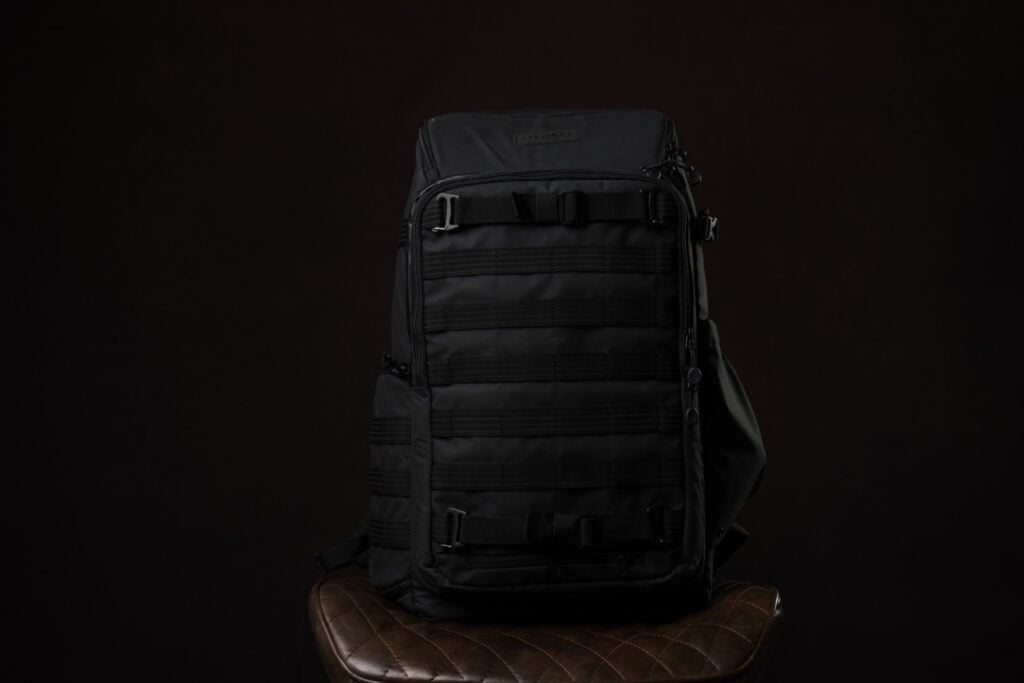
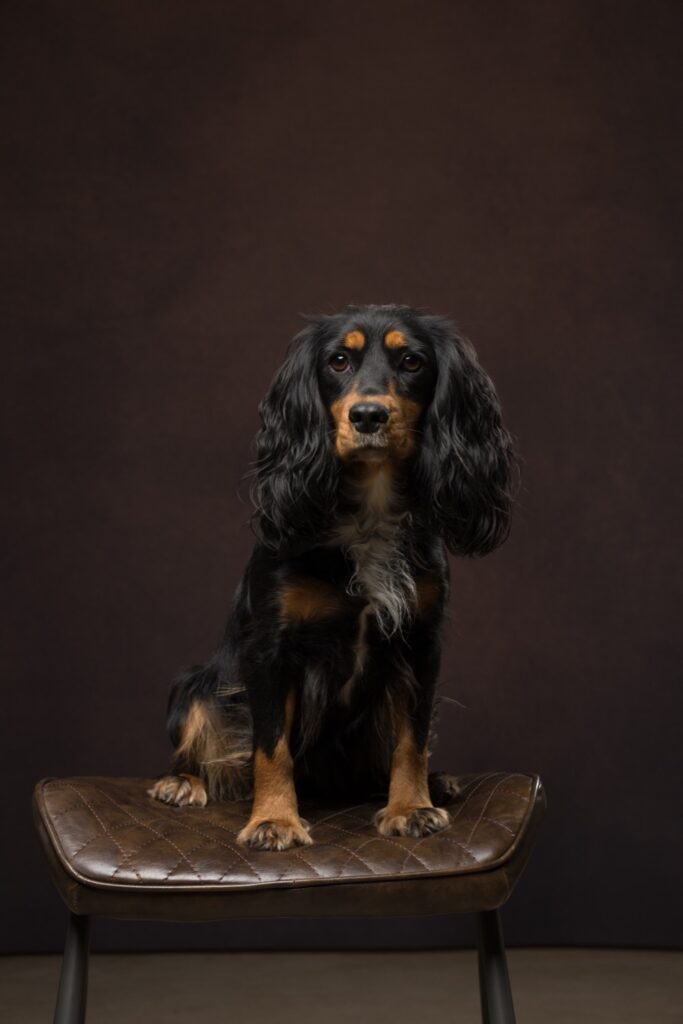
The truth is, there really is no hard and fast rule about power in this situation because there are too many variables. Generally speaking, your rim light should be around 1/3 the power of your key light, but again, this is not accurate for every case! A better measure of power for rim lights is to build the lights one by one in the camera and if your rim light looks like it’s hitting the subject at the same brightness and intensity as your key (main) light, then it’s on too strong and you should dial it down. It should be just visible, nothing more and nothing less.
Top tip: When setting up, build your light in camera by adding each light one at a time from the least powerful/impactful to the most. In this case you would start with your rim light, then move on to your fill light or reflector, then your key/main light, then add them all together. This gives you the most accurate view of what each light is really doing to your subject.
3. Where should I put my rim light?
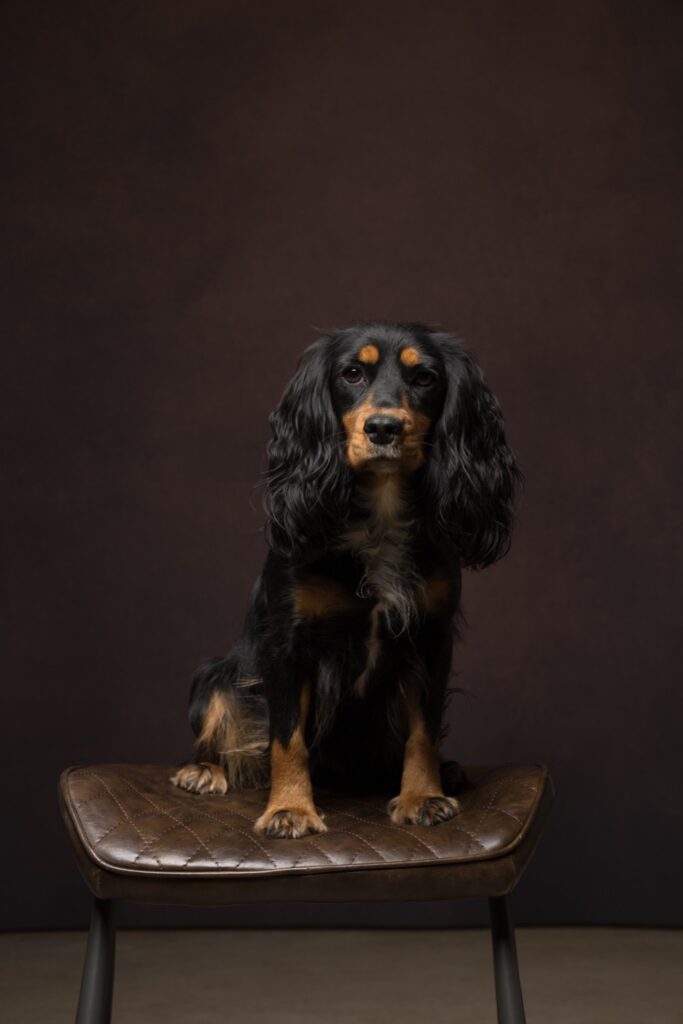
Placement is another variable factor. Your subject may be round and mine flat, yours may be angled in a different way and mine may be straight forwards. As a general rule, your rim light should be placed 45 degrees behind the subject to one side, usually to the side that is least lit by your key (main) light when viewing the subject from straight on.
It is important that you take into consideration the following factors:
- Is your subject’s nose lit by the rim light? If so, you need to move your light further behind the subject, or feather it more steeply across the back of them
- Is your subject’s head adequately separated from the background? If not, consider lifting the light higher, to cast light further across the top of the subject
- Is your subject lit evenly all the way down the side of them? If not, consider using a larger modifier on the rim light to allow the light to spill further from top to bottom
Using the list above, you can’t go too far wrong!
When you feel like you have all your ducks in a row, all that’s left to do is shoot. Enjoy the experience and play with the effects you end up with. For extra brownie points, consider gelling your rim to give an extra pop of colour from that side – it can have really fun results!