
Link to the product: Topaz Labs DeNoise AI – Nope. Not anymore.
In June of 2020, Topaz Labs Denoise AI came into my life and it was INCREDIBLE. Sadly, however, over the course of the following 3 years, every subsequent update to the application slowly made it worse, not better. For a long time, the “low light” setting was still safe, but now even this has gone to pot. For some reason, the results kept getting more and more aggressive and as it stands at the time of writing this (October 2023), I won’t use the program again.
Previously I’ve heavily endorsed the program, but I will only ever recommend products that I use myself and as this is no longer the case, I have to pull our support of Topaz Labs Denoise AI. Coincidentally, all this happened at the same time that Adobe was cooking up their own alternative. And…
It. Is. Spectacular. (for a paid alternative, DXO Raw comes with very good reviews)
I’ve prepared a super short sub-10 minute how-to for using Adobe’s Denoise AI in Lightroom Classic alongside comparisons with the output of that vs Topaz Labs Desoine AI on removing noise from images shot at ISO 12,800 here:
Let’s pause for a sec and run through some tips for using this tool:
- At the time of writing you can only use Denoise AI on RAW files
- Personally, I prefer to use it with the slider set to between 20 and 40 – higher settings like 50+ start to strip image detail too aggressively
- It it OK to have noise visible in the image – super clean images look a little too fake in our super AI-filled world now
Adobe Denoise AI vs Topaz DeNoise AI
You may just have come here for the comparisons, if so, you’re in luck.
This image was shot at dusk in Quebec, Canada, at 12800 ISO. Here is what the noise looks like with no treatment at 200% zoom off my Sony A1 body:

Here’s the same RAW file after moving through both Topaz Denoise AI and Adobe Denoise AI to remove noise from images. The left is Topaz and the right is Adobe. Note both the detail discrepancies and the colour richness:
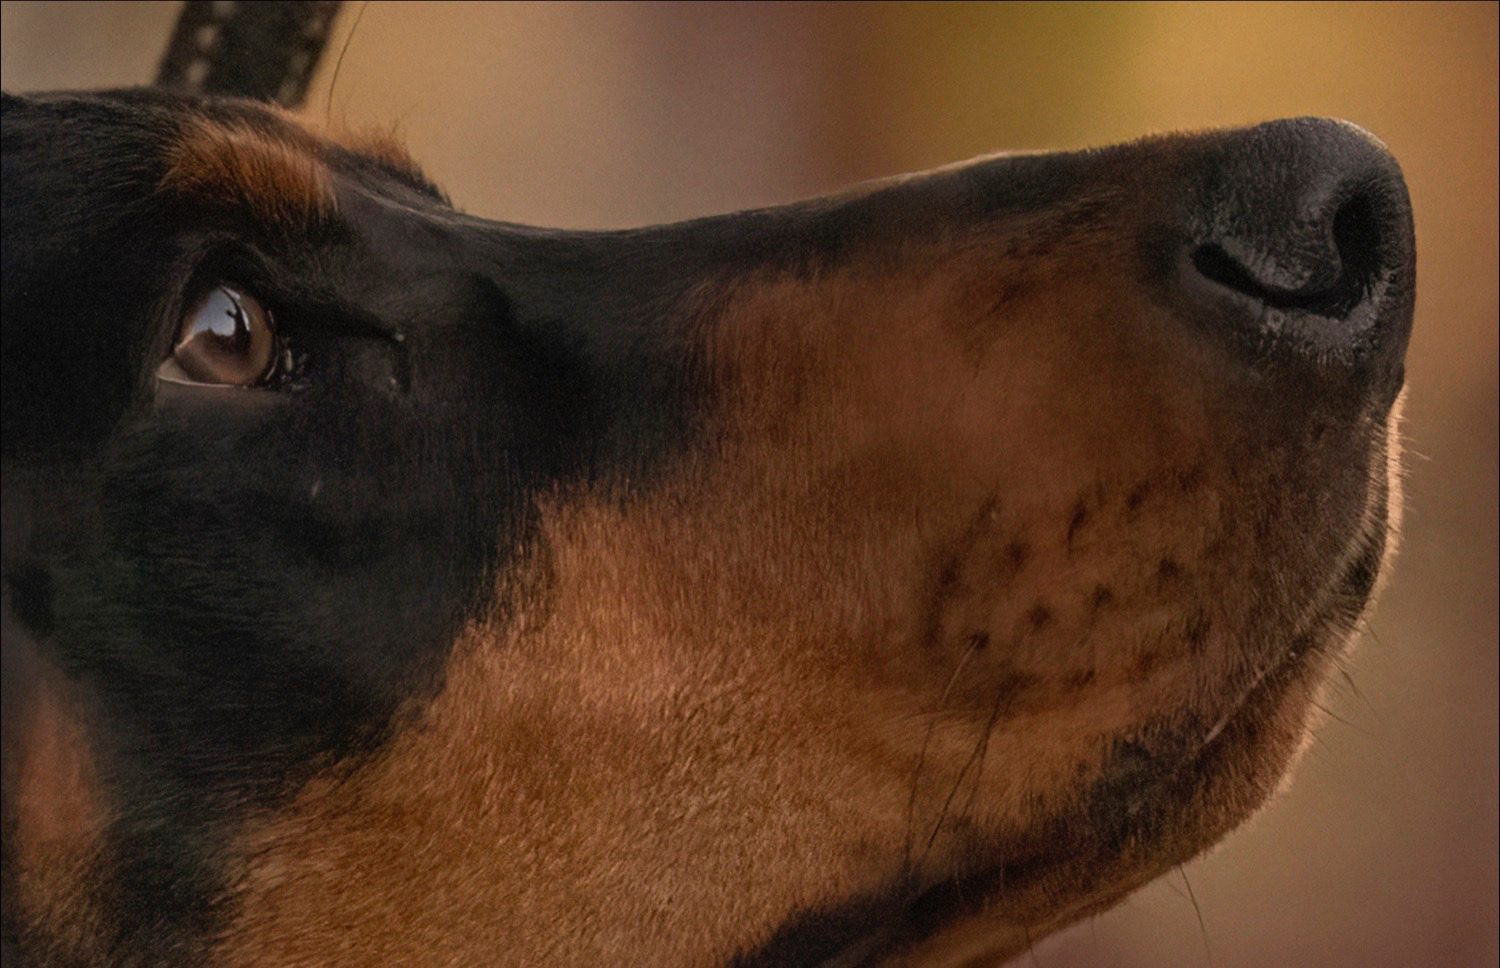

Notice that when removing noise from images, Topaz Denoise AI strips far more fine detail as it attacks the grain aggressively, stripping both the noise AND the image quality at the same time? Sure, it removes noise, but it also kills your IQ – that’s not ok. Specifically, look at the coat detail on the cheek and then around the nose. That difference is very noticeable and degrades the file substantially.
In contrast, Adobe Denoise AI acts with more restraint, leaving a little more noise in the background and the image as a whole, but replaces (recreates) detail within the image much more delicately, leaving you with a better overall image quality at the end.
Here’s a couple more examples, this time focus the detail on the dogs chest and also on the red wall in the background – check out how the colours part with Topaz, yet remain mostly intact with Adobe:
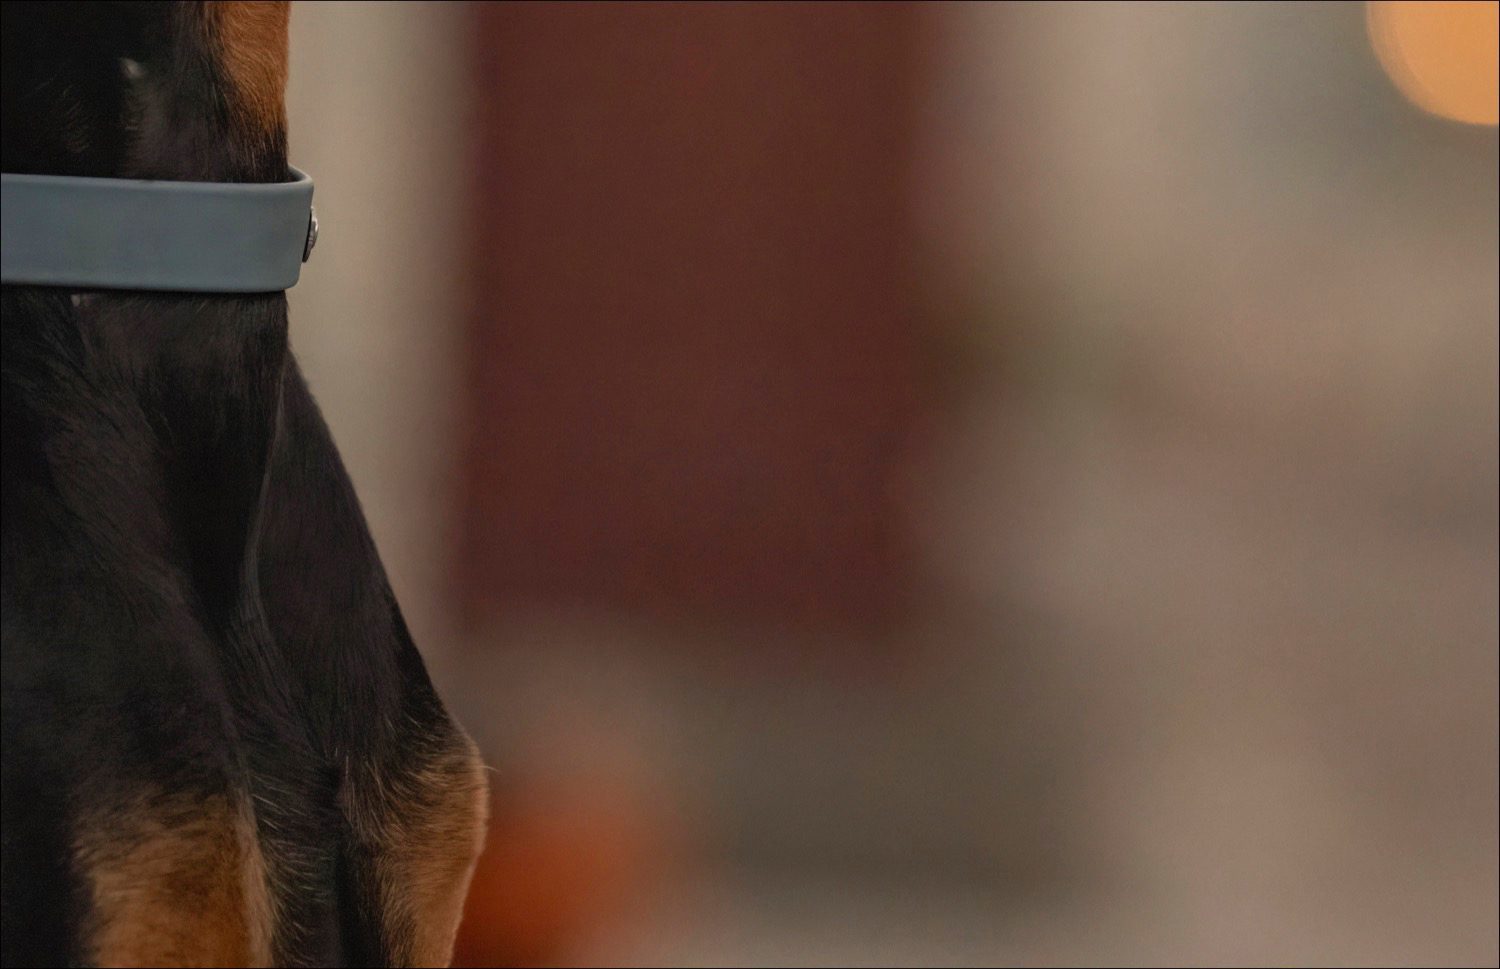
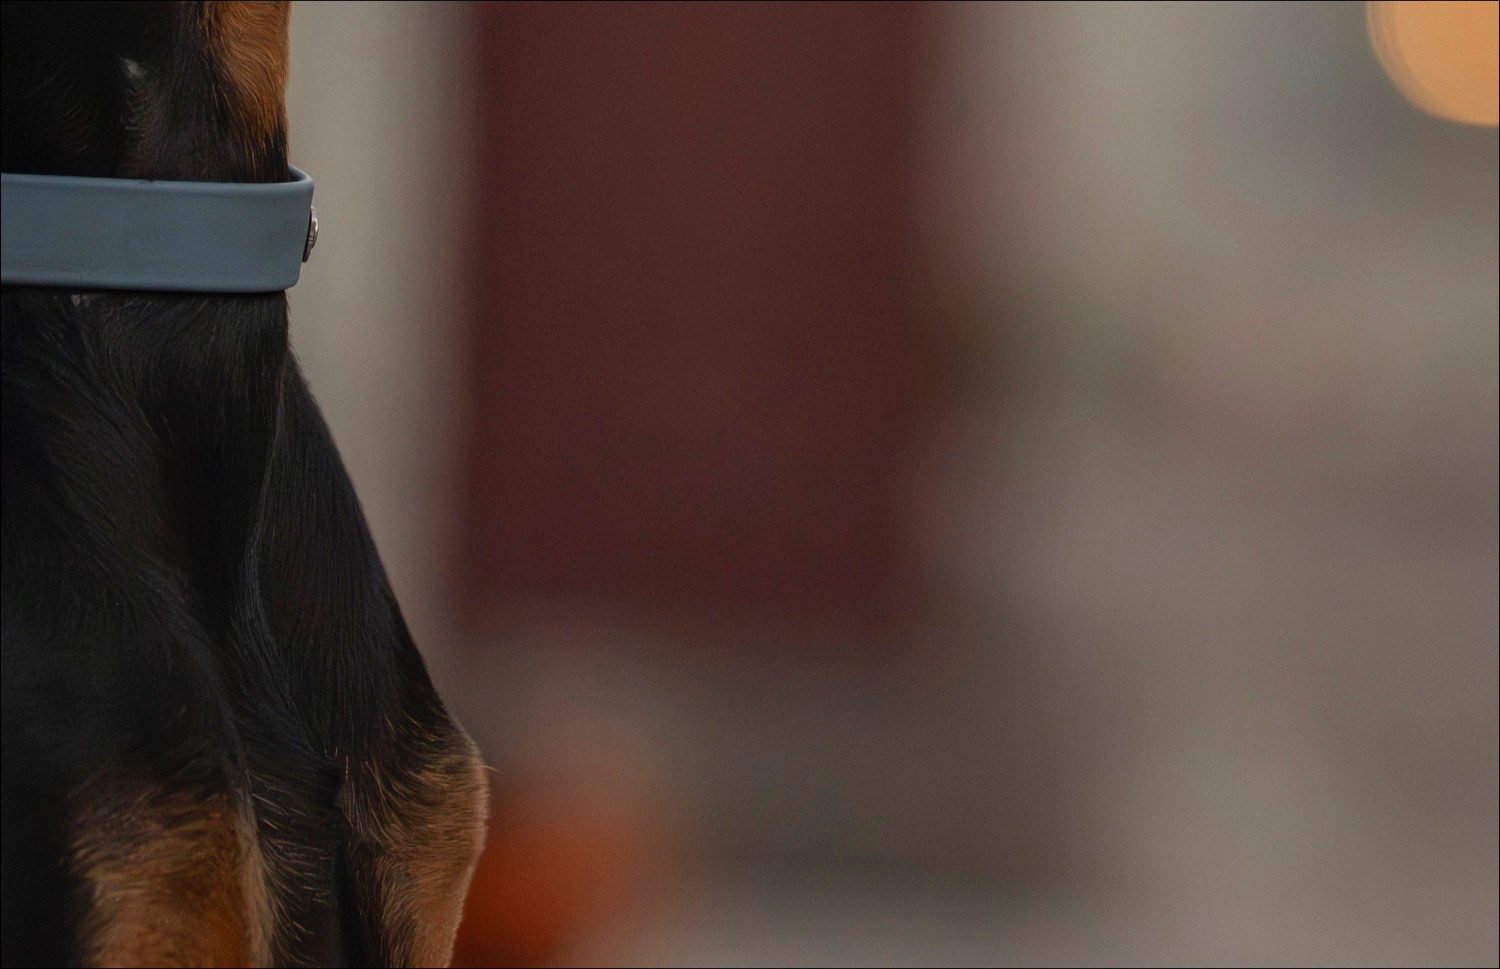
- Do both tools remove noise from images? Yes.
- Do both tools fix a problem within the image? Yes.
- Does one do it in a way that preserves the integrity and detail within an image? Yes – Adobe’s Denoise AI.
For once, Adobe wins a battle. I’d much rather have a touch more noise in an image than sacrifice coat detail in random places.
Have you tried it yet? Why not tag us in your results online – we’re always @thattogspot on Instagram, Twitter, TikTok and FB.
Here’s a quick final edit of this image, vibrant and striking I hope!
