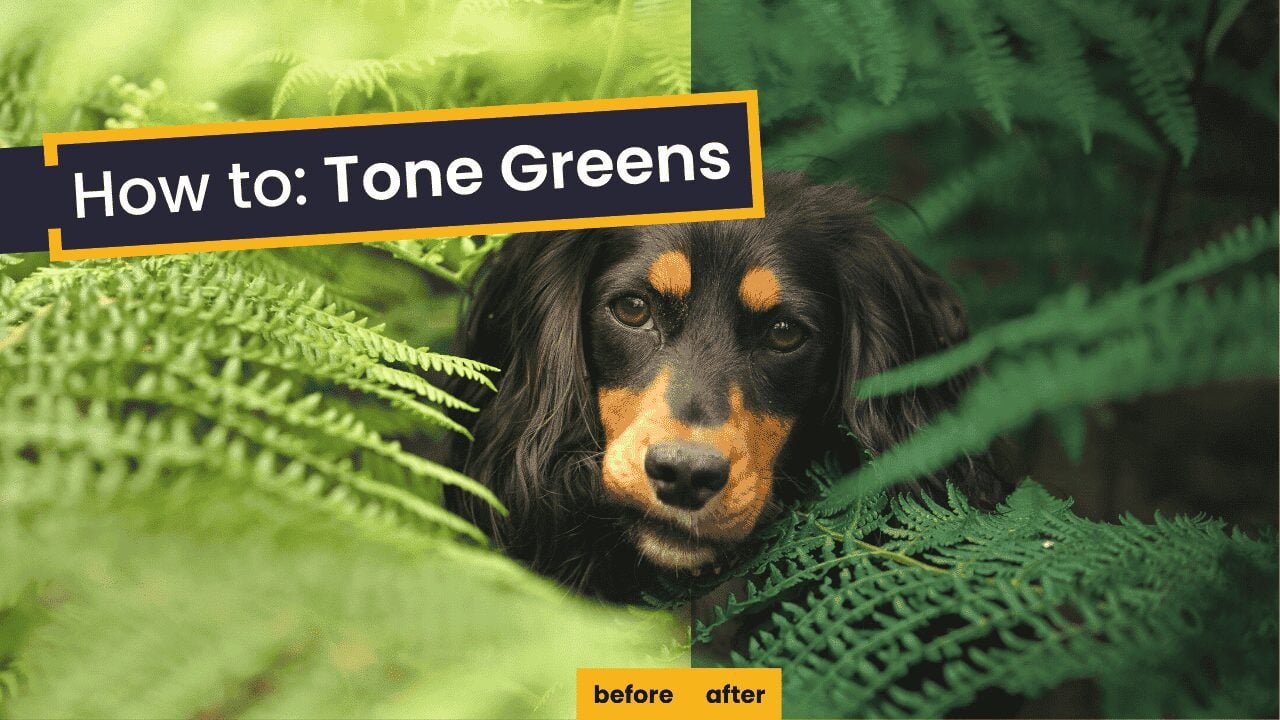
Photographers have a lot of hate for the colour green and I kinda get it – today we’re going to run through simple tips for how to tone green in photography using Lightroom Classic (also doable in Lightroom CC, Mobile and Adobe Camera Raw).
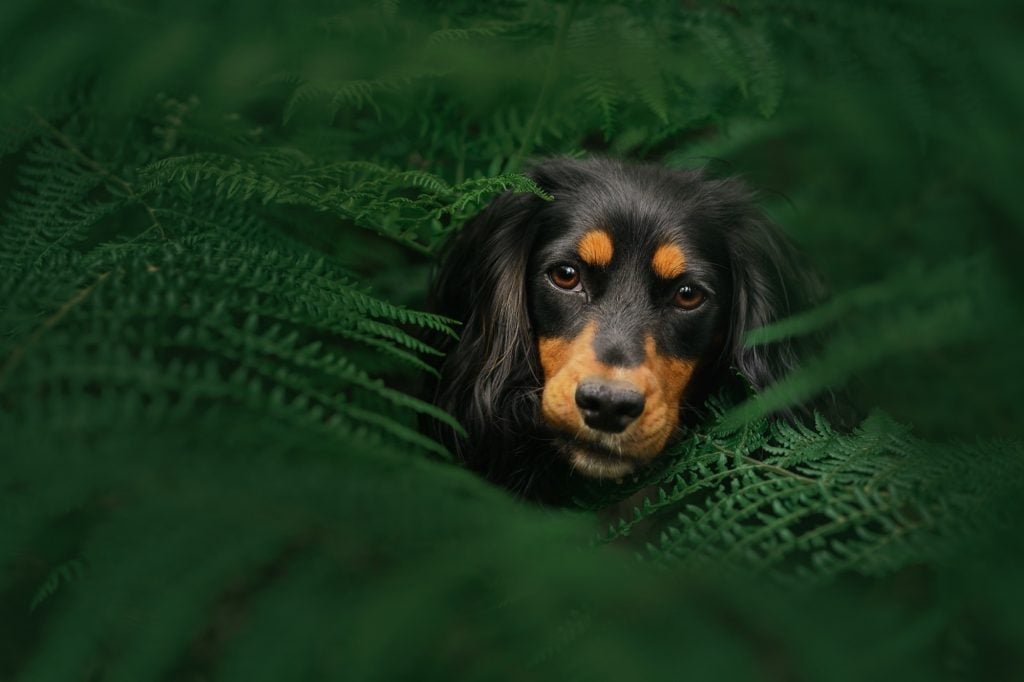
Bright green, overwhelming green, absolutely neon yellow-green and sick green all appear in natural light photography and sometimes take all of the visual impact away from your subject. Being able to tone those colours to a point where they no longer take over the photo is a core skill as a visual artist (that’s you, btw).
Let me show you a before and after, nothing has happened on the subject yet:


There is a video on this topic that will help more than just writing will, it’s here:
Essentially, toning greens consists of controlling the lightness, hue and saturation of the colours green and yellow. Helpfully, there is a little module that does all of those things in camera raw, lightroom classic and lightroom CC.
By using this, pairing it with an appropriate starting camera profile and then finishing up with toning edge treatments, you can control your greens with relative ease.
Then, you can feel confident in taking the image further, to retouch the face with a contour, the eyes with an iris enhance and the overall image with a levels bump.
That leaves you here, all finished!