
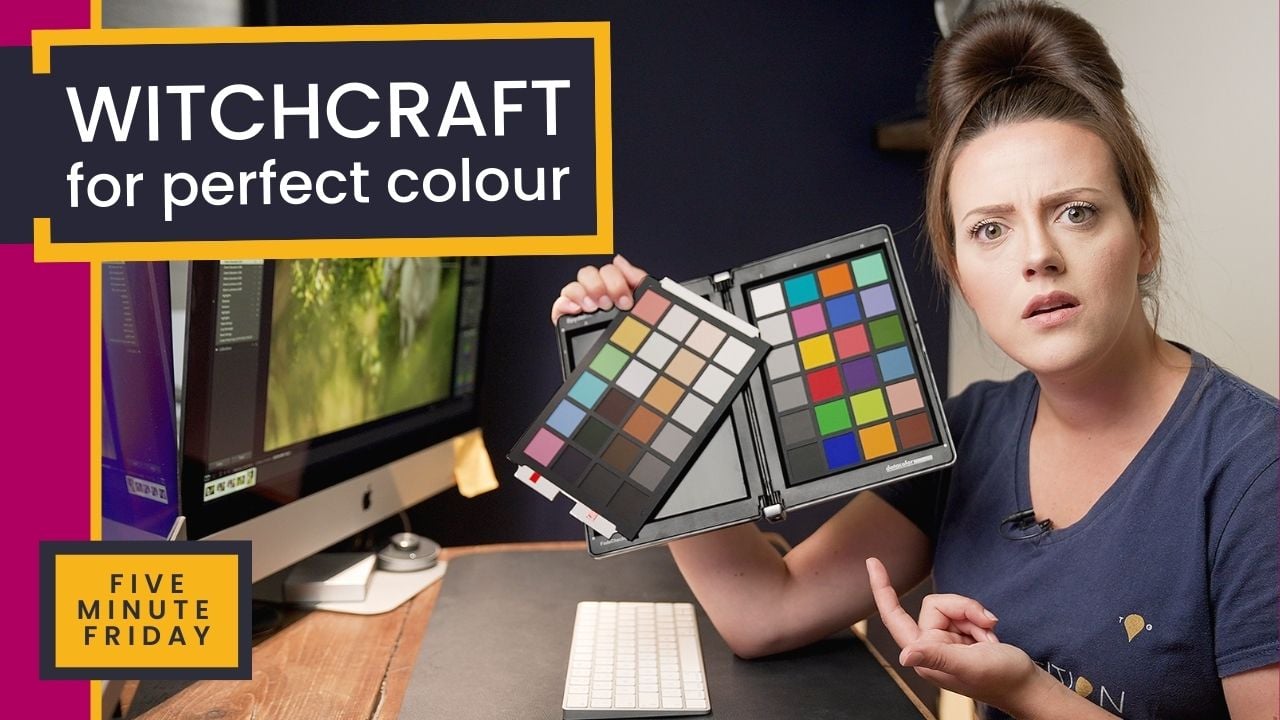
We talk about color and white balance ALL THE TIME and it’s obvious why – colour, after focus, is the most likely thing photographers get wrong when they’re still learning. Datacolor kindly sent us over a Spyder Checkr to test and review and we ALWAYS tell anyone who wants to run a brand partnership with us that if we would keep and use the product long term then we’ll create a video with it. If we wouldn’t – either because we don’t like it or it doesn’t do what it says it does – then we’ll send it back and end the partnership.
This is important to me because I don’t want to be suggesting things that are crap and also, I’m a terrible liar. Like, really bad. So if I do say “This is freaking amazing” then it actually is.
And this is.
If you’re considering this product please use the button below, this is the only way that we and the brand know that you heard about this right here:
There is a video on all of this, including the process of correcting the colour, that’s here:
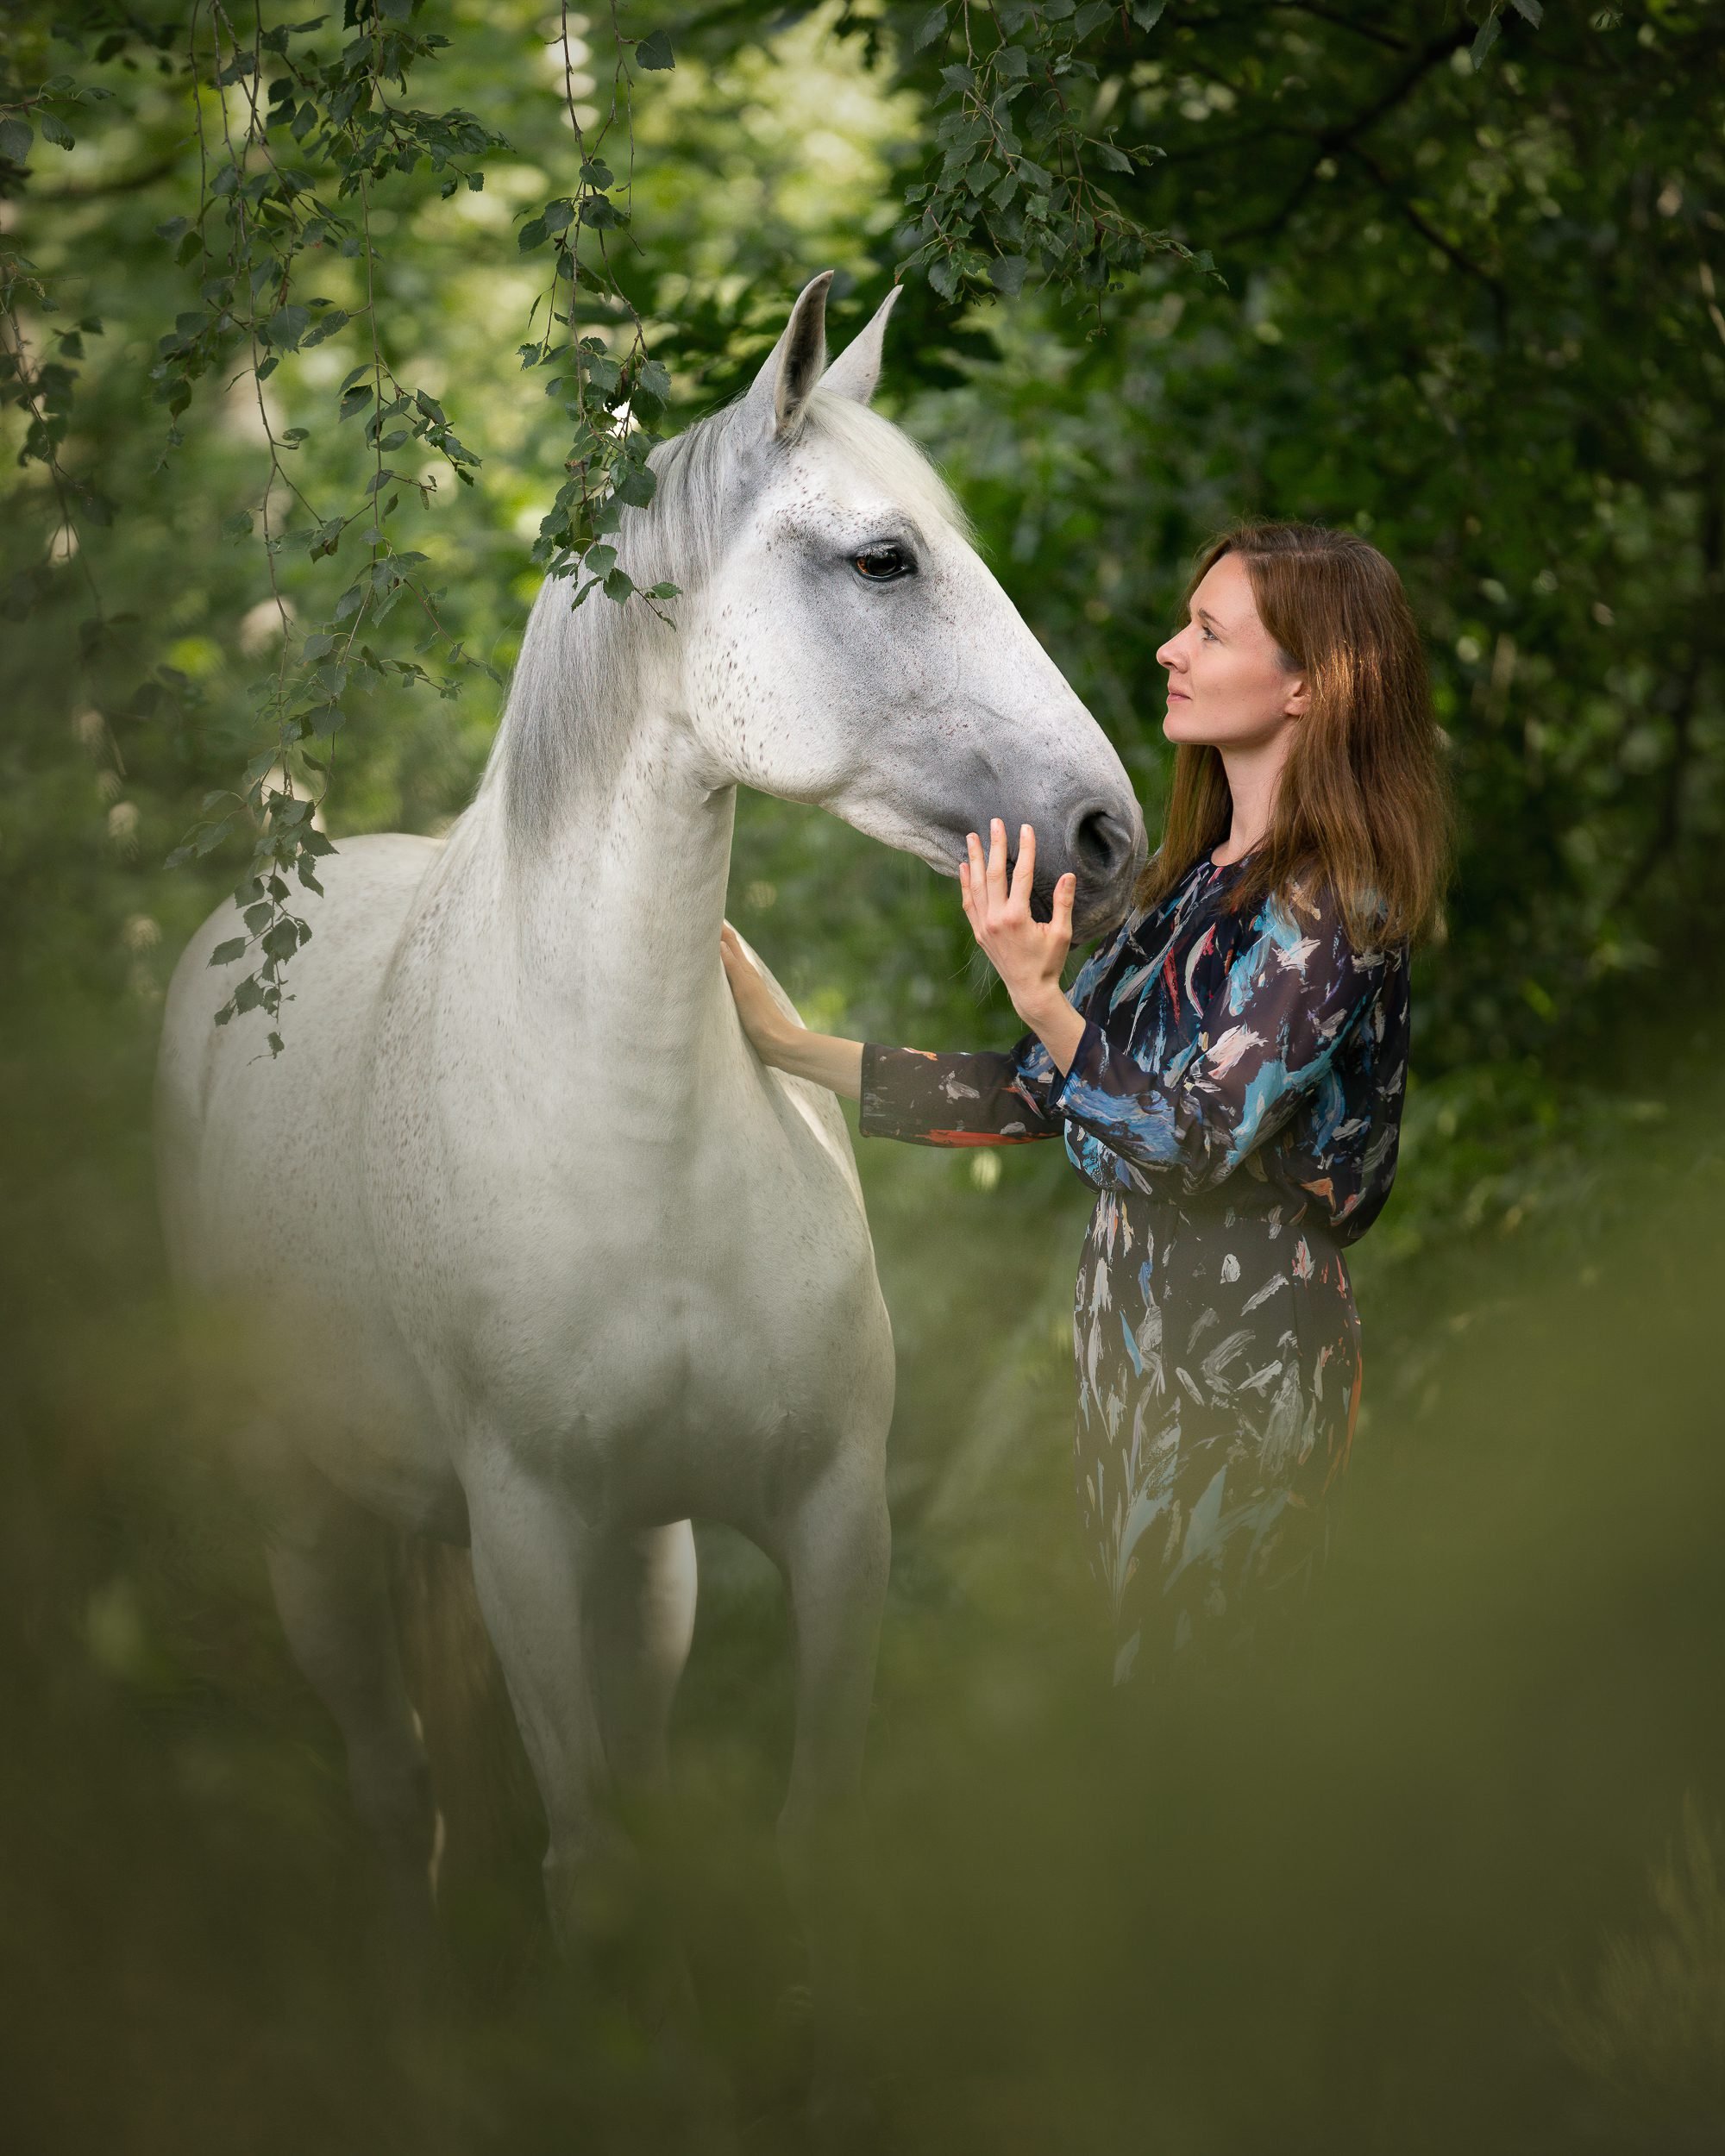
I threw the Spyder Checkr in the deep end by trusting it to get my white balance AND perfect colour on a weekend of 4 client photoshoots and they all included people, in different light, in a woodland. Yeah I was going all in on this.
Everyone knows Sony colour is a bit of a mess, especially with greens and skin – no more my friends, no more.
The process for using this product is below but you can get away with just grabbing the Spyder Checkr 24 instead of the full 48 like I have.
How to use the Spyder Checkr for perfect colour:
Start with software installation:
- Get the card that comes with the product itself and follow the instructions on the card
- If you set your 48 up like mine, or use just the 24, you’ll need to open the software, find the preferences and then change the bottom-most option from 48 to 24
- Open Lightroom, or whatever tool you’re using from the compatible software list, and check you have the Spyder Checkr software as a plugin option
Then, you’re ready to use the tool!
- Take a photograph of the Spyder Checkr in the scene you’re working in – I would recommend turning it so that the black square is at the bottom right and the teal square is in the top left. This will help you later on!
- Make sure the scene is well exposed so that neither the black nor the white square are clipped
- Try not to be too far away from the tool
- Continue with your shoot as normal. If the light changes drastically, re-shoo the Spyder Checkr
Load up the images from the shoot into your image handling tool, personally here we use Lightroom Classic for image handling and organisation, so we’ll be in there. If you’re brand new to this tool, and want to use it yourself, consider the Lightroom for Beginners short online course.
The following is my neater, more refined workflow in Lightroom
- With the image of the Spyder Checkr open, crop the sides so that they neatly fit inside the tray with the color cards on
- If needed, rotate the cropped file to have the black square in the lower right corner
- Use the eyedropper to set your white balance to the square E2
- Ensure E1 is between 90-96%
- Select all the images from the shoot and sync all settings EXCEPT the crop to the rest of the images in the set
- On the Spyder Checkr image, right click on it and select Edit In -> SpyderCheckr Editing
- In the window that appears, alter the overlay to fit the squares as needed, check the correct output and then Save Calibration
- Name it something distinctive – I use the client and the location
- Quit the window
- Quit Lightroom & reopen on a shoot image
- Hit the new preset in the presets list and watch the magic happen!
- Select all the images from the shoot and with this presetted image visible as the source, sync ONLY the HSL/Color settings to the rest of the shoot images
You’re done!
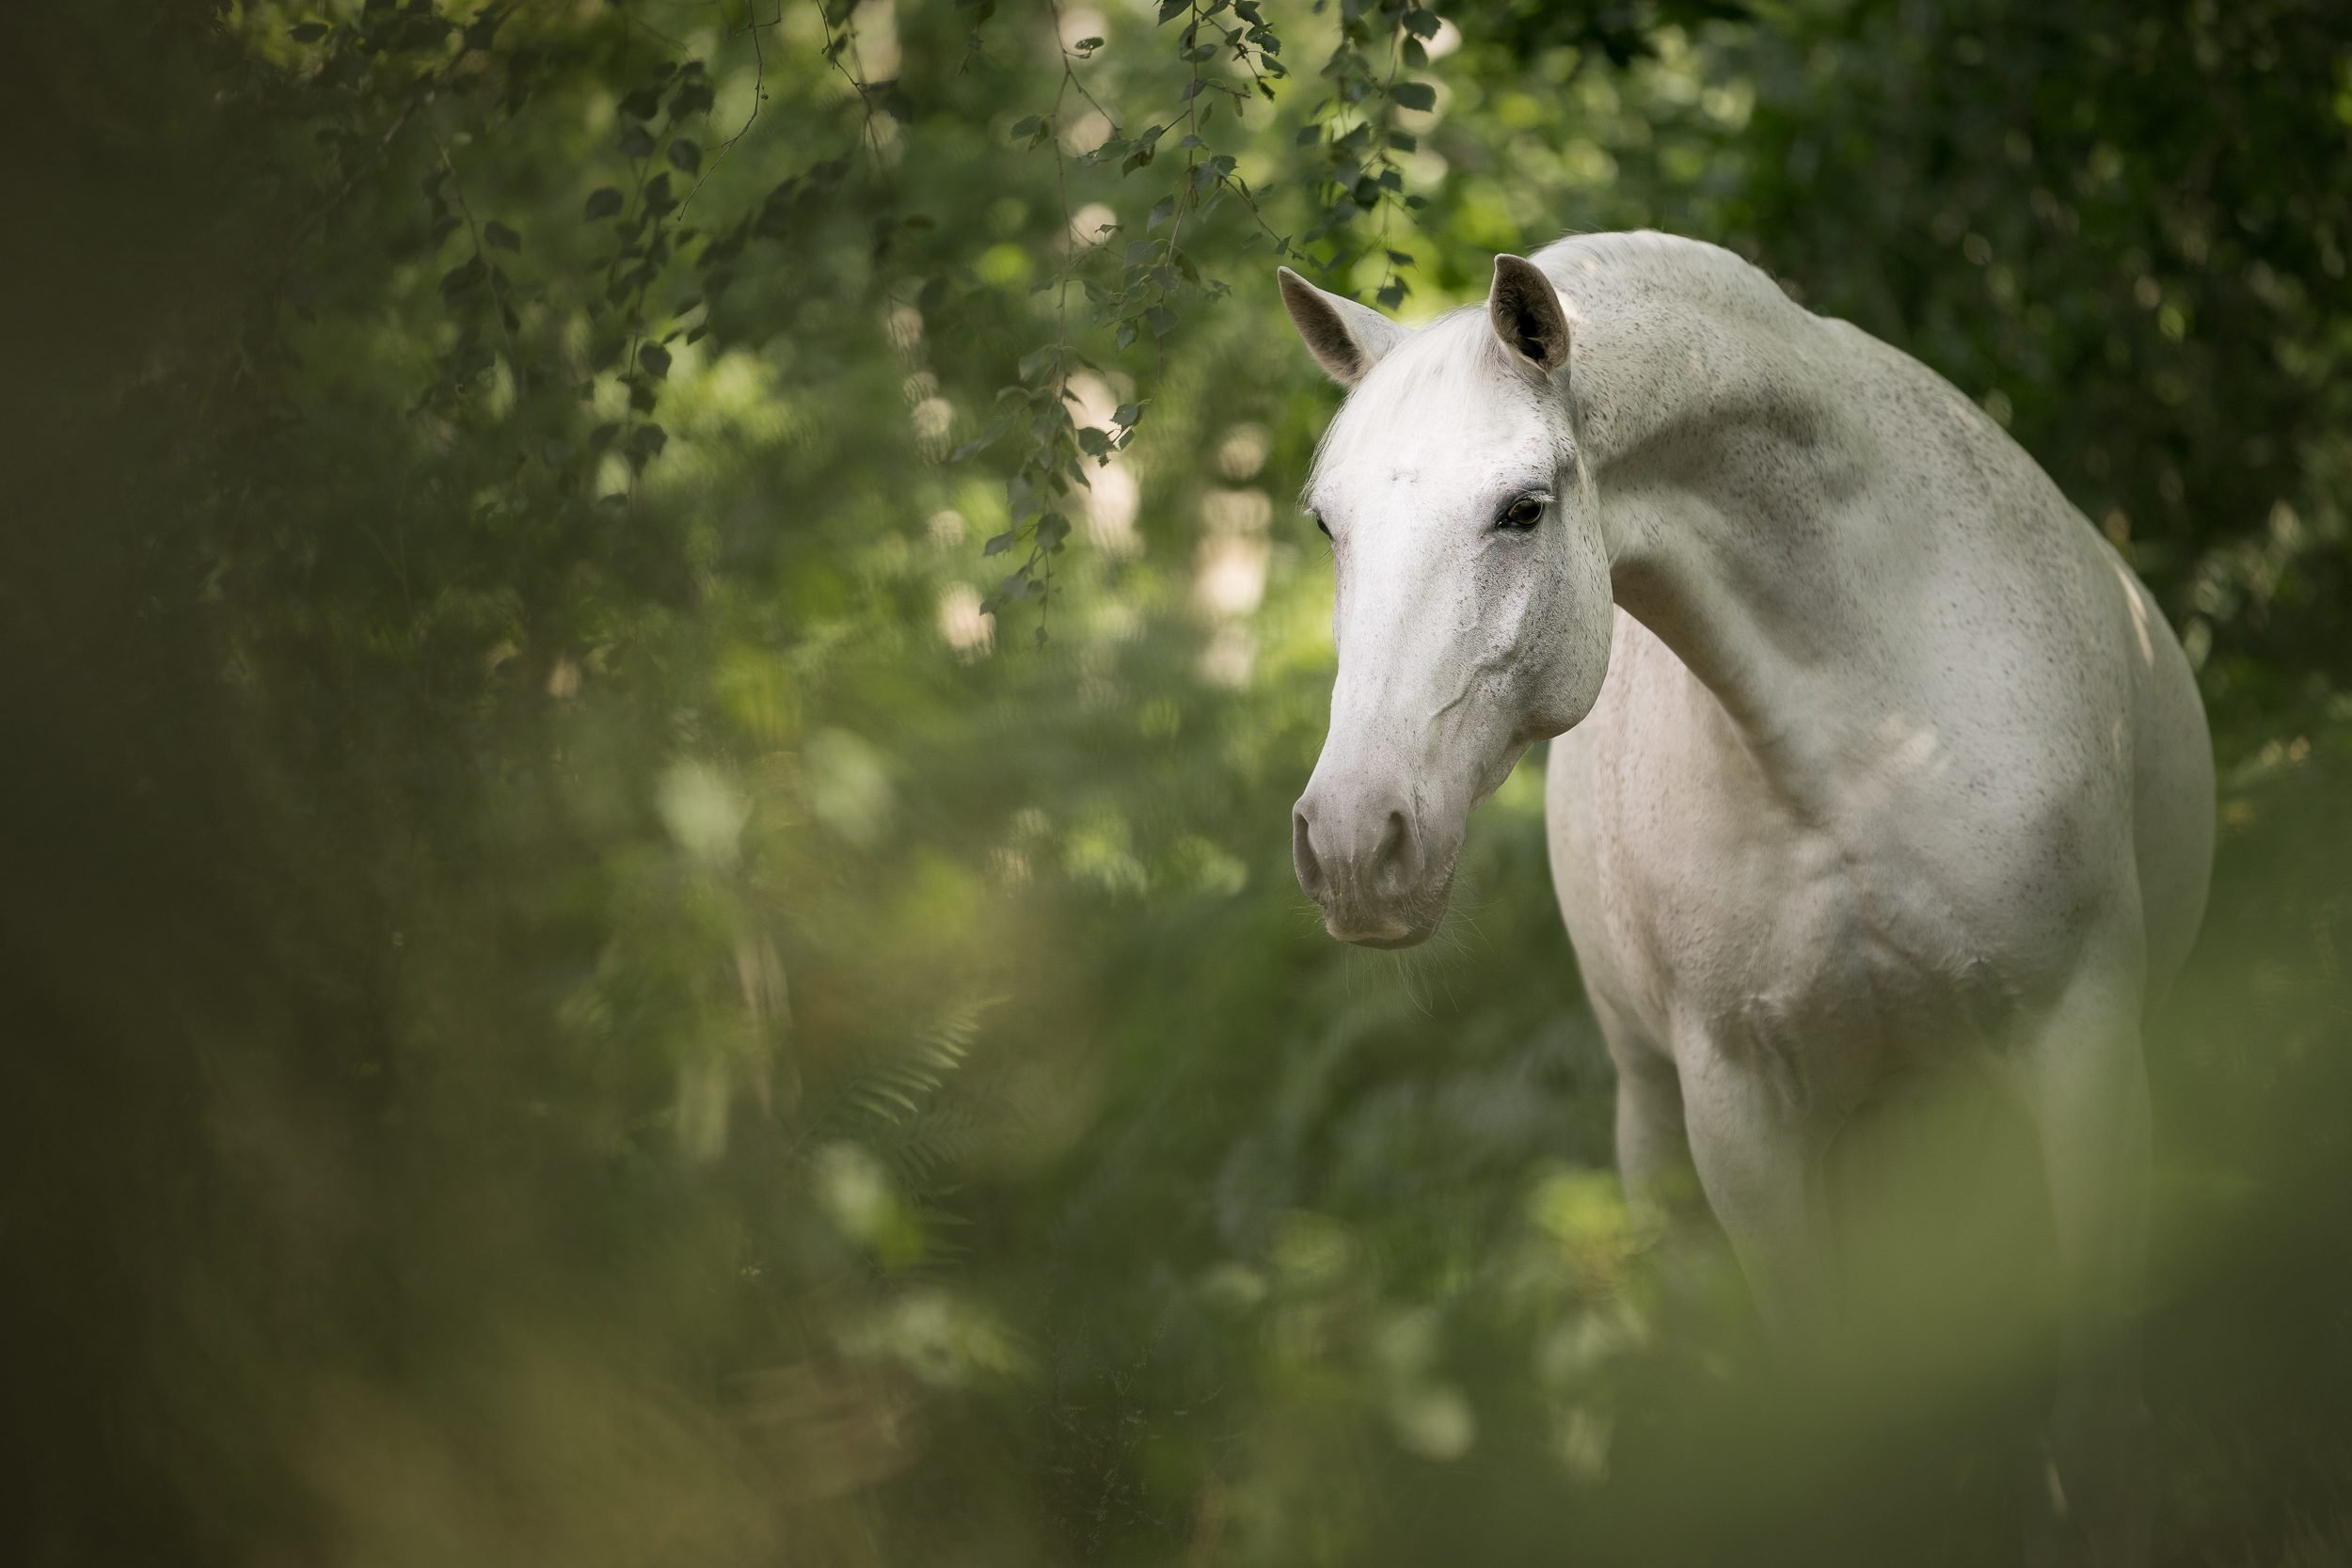
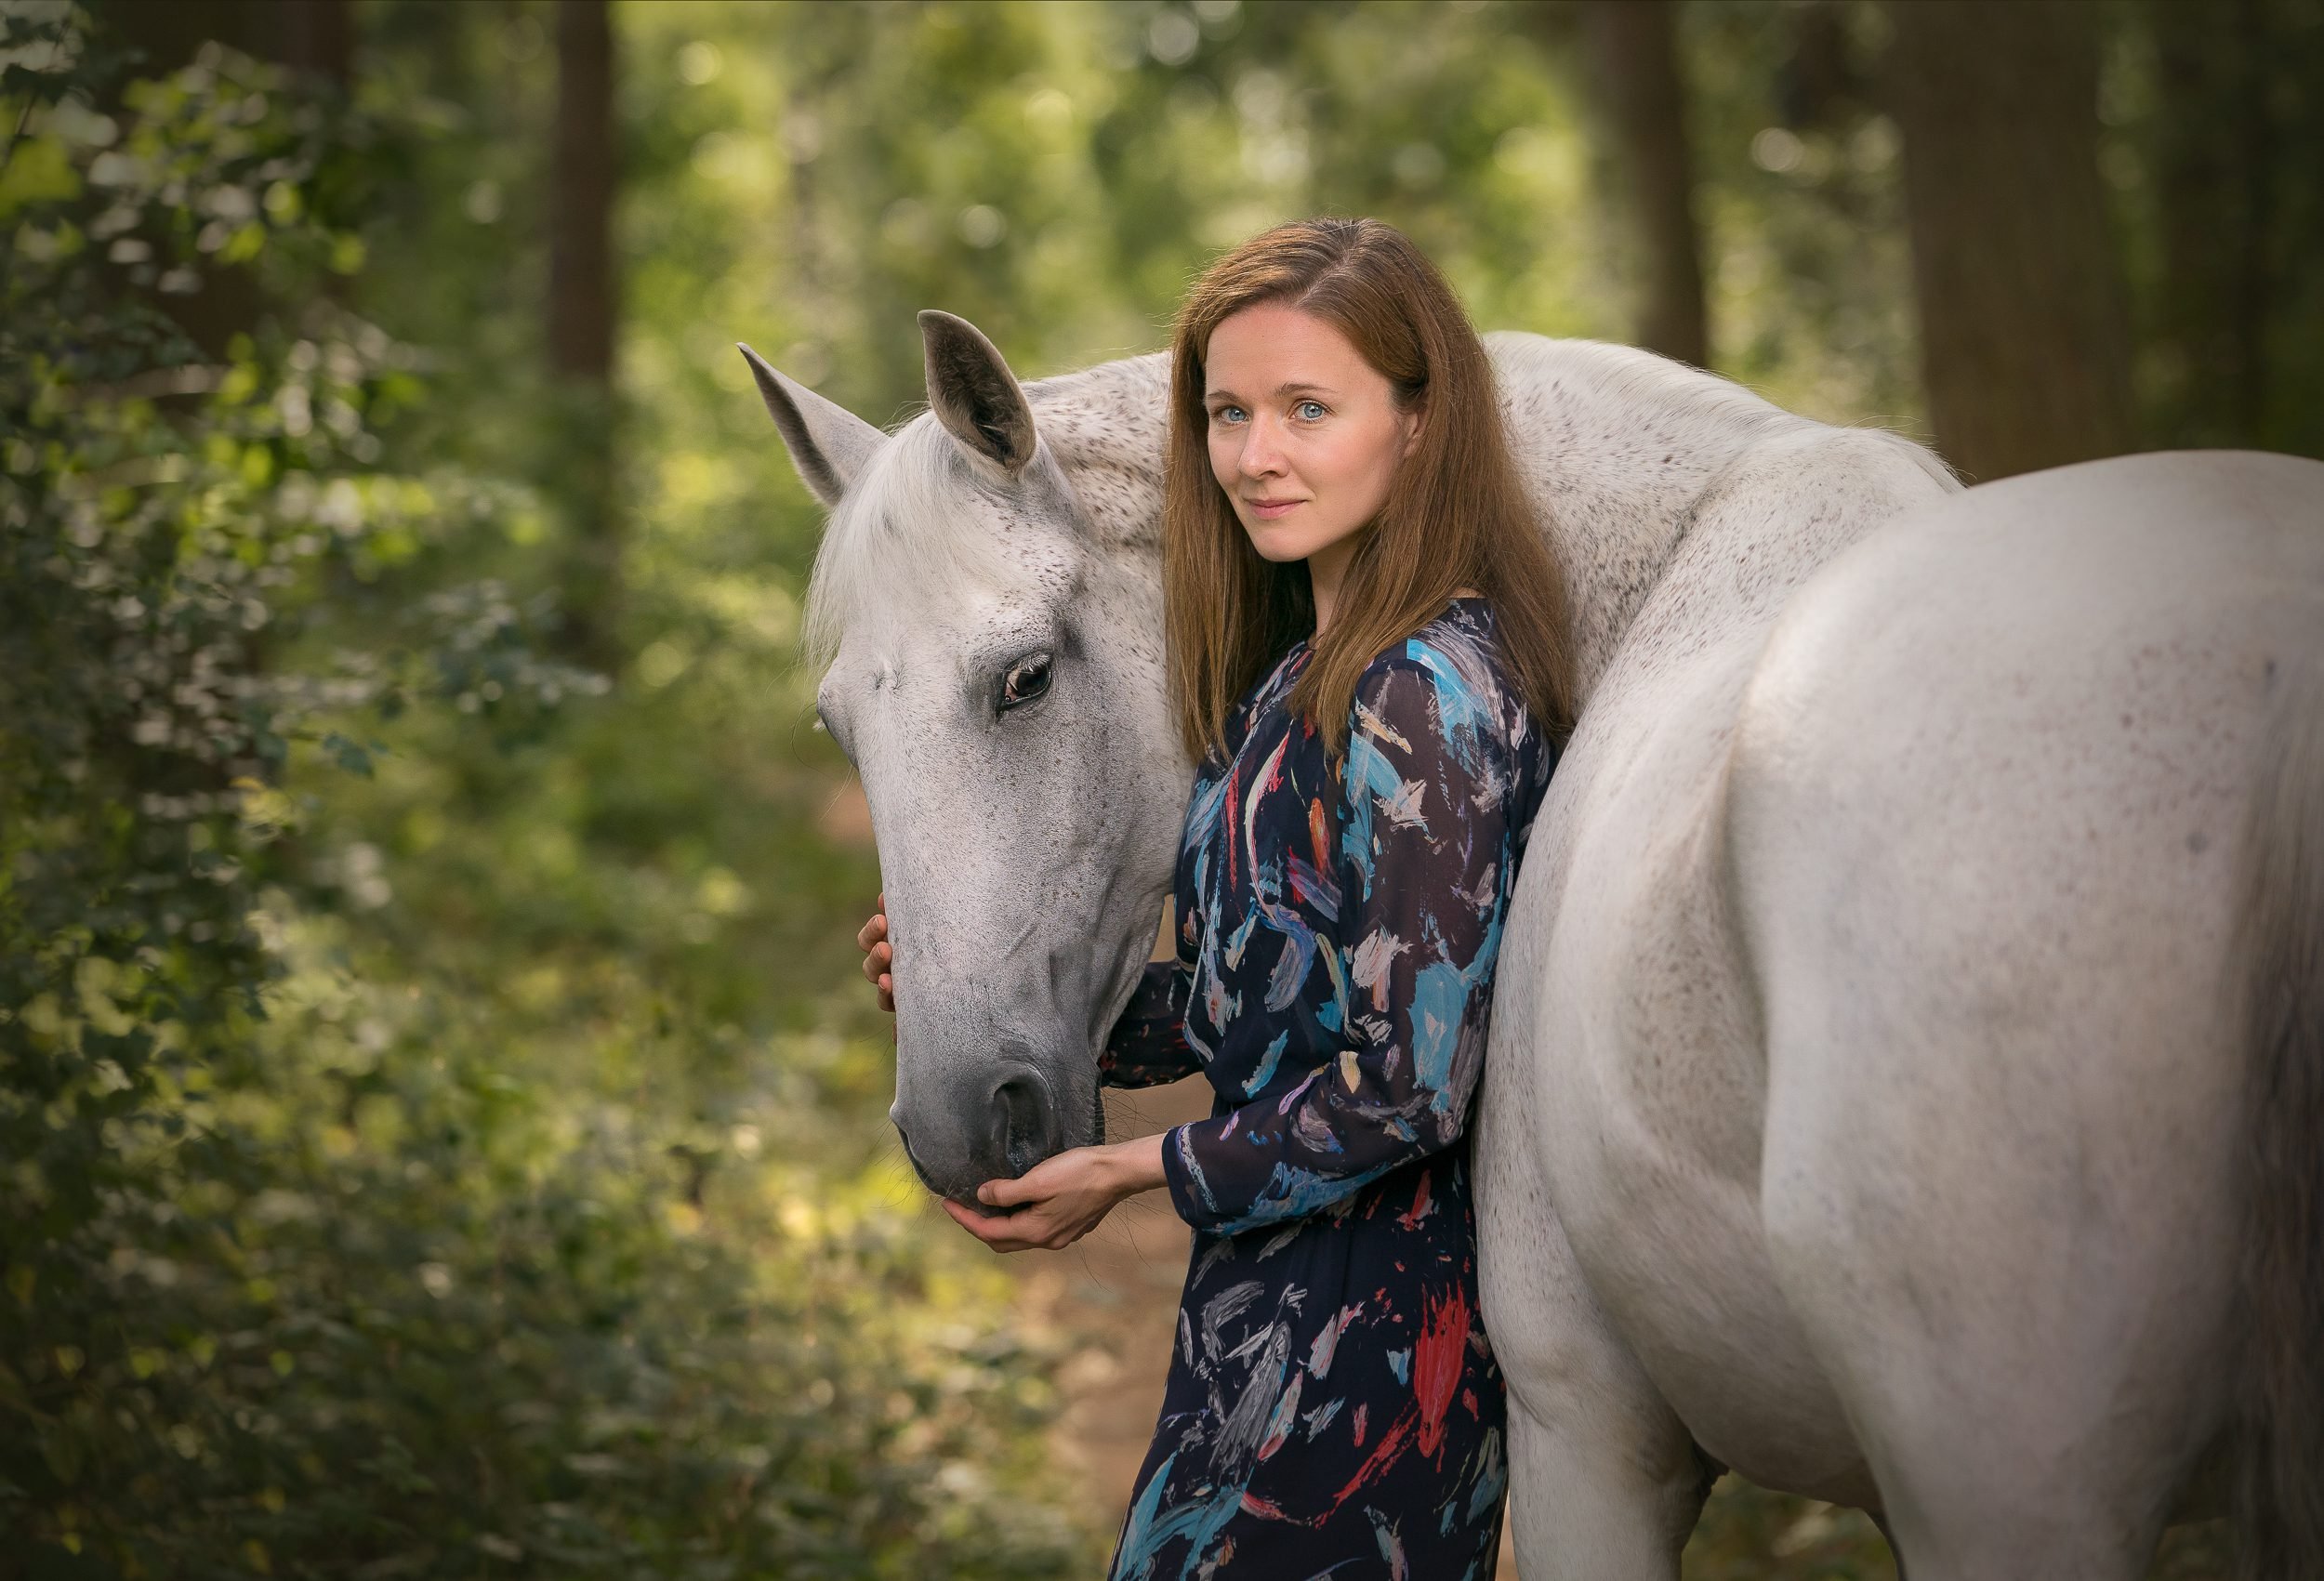
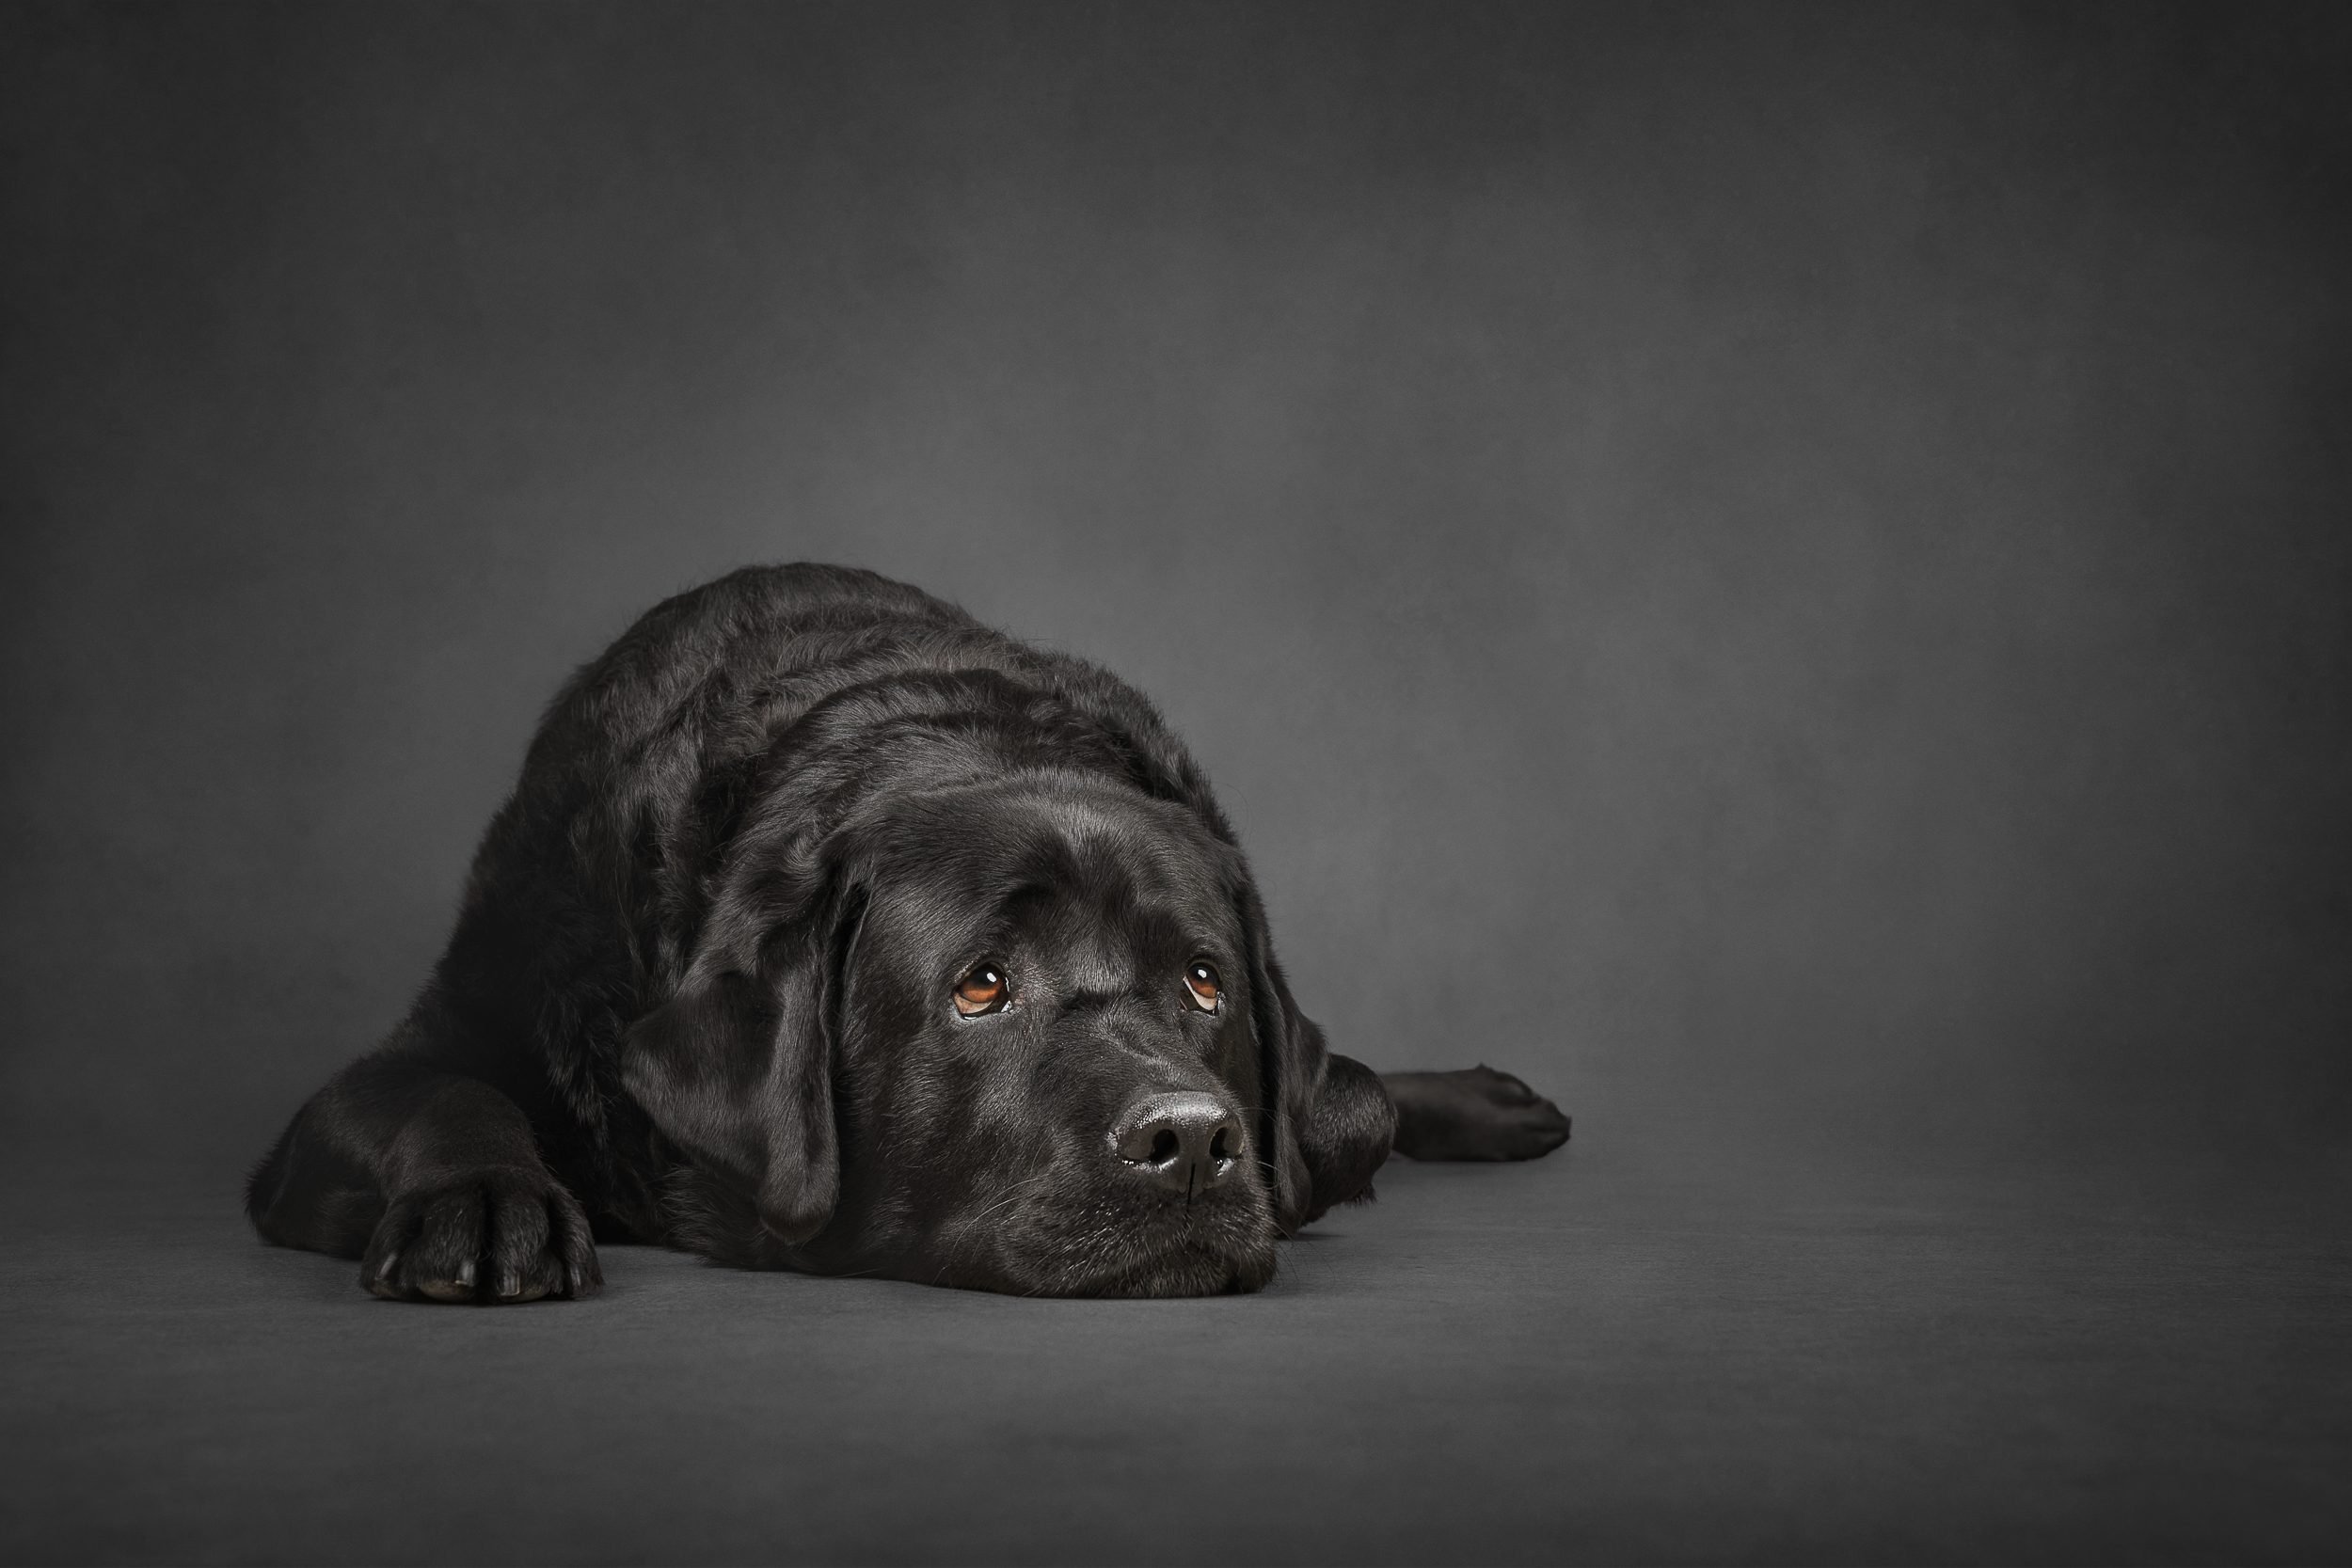
I won’t shoot without this tool now but here are some images where the white-balance and colour have been 100% handled by the Spyder Checkr:


Hi Jess,
When you take your shot, do you set your white balance to automatic or are you still setting it with a grey card just incase?
Annabel
I use the grey card that is part of this tool now 🙂