
This week I figured why not cover a simple trick in Photoshop that I use to calm down bright bokeh in the background of images. This is a super useful technique when the viewer’s eye gets pulled away from the subject immediately on a first look at the image. I use it a lot, so why not share it!
The process
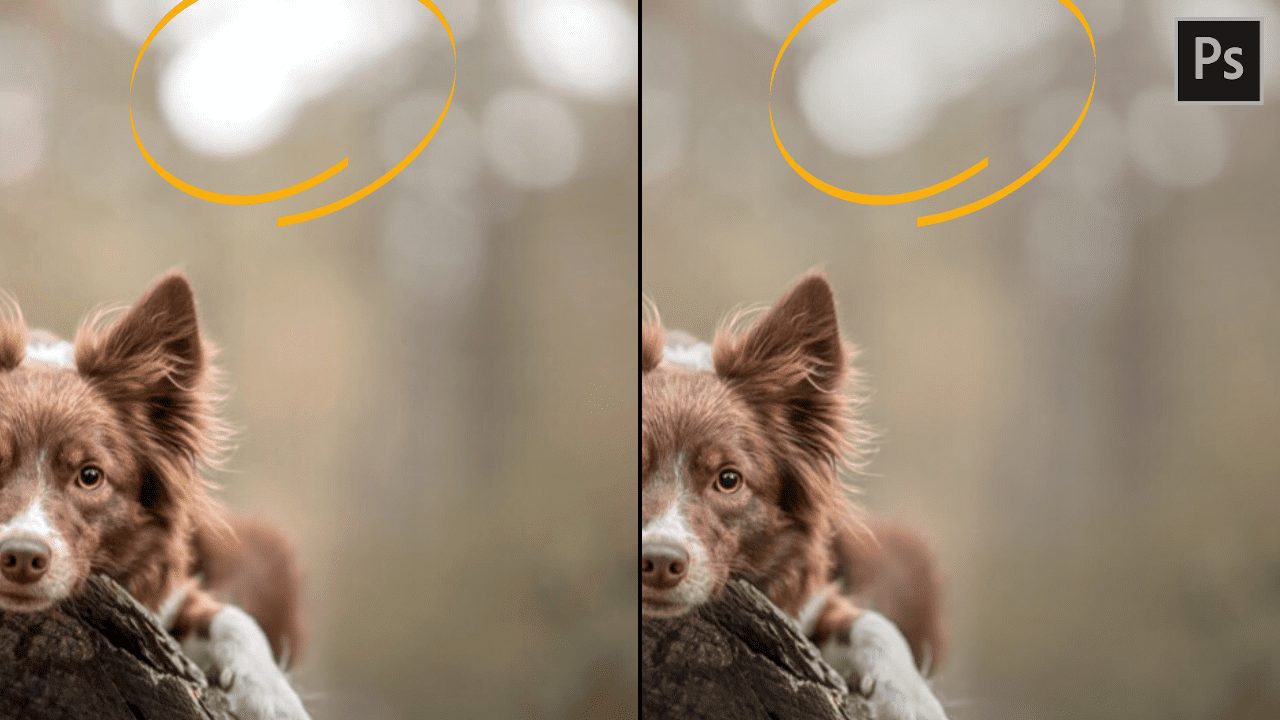
For this video I started with this image of Pippi which was still being moved through the editing process:

See how your eye moves straight up to the top of the image, above Pippi’s head? Yep, that’s what we want to calm down.
The first step is to create a new layer. You can do this by clicking the little plus icon within a square at the bottom of the layer panel window. It looks like this:

Then, you need to pick a colour in the scene. Because you’ve just made a new layer you need to make sure that the sample is pulling from “all layers” or “this layer and below” in the little dropdown on the top menu bar. For me I just picked a colour within the darker background, here:

With the colour picked and on the upper tile of your colour palette, it’s time to paint on the new layer.
Grab a soft brush just larger than your bokeh circles and at 100% opacity, paint over the bright areas, like so:

Then, we need to change the layer blend mode so with your strange painted blob layer selected, click into the blend mode dropdown (where it says “normal” above the layer stack”) and select darken:

With that done, all you need to do now is change the opacity of the layer to suit the image.
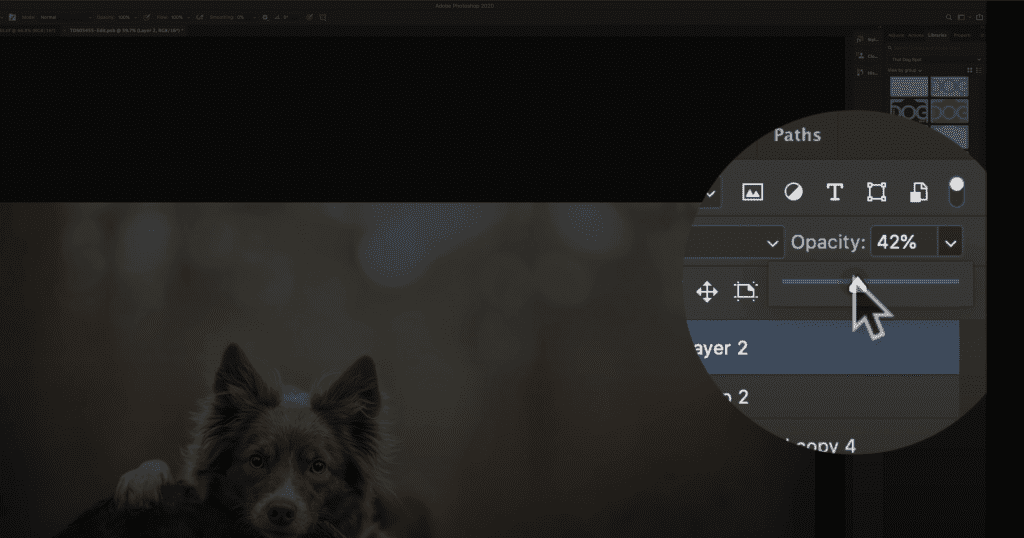
That’s it, all done!
Brilliant…love it when you magnify the selection it makes it easier to understand ..also I never work with a keyboard so it’s good to see how you select stuff.