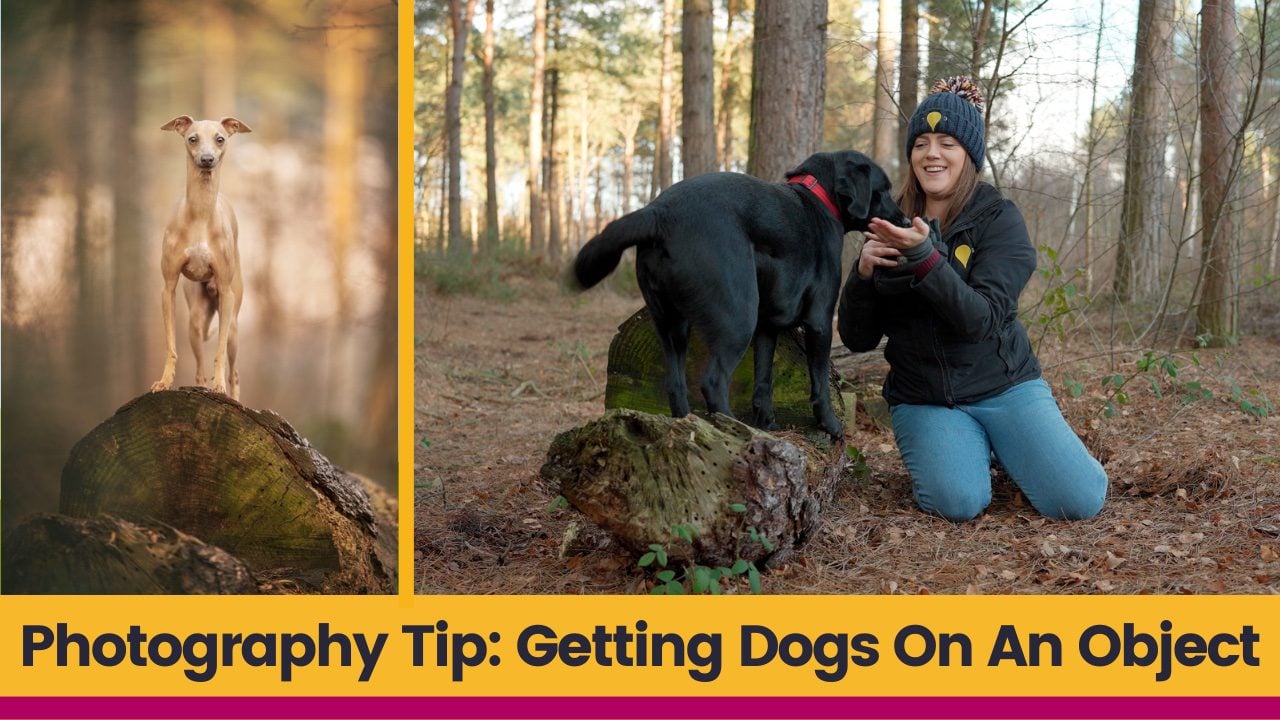
How on earth am I supposed to get a clients dog onto an object like a log, stump, rock or wall during a photoshoot if they have zero training?! It’s a question that has come up time and time again over the years and again thrown into the forefront when we asked our wonderful Premium Members what they’d most like to see from our two temporary foster puppa’s in January. So, with the help of Bella, Mia, Toto & Arthur, we’ve popped together this step-by-step guide for in-shoot mini-training for happy, confident “dog on log” (or any other object) portraits.
Safety note: If you are not confident handling dogs, or your insurance does not cover you doing so, or the owner would prefer you not to, you need to talk the client through this process. If you’re all good with the above, you can take over. I do both depending on the dog in front of me at the time – some dogs are better with their own humans, some humans prefer it if I handle this part. I’m ok with either, but you need to decide what you’d prefer to do. If in doubt, let the owner handle the dog.
None of the dogs in the video above have ever been asked to go onto an object before. Every pet photographer will have “their way” but this is the one I’ve been using for years and years and I’ve not yet had a failure in less than 2-3 minutes during a client session. The dogs end up very confident, taking themselves onto and off of objects for fun and there’s never any pressure or panic in the process. Hopefully this walkthrough is helpful for those who currently don’t have a plan for these situations.
It goes like this:
How to get dogs onto logs 101
Firstly, you need to prep some things:
- If the dog has to remain on leash, that’s absolutely fine. Just make sure you don’t use that leash to apply pressure at any point in the following steps
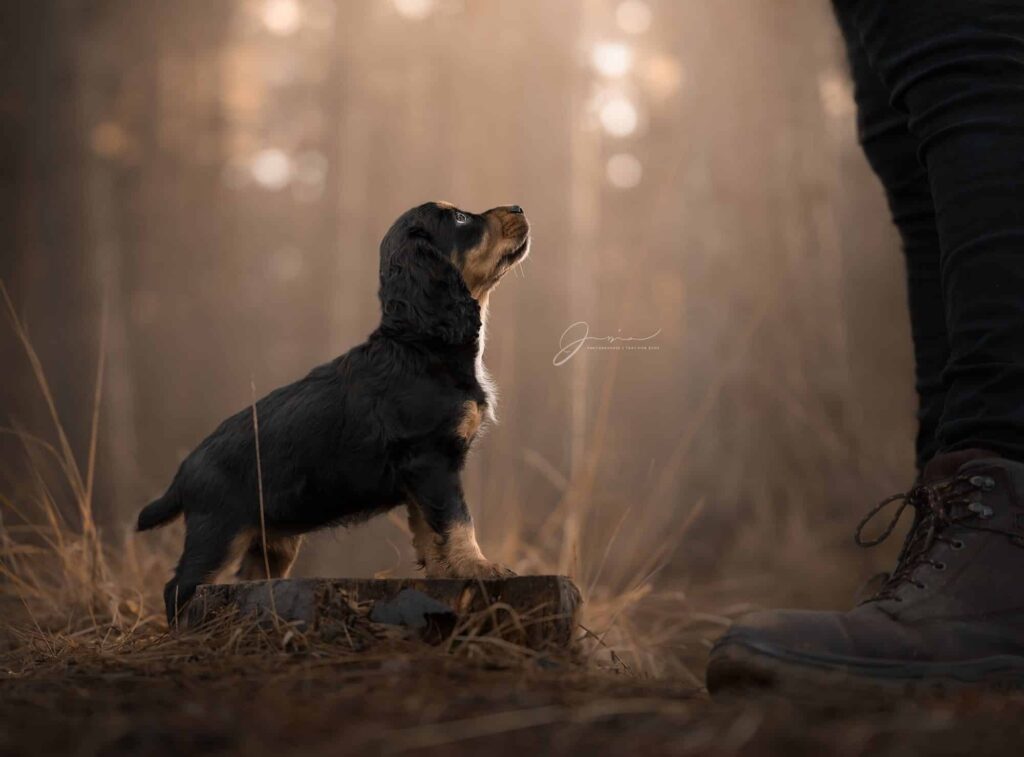
- If the dog is teeny tiny, follow all of the steps up until the dog jumps onto the object by itself. Here, ask the owner to gently place the dog onto the object. If they are uncomfortable, take them off and abort the mission
- If the dog looks worried, scared or uncomfortable in any way, abort mission and shoot something else
- Safety and welfare should be your top priorities so, as well as all of the above, ensure the object is not dangerous in any way, even if the subject loses their balance. Do not put any animal in danger for a photograph
Step 1:
Get something the dog LOVES. It’s usually high-value food like sausage or chicken, but it could be their normal kibble or cheese too. Other dogs don’t fancy food so maybe a toy is the way to their heart. If not those, maybe praise is the aim of the game. It could be that sticks are what the clients dog dreams of every night as they nap away. It doesn’t matter what it is, but you need it now.
NOTE: The owner should have brought this item with them as instructed in your pre-session consultation & session guides, so don’t bring your own.
If you have that item, we’re good to go.
Using the reward item, standing close to the object, lure the dog forwards a step and immediately reward them. It’s the reward of following the lure that is important here, because we’ll build on that for everything else.
If you are working with your own dog, I’d highly recommend shaping this entire process instead. It’ll take a little longer to train but the end result will be more transferrable and the dog will gain self control and confidence at the same time – a win win. We go through shaping objects inside Bryt Diaries.
Step 2:
Now that the dog will take a step or two forwards following a lure, it’s time to position yourself near the object. With the dog close by, stand at a 90 degree angle to the object with the dog facing the side of the object in front of you.
With the reward in your hand closest to the object, you’re going to lure the dog to take a step towards the object. Reward. Ask for a little more the next time and if a foot comes off the ground, reward. When you get a paw or two on the object, we’re pretty much home free so heavily reward this achievement with the paws still in contact with the object and then ask the dog to move back off the object.
Step 3:
Using the same positioning as before, the 90 degree to the object above, you then just need to have the two front paws onto the object and then keep luring around you in a circle down the object. This should encourage the dog to add more feet to the object and you’ll end up with 4 paws on the log, rock, bench or whatever it may be. The circle should be tight and the pace should be very slow. This helps with balance and confidence. When that last paw hits the object the rewards should be given. Your dog is now entirely on the object.
Step 4:
This is the semicircle method that I’ve used for donkey’s years and it hasn’t failed me yet. It’s a textbook classic for introducing contact equipment, shaping blocks and physio inflatables to dogs to ensure they don’t overthink but at the same time retain confidence in their steps. Here’s how it goes:
- Ensure your dog is happy to put all paws on a lower part of the object. If you can’t do 4 paws elsewhere, do two and then commence the semicircle protocol
- Stand facing the wrong way – literally face away from the direction you want the dog to be in when they get onto the object
- Have the dog on the outside of your leg – the furthest part from the object
- Have your inside leg up against or very close to the object
- Use the reward to lure the dog around you in a tight circle and eventually they will be faced with the object
- Keep the reward close to the dog and continue your circle. If you’ve done Steps 1-3, the dog will happily jump up onto the object but retain their balance and footing, facing straight in the direction you wanted them to be in on this object
- If the dog breaks the lure, keep the reward closer to their head as you turn and move slower
- If the dog wraps around your legs instead of getting up onto the object, you stood too far away
- If the dog jumps over the object, your circle was too quick or it was too much of a straight line, re-do and wrap tighter with a slower pace
- If the dog loses their balance at any point in the above process, reward and try again, moving slower and wrapping tighter around the circle
Step 5:
Do not run off to take the photo. It isn’t fair on the dog to be abandoned on a strange object and asked to wait for 30 seconds whilst you faff about to sort your stuff out.
Instead, repeat a couple more times before handing the dog back to the owner (if you did all of the above steps) and ask them to just run through it a couple of times to make sure they’re super confident.
Only after the handover should you go get into position. In this time you can also point out where you want the front feet, what you’re going to do for attention and how the owner should hold the leash if there is one present. It’s at this point that I also go through the “empties” protocol for super speedy image processing.
Step 6:
Go get yourself sorted and shoot the shot.
All of the above usually takes no more than 2-3 minutes, it provides the dog with a brain game, the human with a new party trick for the dog to do and it’s helped to build their relationship. A happy side note is that there’s an epic picture for the client gallery that legitimately carries great memories. Perfect!
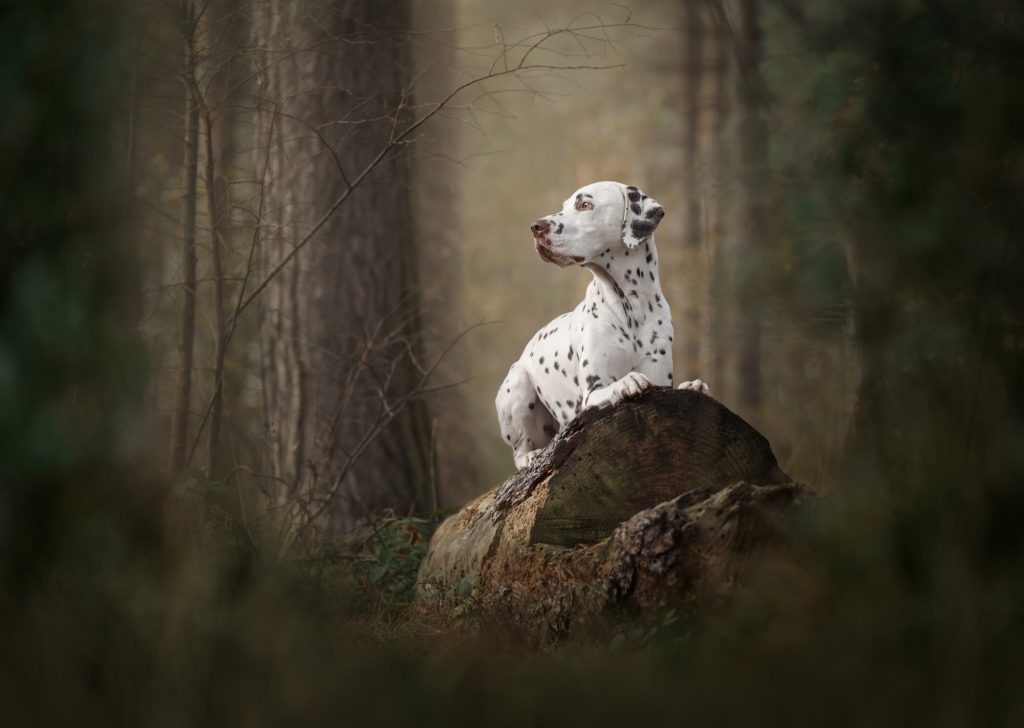
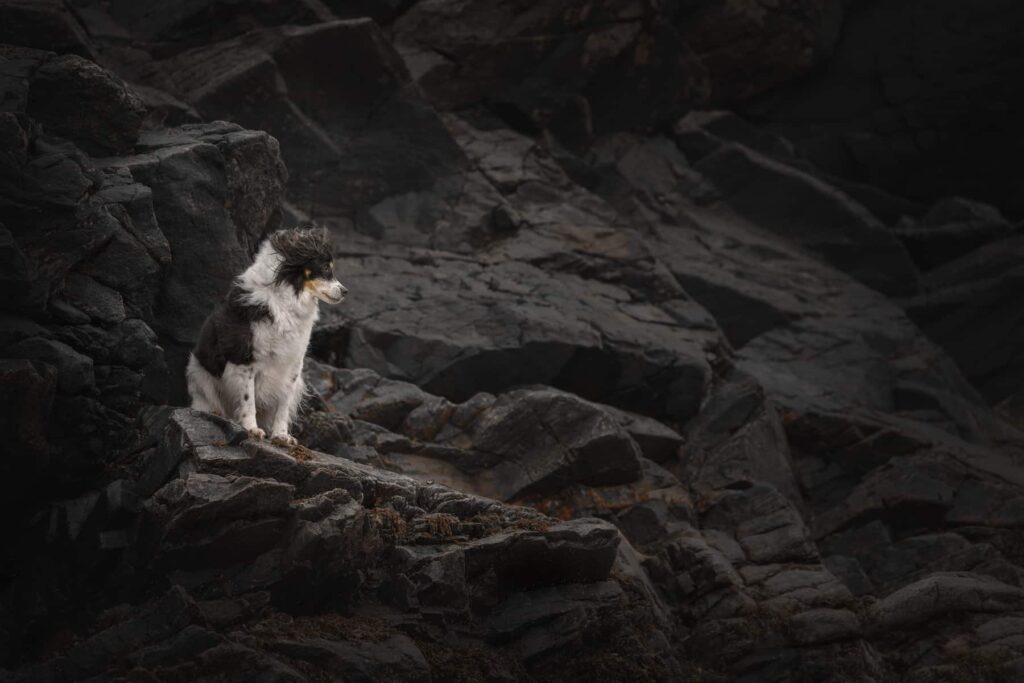
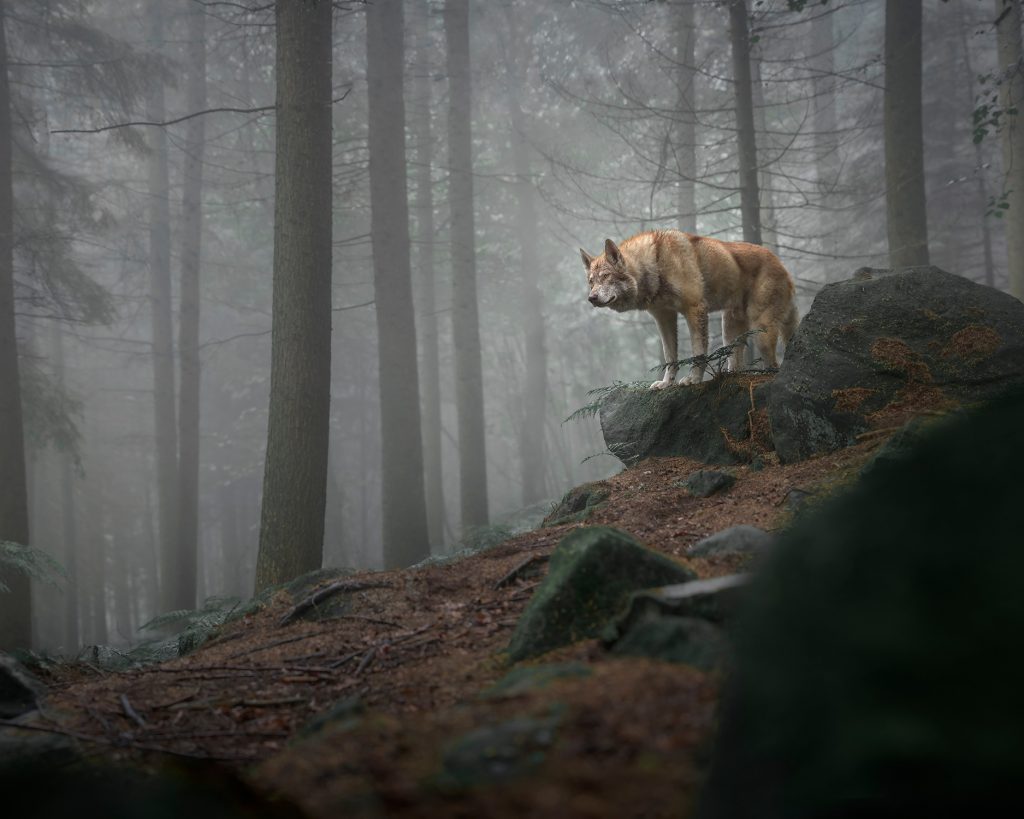
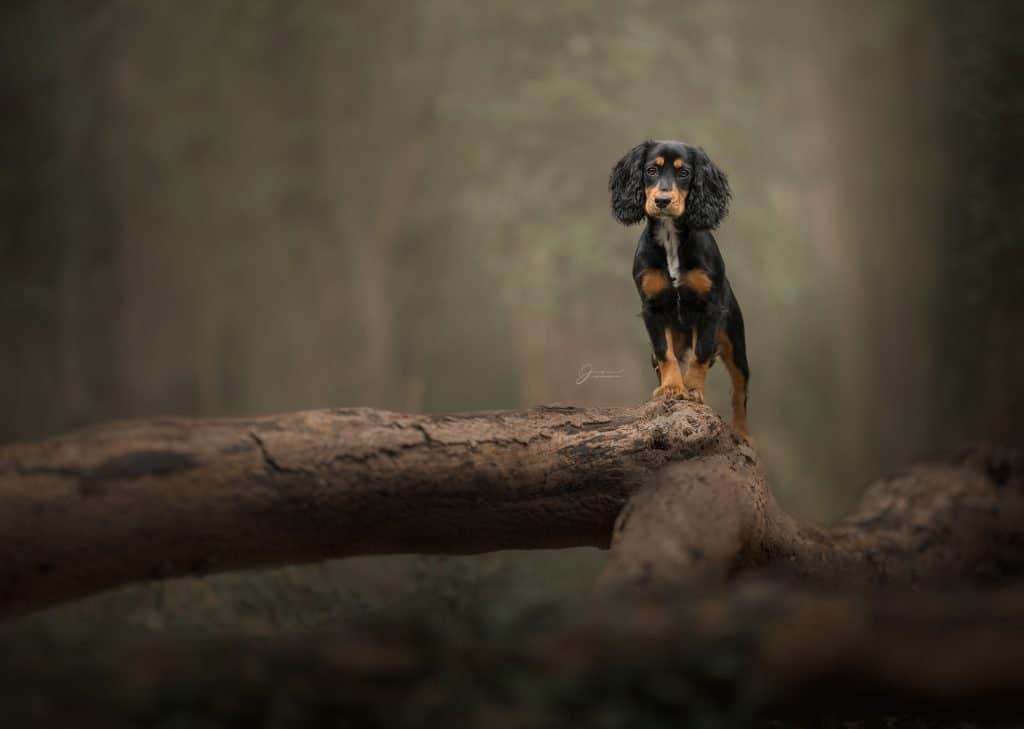
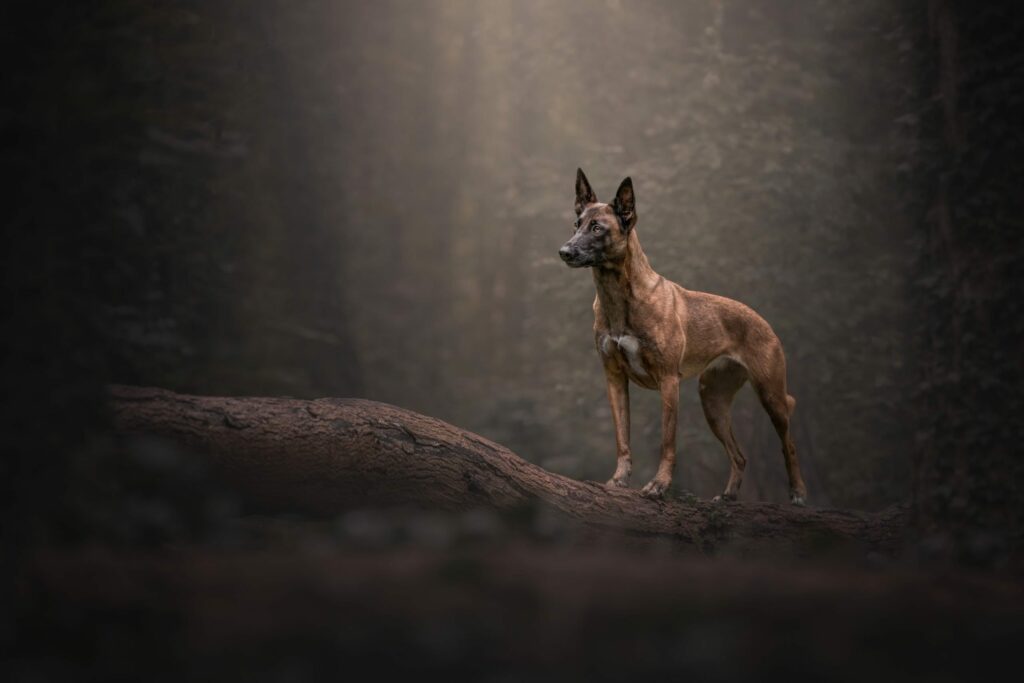
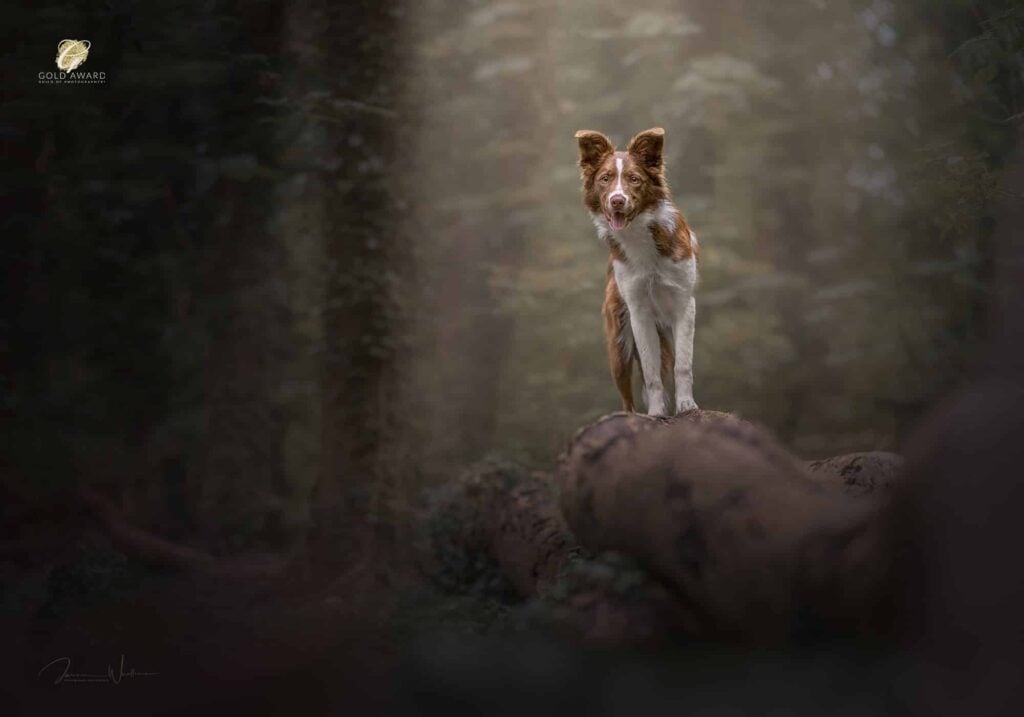
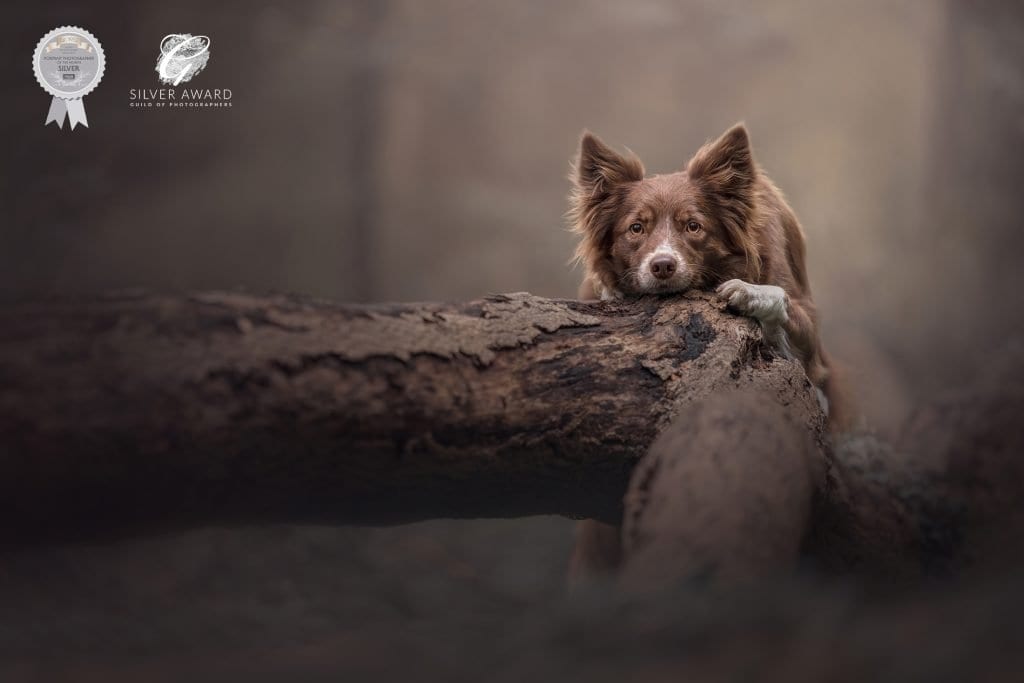
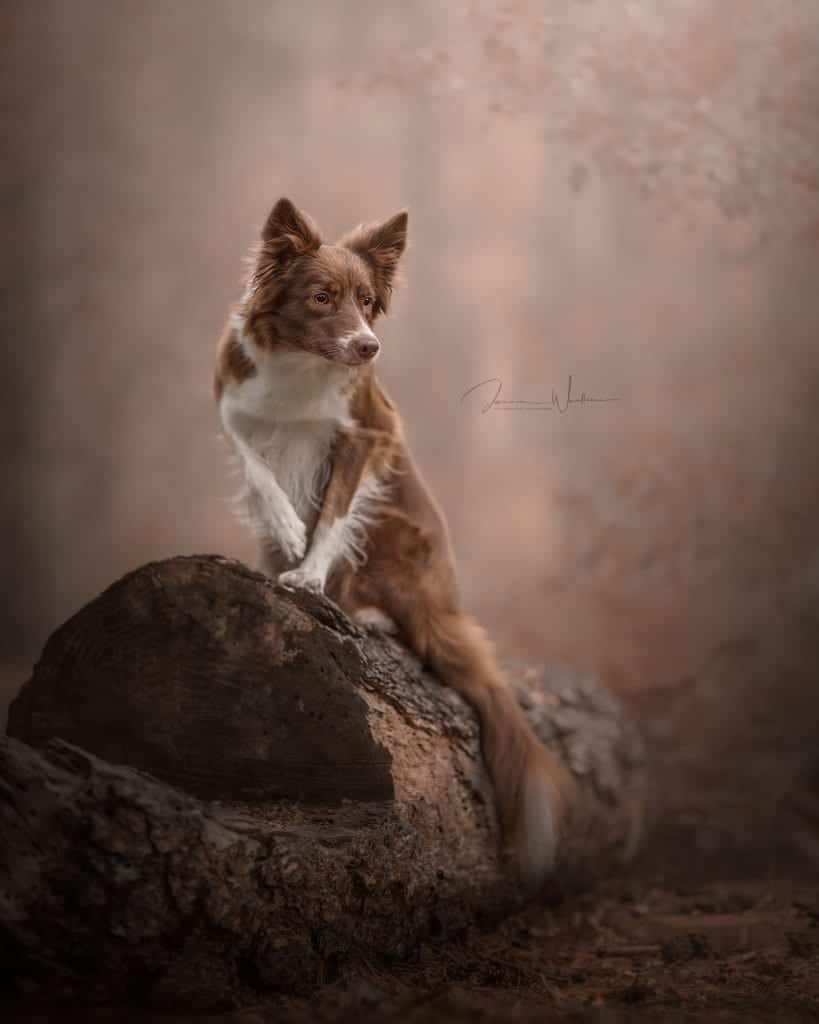
Here are some examples of dogs following this protocol. Perfect confident model legends: